We’re on to Day 4, and you’re still here! Which means you’re paying attention and following along. I’m proud of you, I bet your mom is proud of you, and I haven’t asked her yet, but I bet my mom is proud of you too.
Today we’re going to test our shoulder and upper back flexibility – if you’ve ever attempted handstands, improving shoulder mobility and flexibility can really help you improve your form. Let’s get started!
Benchmark #7: Back Scratch
- Start by standing comfortably in any location.
- Reach one arm over your head (straight up, parallel to the wall), and bend it at the elbow. Bring your hand down, behind your head, towards the middle of your back until your fingers are pointing towards the floor. In this position, your elbow will be pointed in the air and your palm should rest against your back.
- Reach your other arm down towards the ground and bend it at the elbow. Bring your hand (palm out) gently up the middle of your back. This elbow should stay pointed down and the back of your hand should gently slide up your back.
- At this point, the fingertips of your two hands may touch, or they may meet and overlap. Whether they can touch or not, they should be pointing directly at eachother.
Have a friend measure the distance between your fingertips. If they don’t yet overlap, record that as a negative number. If they already overlap, measure how much they overlap and record that as a positive number.
Benchmark #8: Shoulder Flexibility
- Start by standing, holding a towel, PVC pipe, or long stick (a broom works) in front of your body. Both hands should be holding on with an overhand grip and hands wide apart.
- Keeping your grip constant and your arms straight, slowly raise your arms and lift the (towel/pvc/broomstick) over your head. Without changing your grip, continue to rotate your arms behind your back until you hit your lower back. If you can’t do this, widen your grip and try again until you can.
- Do this a few times to warm up. Each time you hit your lower back, bringing your hands a little closer together each time you rotate the object up and behind your back. Remember to keep your grip tight and your arms straight.
- You are looking to find the minimum distance your hands can be apart and still comfortably rotate the object behind your back.
- The important word here is “comfortably” – don’t force a narrower grip than your body can handle!
Measure the distance between the innermost part of your hands.
It’s best to try and use the exact same object each time you measure. In other words, switching from a towel to a pvc pipe may yield slight changes. If you are able, use a similar object each time you re-measure.
Want to improve on today’s benchmarks? Here’s How…
Standing Mountain & Y Raises (10 reps)
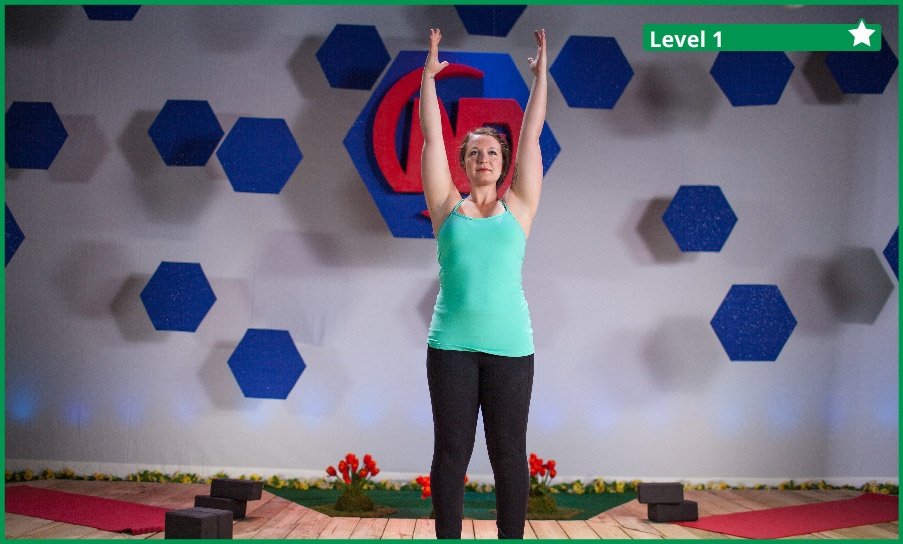
- Start by standing with your body active and engaged. Your hands should be down to your sides and pulling down towards the floor.
- Keeping your arms pulling out, slowly begin to raise them so they point out in front of you and continue up overhead. Act as if you were lifting a big heavy ball over your head.
- With your arms now straight over head, stop and check to make sure your shoulders aren’t hunched up by your ears (this is natural, but we want to avoid it). Instead, drop your shoulders down and away but keep your arms active and pulling up.
- Next, face your palms into each other and slowly drop your arms away into a big Y shape (like the image above). Again keeping your arms active and pulling up and away.
- Now sing with me, Y…. M… C… A… (just kidding. maybe.).
- After a few seconds here, bring your arms back together overhead and then release them straight down in front of you and down pointing to the ground again.
- This whole motion is consider 1 rep, so repeat this 10 times to warm up the shoulders.
A, T, & Y Stretches (15 second each side, each stretch)
We are going to do 6 total stretches now (3 types on each side). These are the same stretch with slightly different positioning of your arm. These stretches are named the A, T, and Y stretches, named after the letters they imitate.
Start by laying down on your belly.
For the A stretch you want to bring you arms down to your sides at about a 45 degree angle. The arms should face down and away from your body and your palms should be flat on the ground. (If you drew a line from elbow to elbow, you’d make an “A” shape).
Pick a side and rotate your back up over towards that side (see image above), keeping that arm flat and that shoulder touching the ground. Your opposite leg will bend at the knee and come behind you on the floor. Your opposite arm should reach straight for the sky.
Come back down slowly into the A position we started with. This time do the other side, rotating your back up and facing the opposite direction.
Next, you’ll reset your body so it’s belly on the ground again – but this time bring your arms straight our from your shoulders to your sides. They will still be palms down and flat on the ground. Your entire body makes a “T” shape here.
Repeat the stretch as directed above for each side.
Lastly, we’ll come back to prone position and bring your arms up above your heads at a 45 degree angle. Your entire body should be making a Y shape on the ground.
For the last time, repeat the stretch as directed above for each side.
——
And thus concludes Day 4! The home stretch! (see what I did there?) See you tomorrow for our final day in the Nerd Fitness Flexibility Challenge.
-Steve and Team Nerd Fitness