This is a post by Rebel Chef Noel.
I don’t know about you, but where I live, changes are happening. The leaves are turning, the air is a little crisper, and it’s finally cool enough to turn on the oven!
The weather getting colder also means my appetite for warm comfort food is in full effect. Usually, the colder weather means tons of sweet treats and unhealthy meals – but not for Rebels!
Fear not, living a healthy lifestyle doesn’t mean we have to give up comfort food all together. We have the power to make hearty meals that are not only delicious, but will also nourish our bodies and make us stronger. Win-win (win)!
I don’t want you go get the wrong impression. When I say comfort food or “pan roasted” it might sound intimidating, but I assure you, this is a level 2 recipe. If you can make paleo spaghetti, you can absolutely do this.
These pork chops take 20 minutes, only need 5 ingredients, and have minimal preparation.
Let’s get started!
Pan Roasted Pork Chops
Active time: 10 min
Total time: 20 min
Serves: 2-3 (depends on how many pork chops you buy)
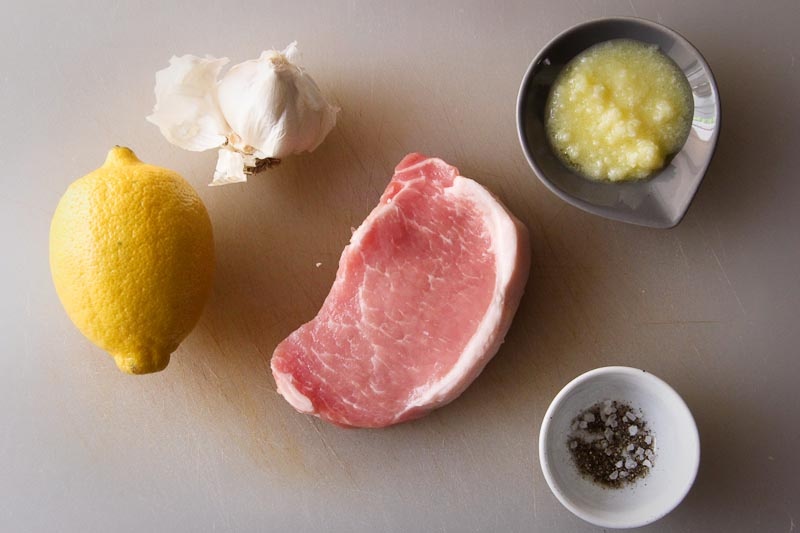
Ingredients:

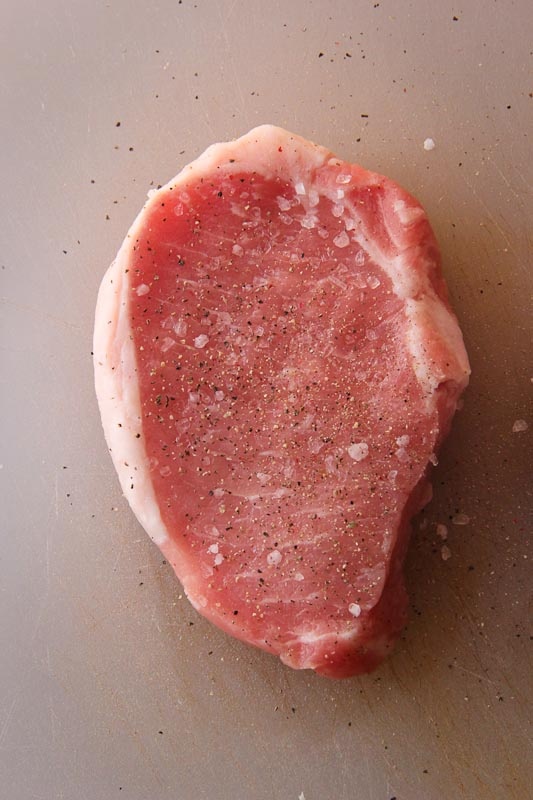
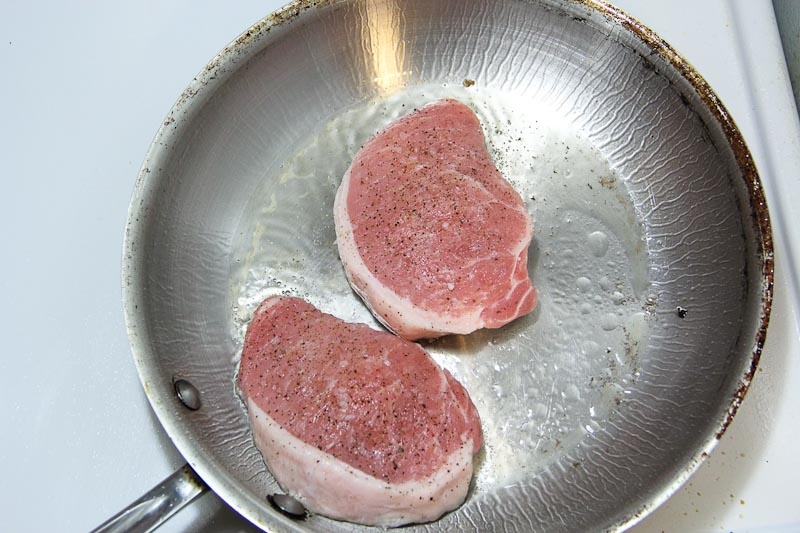
2-3 Pork Chops – I suggest buying the thicker ones for this recipe. They look like this:
They’re generally about an inch thick. All pork chops come with a fat cap on one side, so don’t worry about that. Whether you buy bone in or bone-less is up to you. I personally prefer boneless since I don’t like paying for the weight of a bone that I’m not going to eat, but the bone-in ones do look rather impressive…
1 Teaspoon Ghee or Olive Oil – Ghee is a form of butter that is basically heated until it all of the lactose, casein, and whey are cooked out. This makes it a safer paleo option than regular ol’ butter. It is richer tasting than butter, and can pack a serious punch when added to veggies, used for sautéing, or for searing meats (which is what we’ll be doing here). If you don’t want to use ghee, use olive oil!
1/2 a Lemon – for squeezin’ over the chops
2-3 Cloves of Garlic – one for each pork chop. Remember, these are the little guys that you break off of a bulb. Don’t use a whole bulb (unless you want to repel vampires for weeks…which might be advisable).
Salt and pepper
Equipment:
Knife – for cutting your lemon and smashing your garlic
Cutting board
Frying Pan or Skillet – Anything without a plastic/meltable handle will work great here. Cast iron skillets are awesome. My pans are stainless steel and they work just fine. Though, if you only have pans with plastic handles, I have a solution for you. Keep reading.
Measuring spoon – just the teaspoon this time.
Tongs – for flippin’ the chops. A fork will work in a pinch.
Meat thermometer – (optional) I LOVE using a meat thermometer. It insures that my meat is cooked perfectly every time. If you’re new to cooking, especially if you’re squeamish about cooking meats (I know, I’ve been there. Former vegetarian here!), please consider getting one of these. Mine cost $15 and was totally worth it considering the number of chicken breasts I have undercooked (and the resulting ruined lunches that have left me hungry and my willpower bar empty at work).
I would suggest a digital probe thermometer with a cord so you can keep it outside of the oven to monitor the temperature. Most of them come pre-programmed with settings for different types of proteins so that you don’t have to memorize or look up the temps you need every time. And, all the ones I have owned beep obnoxiously enough to get me off the couch when my food is done.
Foil lined baking sheet – (optional) You can use this if you don’t have a pan without a plastic handle. If you do this, you’ll use both your pan and the baking sheet.
Pan Roasted Pork Chop Instructions
1. Heat things up! Start by pre-heating your oven to 350 F (177 C) and pre-heating the pan you’ll be using to sear the meat.
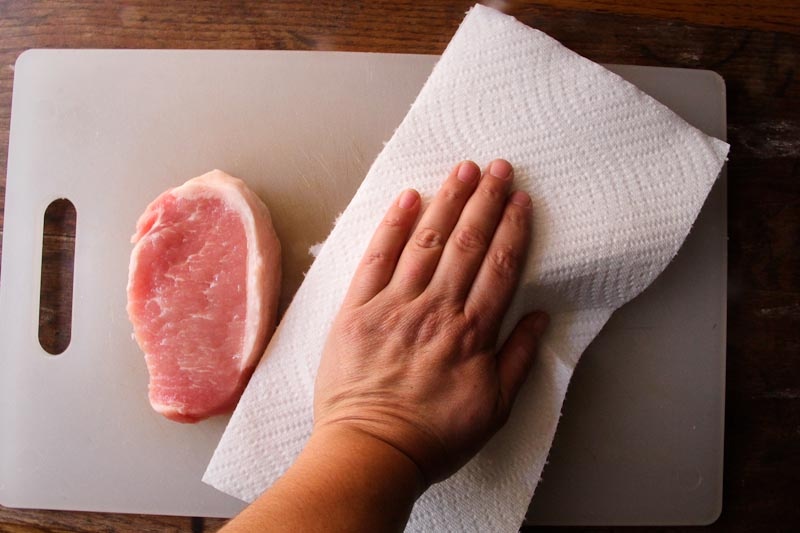
2. Now start prepping your pork chop. First, pat it dry with a paper towel. We do this to make sure it sears quickly and evenly the second we put it in the frying pan.
3. Then, sprinkle on some salt and pepper. Massage the spices into the chop with your hands. Make sure you get both sides. If you have a favorite pre-made rub, you can use it here too! Once you’ve seasoned them to your liking, set them on a paper towel near the stove. (And always wash your hands after touching raw meat!)
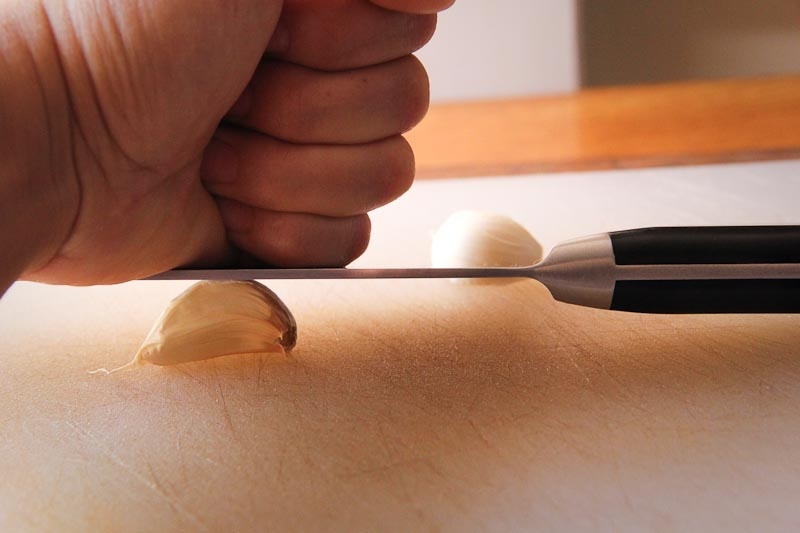
4. Move on to the rest of the ingredients. Cut your lemon in half and smash your cloves of garlic using the side of your knife. Don’t worry about peeling them or anything. Just smash!
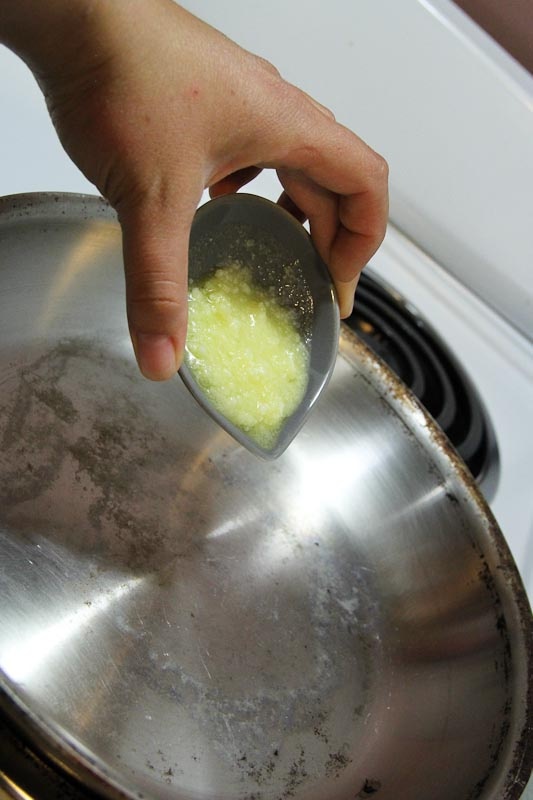
5. Once your pan is heated and the oven has come to temperature, measure out 1 tsp ghee or olive oil and pour it into your pan. Once it hits the pan it will melt and spread very quickly. Tilt the pan to move the oil and coat it.
6. Place your cloves of garlic in the pan. They will sizzle and pop. It’s kinda scary, I know. Be brave! (If you don’t want your hands too close to the oil, you can use your tongs to place everything in the pan.)
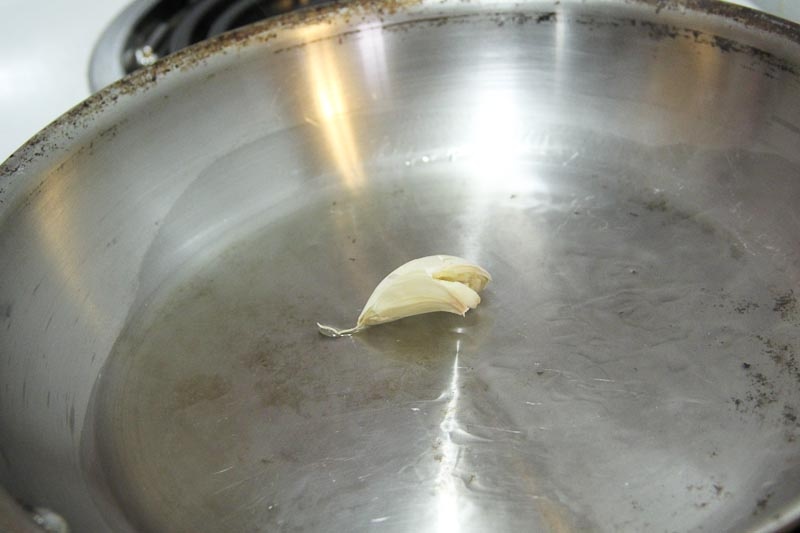
*Make sure to NEVER drop anything into hot oil. (Even if it’s just a little bit of oil.) The hot liquid can splash up and burn you. Set everything down in the pan gently.
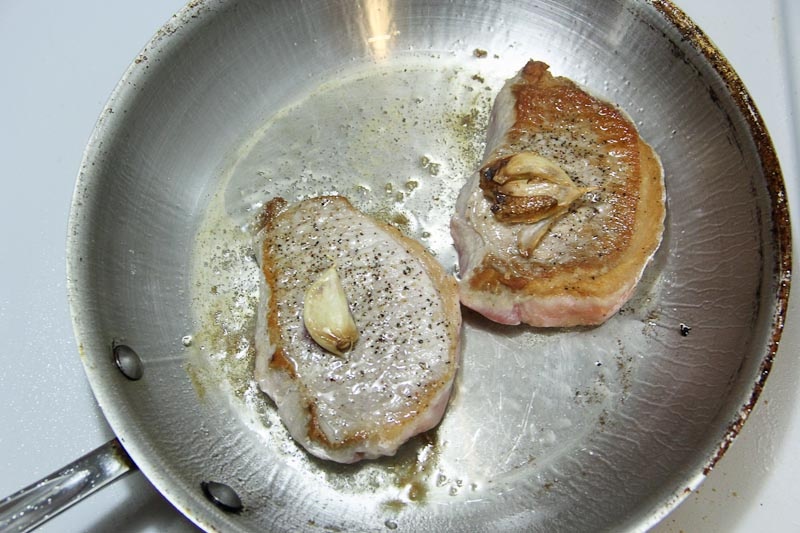
7. Place your pork chops on top of each clove of garlic. Once you put them down, don’t touch! They are searing! Let them sit for 2-3 minutes.
8. Now take your tongs and flip the chops over. It’s okay if the garlic sticks to the meat. The side that was seared will now be a nice toasty brown color. We want to do that to the other side too, so after you flip, no touching. Just let this side sear for another 2-3 minutes.
9. Take your 1/2 lemon (or the juice from the lemon) and squeeze or pour it over the chops. This will cause the hot pan to sizzle and some of the oil to pop, so be careful!

9.5 (optional) If you’re using a meat thermometer, now is its time to shine! Turn it on, set it to the correct temperature (for pork, the standard food safe temperature is 145* degrees F (63 C). Stick the probe into the thickest part of the chop and set the digital reader on the counter.
*Note: The temperature standard for pork was changed recently from 160 F (71 C) to 145 F . This is why if you have a pre-programmed thermometer, the setting for pork may say 160. Because the pork chop is a leaner cut of meat, it may dry out if it is cooked up to 160. This is your personal preference as to whether you like a juicier or with less juicy texture to your meat.
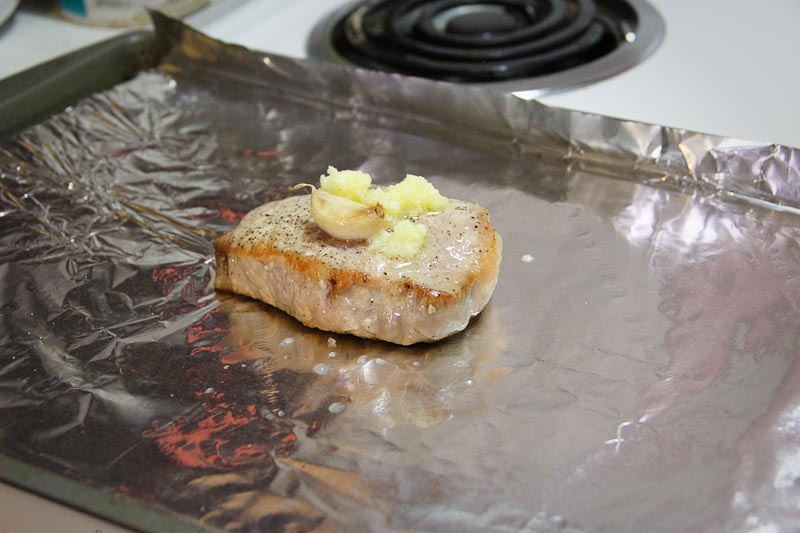
10. If your pan is completely metal, you can take that baby and stick it directly in the oven. If it’s not, remove the chop from the hot pan and place it on your foil lined baking sheet. Pour the remaining juice from the pan on top of the pork chop and stick that in the oven.
11. If you’re using the meat thermometer, you don’t have to set a timer, but if you’re not using a thermometer, set a timer for 10 minutes. (Ten minutes is about the amount of time it takes for pork chops of this size to reach 145 F.)
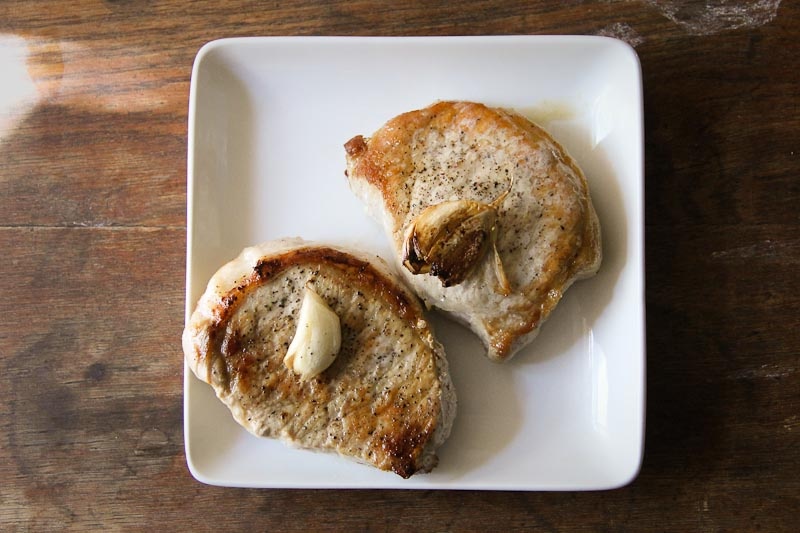
12. When the chops are done, remove the pan from the oven. Take the chop off the pan and rest it on a cutting board or plate for at least 3 minutes before devouring.
*Don’t forget to use a towel or oven mitt when touching the handle of the pan! It stays hot for a long time. I cannot tell you how many times I’ve forgotten that it’s hot and burned myself with the darn pan that I just took out of the oven.
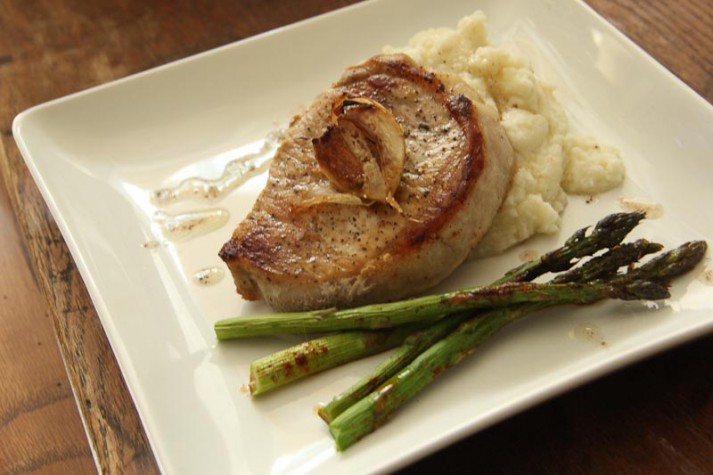
Grab a veggie, and enjoy
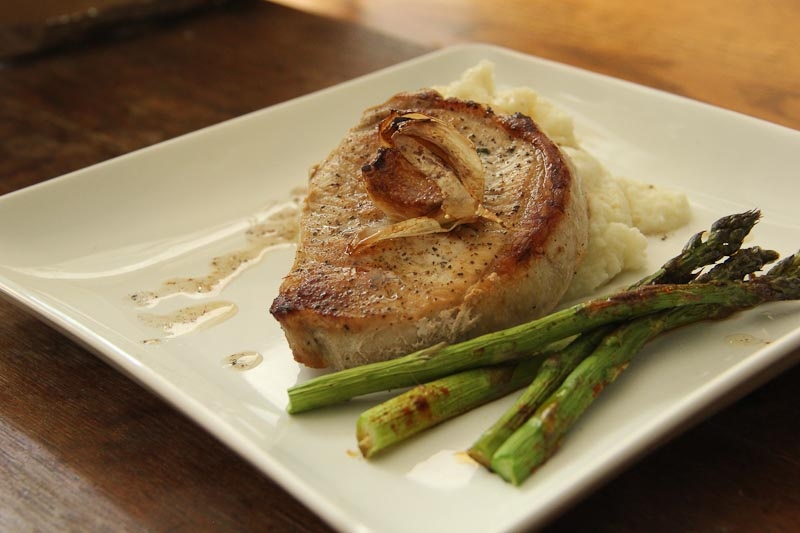
I like to serve pork chops with a side of garlic cauliflower mash (recipe available in our Paleo Central App!) and roasted asparagus or broccoli. Simple steam fresh veggies, sautéed kale, a baked or mashed sweet potato, or your favorite vegetable sides should be served along with your chops!
If you want the meal to be extra delicious, make some of this caramelized onion and apple hash from the pulled pork recipe and serve it on top of your chops. Amazing!
If this is about a level two recipe, what level of recipe would you like to see in the future? Keep it simple or level up your cooking game?
Let me know in the comments!
-Noel
PS: We’ve been adding these recipes and a few dozen more to our Nerd Fitness Academy, which has recipes, meal plans, workout plans, and even the ability to complete quests and missions and level up as you get healthier. Check it out!
###