Today I’m going to help you achieve your first push-up!
Yep, I know that sounds super confident.
But it’s because I have a push-up progression plan that’s helped loads of clients in our Online Coaching Program crush their first push-up.
Here’s what we’ll cover:
- What’s the best push-up progression plan?
- 4 push-up variations (to progress to a full push-up).
- What is the proper form for a push-up?
- 2 “must-do” exercises for achieving a full push-up.
- The “Get Your First Push-up” Workout Plan.
- Getting your first push-up (Next Steps).
Follow our guide and you’ll be doing “Earth Downs” in no time:
Let’s get started.
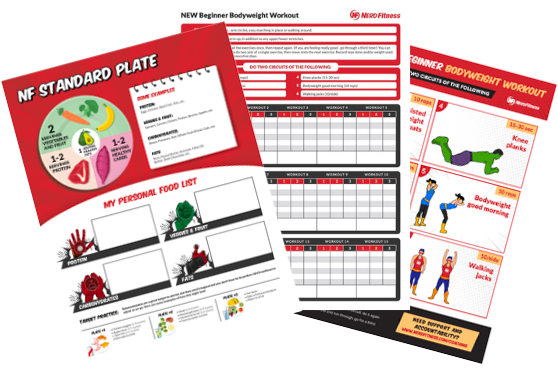
(Oh, and if you want a free downloadable version of how to get your first push-up, which includes warm-up, progressions, and workouts, just tell us where to send it!)
What’s the Best Push-up Progression Plan?
As I discuss in the video above, the most important part of your push-up progression plan: consistency.
Yeah, I know, there’s nothing too earth-shattering there.
But no matter what your current strength level is, the best way to work towards a push-up is to train your push muscles consistently. No matter where you’re starting today.
This is how our friend Mason went from wall push-ups to regular push-ups, then all the way to diamond push-ups.
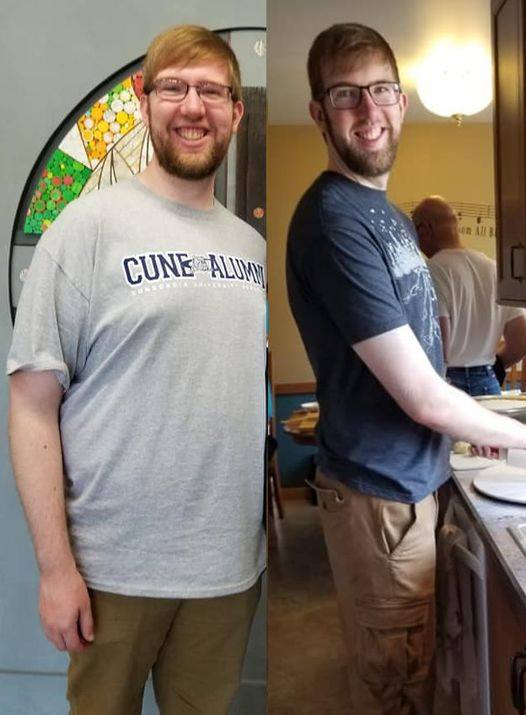
Oh, and he lost like 70 pounds along the way too!
I’ll discuss push-up variations you should start with in the next section. Plus, we’ll wrap up today’s guide by discussing just how often you should train your push muscles.
Just remember, if you want your first push-up (and you should cause push-ups are awesome), then you’ll need to be consistent with our push-up progression plan.
Cool?
Cool.
Our first stop on the Push-up Progression Plan: finding a push-up variation for you to become comfortable with. Something you can do about 8-10 reps with, for about 3-4 sets.
To start, you’ll probably train with an elevated push-up variation:
These will be easier than a regular push-up, since the higher the elevation, the less of your body’s weight you’ll be lifting during the movement.
Conversely, if you were to elevate your feet, you’d actually be lifting more than a regular push-up:
Let’s provide a rough breakdown of the percentage of your body’s weight lifted for different elevations of push-ups.[1]
The Percentage of Body Weight Supported by Our Hands During Push-Ups:
- 4’ Elevated Push-up (Wall): 9%
- 3′ Elevated Push-up (Countertop): 20%
- 2′ Elevated Push-up: 36-41%
- Knee Push-up: 49%
- 1′ Elevated Push-up: 54%
- Regular Push-up: 64%
The strategy behind our push-up progression plan is to slowly move you down to the ground, lifting more and more of your own weight as you go.
Think of it like gaining XP in a video game, so one day you’ll be able to tackle the final boss: the floor.

It might help to pretend there’s a witch below it.
Alright, let’s show you exactly how to do some of these push-up variations.
4 Push-up Variations (to Progress to a Full Push-Up)

The push-up variations below can be thought of as benchmarks.
If you can’t complete 8-10 reps, nbd.
We’ll have you train at the level below and you’ll move up before you know it.
Here are 4 variations for our Push-up Progression Plan:
Push-up Progression Level 1: Wall Push-ups
Place your hands on a wall about chest weight (roughly 4′, 48″, or 122 cm). Bend your arms and get as close to the wall before pushing back up.
Push-up Progression Level 2: Waist-High Push-ups
Place your hands on a surface about waist high (roughly 3′, 36″, or 92 cm). Bend your arms and touch your chest to the surface before pushing back up.
Push-up Progression Level 3: Knee-High Push-ups
Place your hands on a surface about knee high (roughly 1.5′, 18″, or 46 cm). Bend your arms and touch your chest to the surface before pushing back up.
Push-up Progression Level 4: Knee Push-ups
Hold yourself up on your hands and knees, with the body in a straight line from shoulders to knees. Lower down to the ground before pushing back up.
FINAL BOSS: Push-ups!
You made it to a push-up!
Are you doing them correctly?
Our next section will dive into the correct form, since this is a guide on getting your first proper push-up (I wouldn’t hold out on you).
But first, you may be asking yourself a question: when do I progress up to the next level?
For that, I’d recommend downloading our new app (it’s free to try out).
Nerd Fitness Journey will guide you through a workout routine specifically designed to help you get your first push-up, with benchmarks and signals on when to move up.
Plus, you get to earn actual XP so you level up your very own superhero!
You can give it a free test drive right here:


What Is the Proper Form for a Push-Up?
The video above walks you through the correct way to do a proper push-up, and also includes a few well-placed jokes from yours truly.
Here’s how to complete one perfect push-up:
- With your arms straight, glutes clenched, and abs braced, steadily lower yourself until your elbows are at a 90-degree angle or less.
- Try to keep your elbows relatively close to your body, and keep note of when they start to flare out as you get tired.
- Once your chest (or nose/chin) touches the floor (or your arms go down to a 90-degree angle), pause slightly and then push back up until you’re at the starting position.
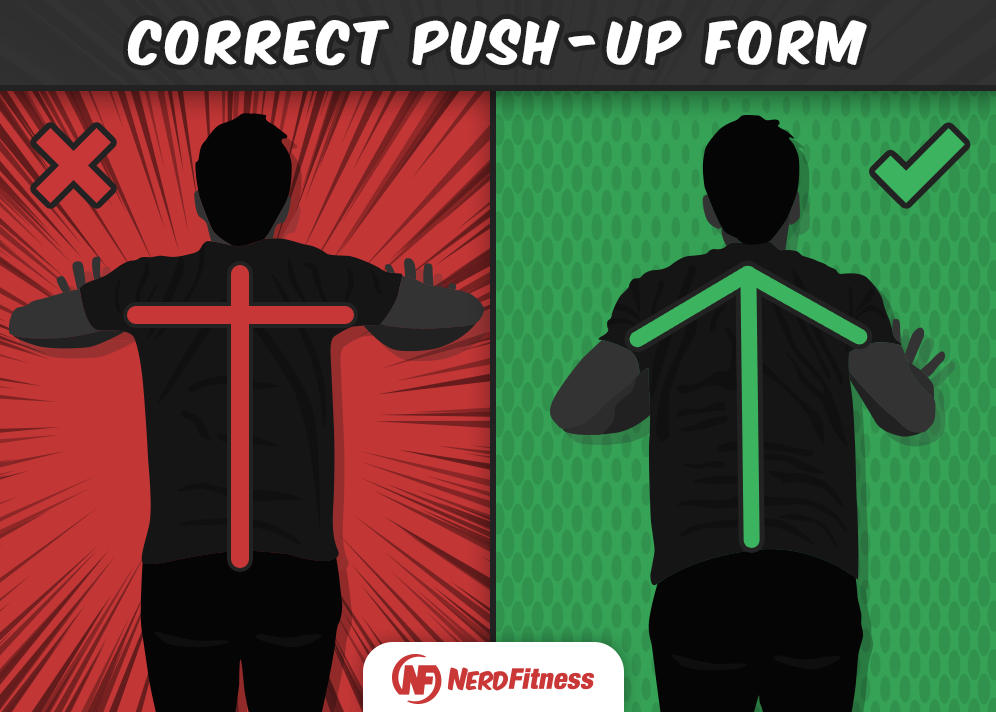
Here are 4 common mistakes with push-ups:
#1) Make sure you keep your elbows in. Often, beginners will flare out their elbows when doing a push-up.
A good way to think of this, is you want your body to appear more like an ARROW from the top, not a T.
This infographic on the proper push-up form shows you want I mean:
#2) Keep your head in line with your body. We don’t want your head shifting forward, which could put unnecessary stress on your neck and prevent a full range of motion.
#3) Keep your hips in line with your body (no sagging). We want you in one straight line as you push your body up and down:
#4) Attempt to do a full range of motion with your push-up (as long as it’s pain-free). Shoot to come all the way down, so your chest is touching the ground or the object you’re doing push-ups against.
If you want more help here, we have a full guide on how to do proper push-ups, (including advanced variations to try).
Exercises For Achieving a Full Push-Up

There are two exercises that will go a long way towards achieving your first push-up:
- Push-up Negatives
- Front Planks or Top of Push-up Holds
First, let’s talk about push-up negatives.
“Negative” in exercise terminology generally means only doing half of a traditional rep, normally lowering the movement.

To do a Push-up Negative:
- Hold yourself up at the top of a push-up, with the body in a straight line from shoulders to feet.
- Lower down and touch the ground, then let the knees rest on the ground to help you push back up.
- You can do a push-up negative from an elevated surface too.
Next, let’s talk about Front Planks or Holding at the Top of a Push-up.
This is important for a few reasons:
- Builds a strong midsection. A sturdy core will help a lot when doing push-ups.
- If you can’t hold the top of a push-up position, doing one complete rep will prove almost impossible.
Holding a plank might be tough for you, so let’s talk about a few variations you can experiment with.
Hold Level 1: Knee Planks
Hold yourself up on your forearms and knees, with the body in a straight line from shoulders to knees.
Hold Level 2: Front Planks
Lie on the floor with your forearms flat, making sure that your elbows are aligned directly under your shoulders.
Engage your core and raise your body off the floor in a straight line from head to feet, keeping your forearms planted. Try not to let your hips rise or drop.
Hold Level 3: Push-up Hold
Hold yourself up at the top of a push-up position, with the body in a straight line from shoulders to feet.
If you follow the Push-up Challenge in NF Journey, you’ll notice that pretty much every workout ends with a type of one of these holds, since core strength is so critical for push-ups.
Oh, and if you want to just try Nerd Fitness Journey to see what I mean, you can do so right here:


The Push-up Workout Plan

Remember earlier when I said the name of the game with push-up progression is consistency?
To show you what I mean, it’s time to build a workout for conquering push-ups.
I’d recommend three workouts a week for a Push-up Progression Plan, with a rest day between.
Could be Monday-Wednesday-Friday or Tuesday-Thursday-Sunday.
As long as there’s a day off between workouts, it’s fine.
Oh, and if you can only do two workouts a week, that’s okay too. Just do the best you can (even once a week).
The “Get Your First Push-up” Workout is:
- A Warm-Up
- 3 or 4 sets of a Push-up Variation for 8-10 reps
- 2 or 3 reps of a Push-up Negative
- 60-second Plank or Hold
Let’s dive into each of these a bit more.
Step #1) Warm-up
- Arm circles: 10x/way
- Wrist stretches: 5/side
Arm circles for push-ups will look like this:
Wrist stretches for push-ups will look like so:

You can always do a more formal warm-up routine, but just make sure you include some variation of these two moves.
Step #2) Train with a Push-up Variation
Earlier, we went through 4 variations that will help you get your first push-up.
After your warm-up, you should train with one of them.
For our Push-up Progression Plan, I want you to alternate between two variations:
- On Day A, do 3 or 4 sets of a push-up variation that you can do 8-10 reps in.
- On Day B, do 3 or 4 sets of a push-up variation that you can do 5-8 reps in (so a harder variation).
For example:
- On Monday maybe you do 3 sets of waist-high push-ups for 10 reps.
- Wednesday, you can do 3 sets of knee-high push-ups for 8 reps.
- Then Friday, back to the waist-high variation.
Step #3) Do a Negative
After you train with your push-up variation, I want you to attempt 2-3 reps of a negative push-up.
If these are too tough, simply do an easier variation, like knee push-up negatives:
Any of the 4 variations we discussed earlier can be done as a “negative.”
These negatives will be important, as they’ll go a long way towards building strength for a regular push-up.
Step #4) Plank/Hold for 60 seconds
We’re going to end our “Get Your First Push-up” Workout with a hold:
- Front Plank
- Holding the Top of the Push-up
Choose whichever variation you like, but attempt to hold the position for a full minute, with as few sets as possible.
If you need to break up the 60-second hold, you could:
- Do three sets of 20 seconds each.
- Do two sets of 30 seconds each.
Just aim to go longer and longer as you go. If you can’t make it to a full minute, don’t stress. Just work on holding a knee or elevated plank.
These holds will help strengthen your core, which will be critical for doing push-ups with proper form.
Oh, and if you want someone to modify this workout for you (let’s say you also want to do some HIIT for fat loss) our 1-on-1 Online Coaching Program can do just that.
Plus, your coach can review your movements through our app so you’ll know your training correctly and safely.
How to Achieve Your First Push-up (Next Steps)

That should give you everything you need to get started with the push-up progression plan.
Remember…
The “Get Your First Push-up” Workout is:
- A Warm-Up
- 3 or 4 sets of a Push-up Variation for 8-10 reps
- 2 or 3 reps of a Push-up Negative
- 60-second Plank or Hold
Do this three times a week, with a day of rest between workouts, and you’ll be good to go.

As you continue on the Push-up Progression Plan, remember to keep pushing harder. We want you slowly but surely increasing the challenge of the workout (known in the biz as “progressive overload.”)
This could be:
- Adding another rep (8 reps of waist-high push-ups to 9)
- Adding another set (3 sets of knee push-ups to 4)
- Moving up to a more difficult variation (waist-high push-ups to knee-high)
Oh, and if you need any help along the way, I gotcha boo.
Here’s how to continue your journey with Nerd Fitness:
#1) Our Online Coaching Program: perfect for someone who wants an expert (like me!) to design the right path for conquering push-ups. We’re all different, so why not have a coach guide you through a program that’s custom-made for you?
You can schedule a free call with our team so we can get to know you and see if our coaching program would be a good fit. Just click on the image below for more details:
#2) If you want an exact blueprint for crushing push-ups, check out NF Journey. Our fun habit-building app helps you exercise more frequently, eat healthier, and level up your life (literally).
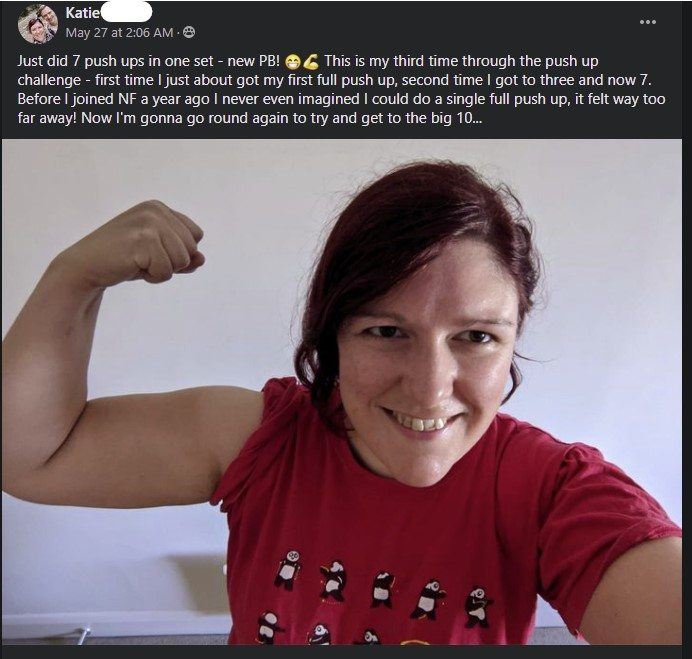
Plus, our 6-week Push-up Challenge has helped quite a few Rebels achieve their first push-up!
Try your free trial right here:
#3) Join the Rebellion! We need good people like you in our community, the Nerd Fitness Rebellion. You’ll meet individuals from all different walks of life, all of whom are trying to level up their lives.
Sign up in the box below to enlist and get our “Strength Training 101: Everything You Need to Know” guide, which will teach you exactly how to grow strong enough to rock push-ups:
Alright, I want to hear from you now:
Can you do a proper push-up?
If not, what level are you on?
Are we missing any helpful suggestions for a beginner?
Let me know in the comments!
-Jim
PS: Check out the rest of our guides on doing push-ups:
- How to Do Push-Ups with Correct Form
- Steve’s 7 Favorite Push-Up Variations
- 5 Common Push-Up Mistakes
###
Photo source: Gecko push-up; Figure push-up; 102, 103, 104…; doll push-up, push-up sunset;