This is an article from NF Rebel Chef, Noel.
We’re well into the start of the new year, and the motivation of other people’s New Years Resolutions has worn thin, but here at Nerd Fitness we don’t do resolutions. Instead we’re all about Epic Quests that keep us moving year round.
One of my Epic Quest goals is to improve my cooking by trying to cook new things. Now, you might be thinking, “Wait, isn’t your job is cooking… shouldn’t you already be great at it?” Well, sure, but even experienced cooks get stuck in food-ruts. And my friends, I am in deep.
So here’s one of my first food experiments for the year. It has something I love: the simplicity of three easy steps while appearing fancy at the end: red Thai curry (remember last time we experimented with curry?). If you’ve never been to a Thai restaurant and don’t know the difference between Thai and Indian curries, don’t worry. I didn’t until recently, but I’m in love with the coconutty richness of this dish and the number of different veggies included.
Thai curry has a different texture and flavor than Indian curry. What’s the difference? Thai curry using Thai spices tend to be a bit spicier, is coconut milk based, contains different veggies, and is more soupy than Indian curry.
Now that we have the general idea, let’s put it into practice!
This might look like a lot of a lot of ingredients, but all we’re really doing is mixing meat, veggies, and sauce. Honestly, making this curry is a lot like making Steve’s easy chicken stir fry, but you’re adding a little bit of sauce to the mix.
Here are the three steps:
- Cook the meat
- Cook the and flavor the veggies
- Add the sauce
Think you can handle this? I sure do.
*Side note, this recipe makes a LOT of food. It’s great for feeding a family or friends or meal prep for the week. If you’re not into that, cut the recipe in half.
Pineapple Coconut Curry

Serves: 7-8
Prep time: 15 minutes
Cook time: 45 minutes
Ingredients:
- Meat of your choice
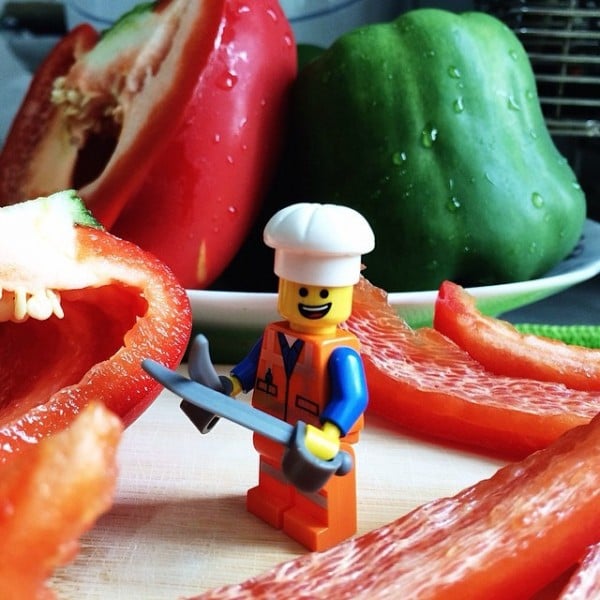
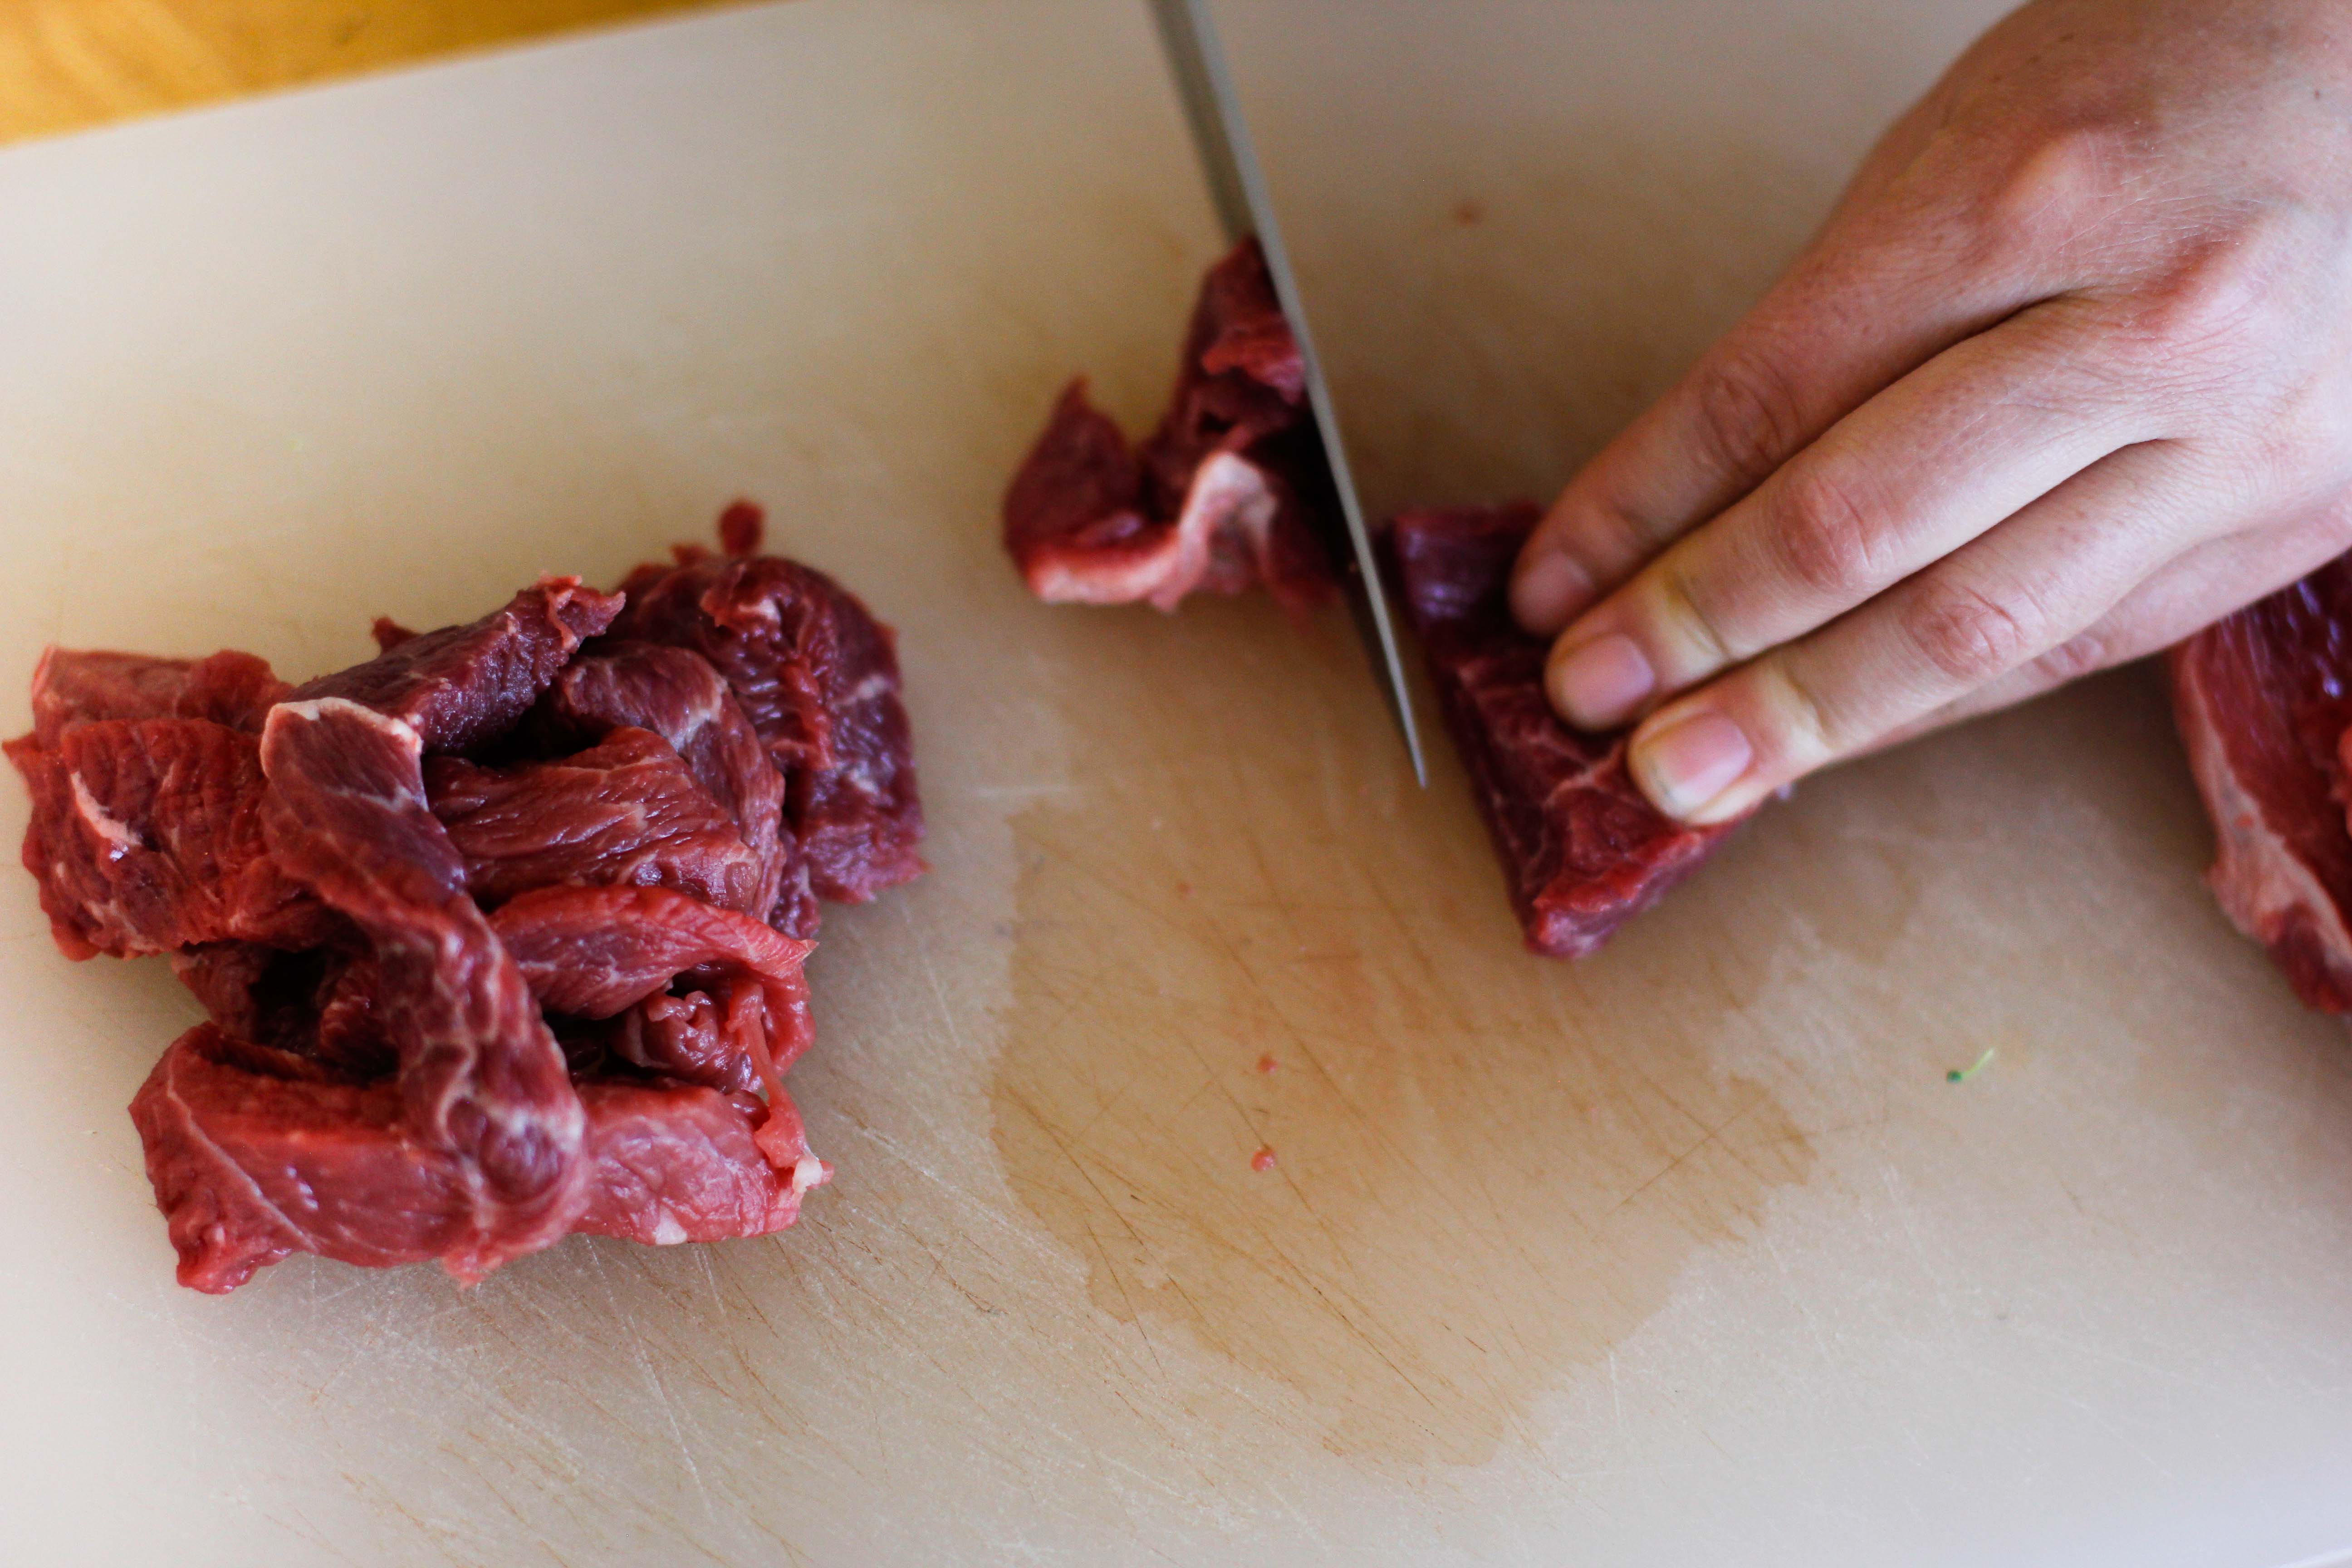
- 1lb protein (453g)– chicken, beef, shrimp, pork, or a combination of your favorites – slice the land animal(s) into thin strips. If you’re using shrimp, leave them whole – just wash and peel those guys. I’m using beef in my recipe because that’s what my heart wants. Always do what your heart tells you.
- Veggies
- Sauce (notes below!)
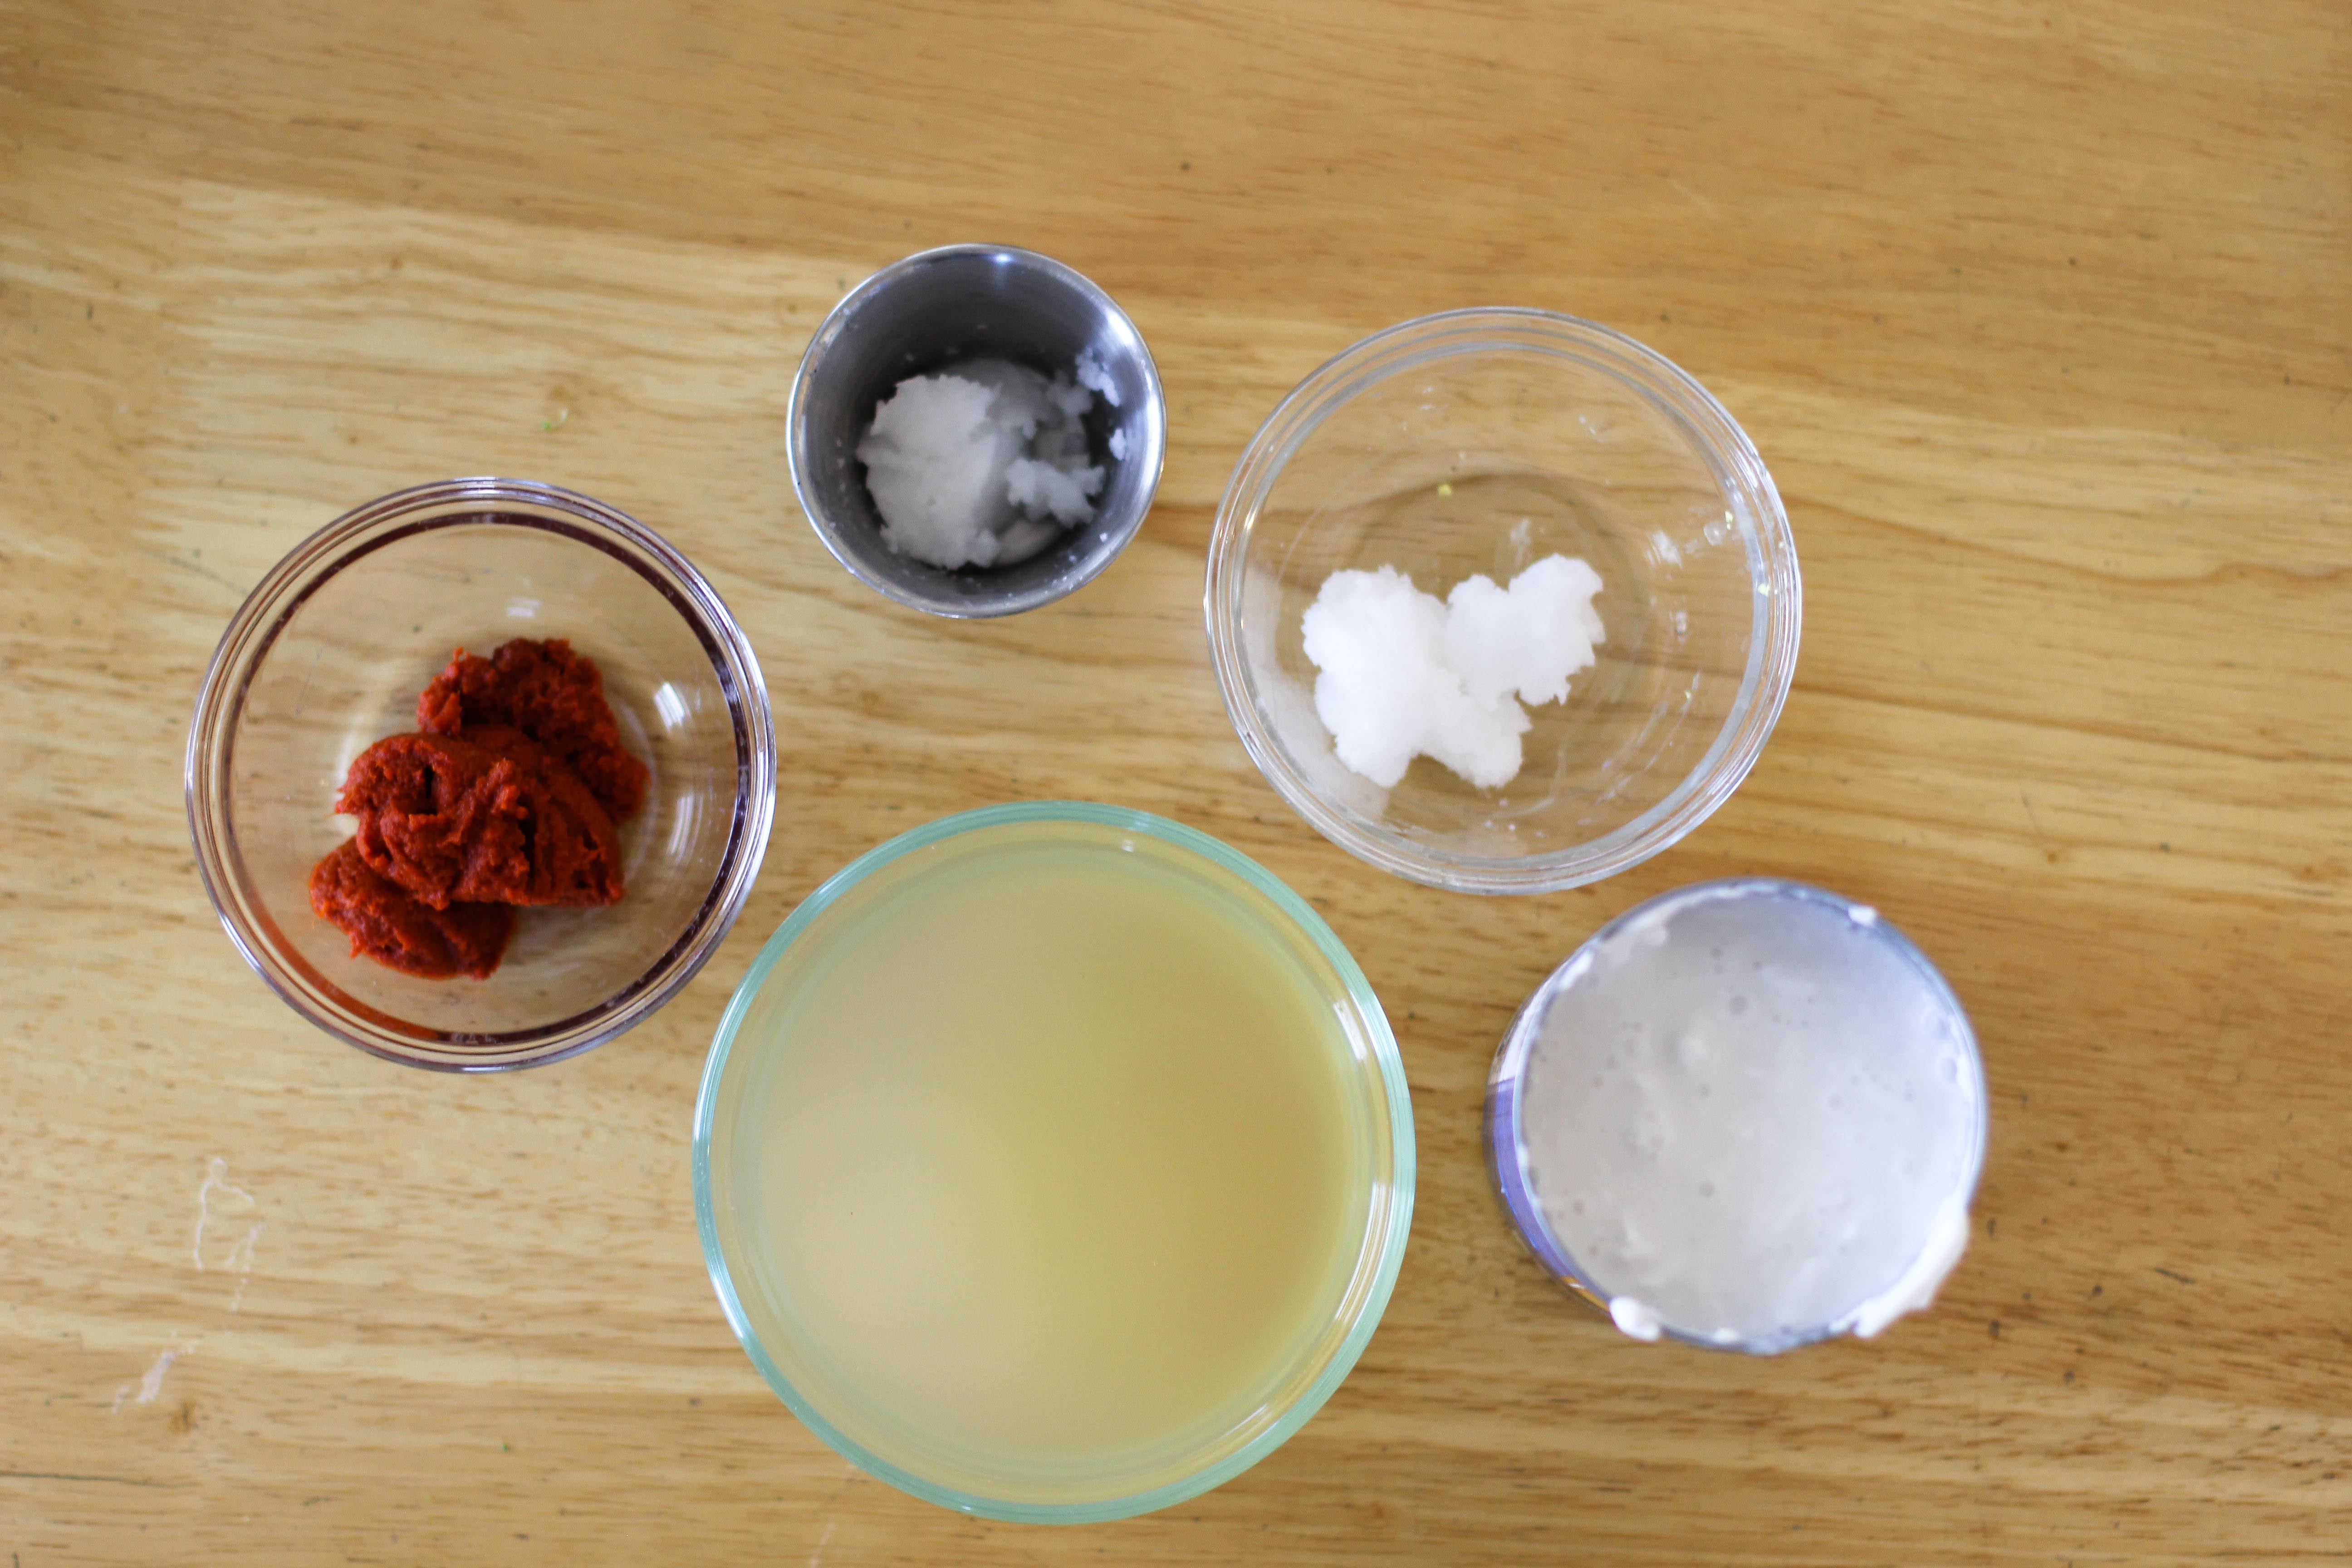
- 3 tbsp (45mL) Thai red curry paste
- 2 cans (403mL x2) full fat coconut milk
- 1.5 cups (354mL) chicken broth
Plus, you’ll also want some fat to cook everything in: 1.5 tbsp (22mL) coconut or olive oil – separated into 1 tbsp and .5 tbsp
Filler Veggies
*Note: If washing and chopping feels like too much work, grab a couple bags of frozen stir fry veggies from the frozen aisle. It’s a little more expensive, but it takes less effort. Here’s what I used for the recipe below, but feel free to choose your veggies based on what you like!
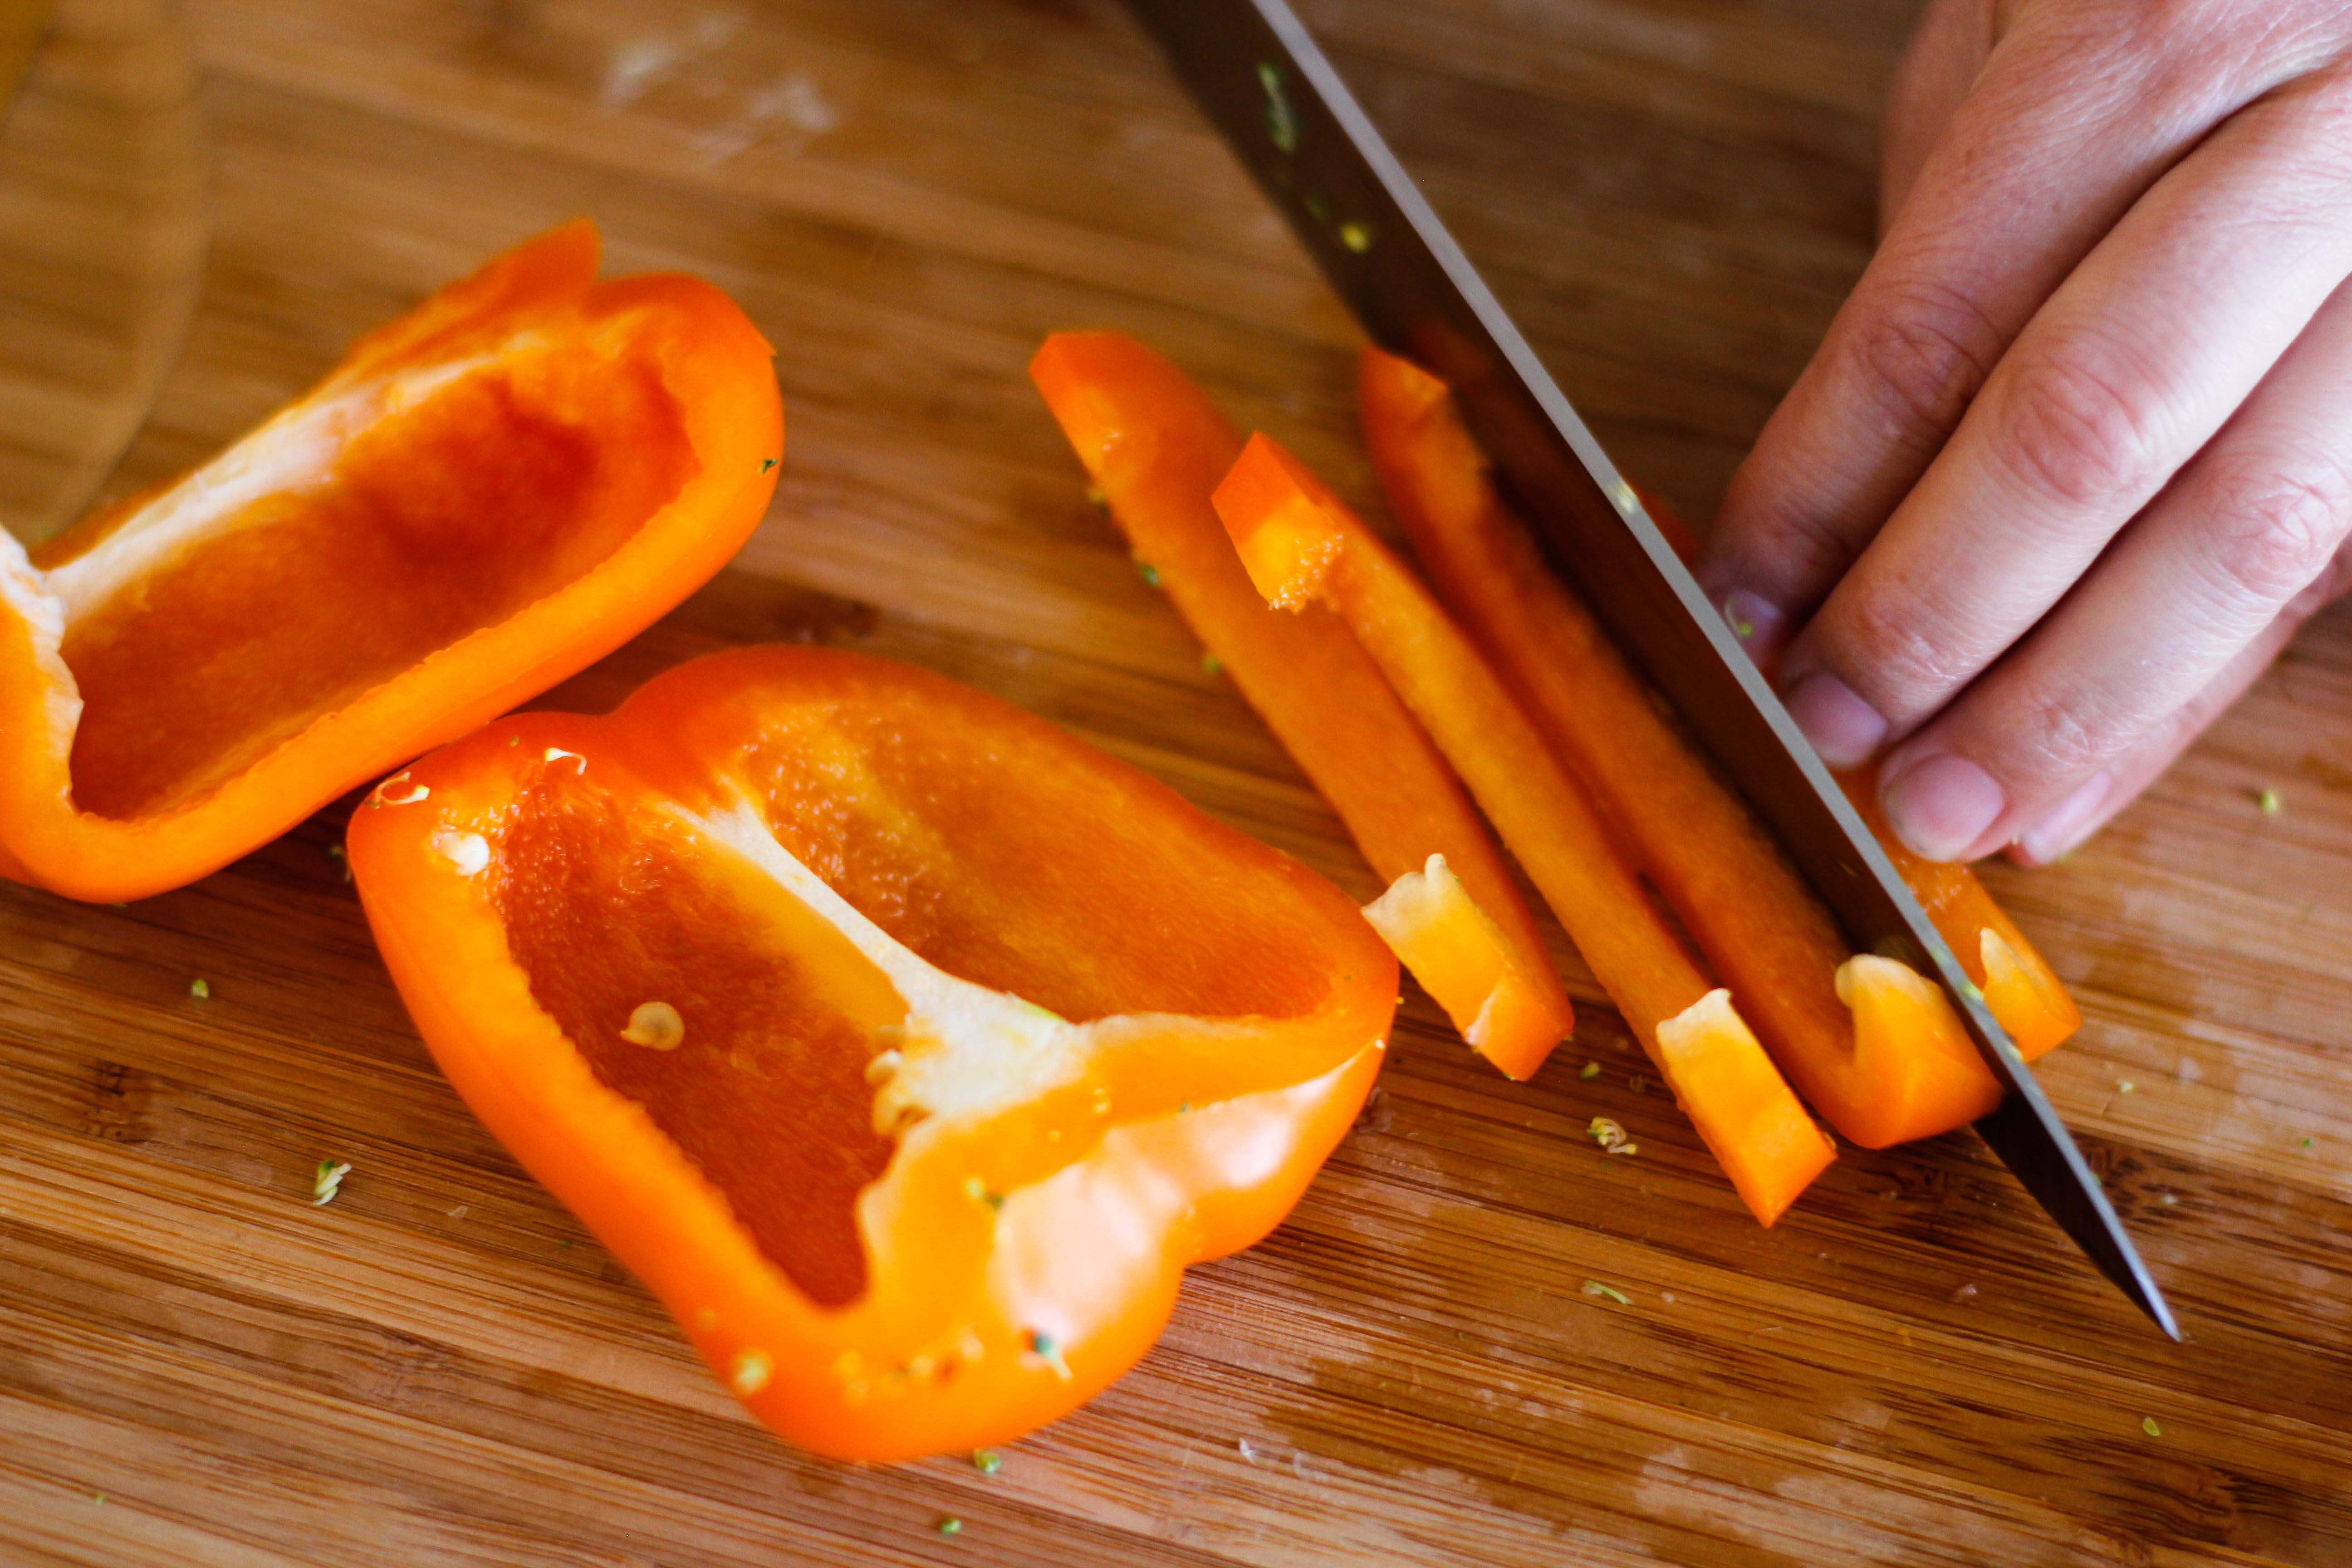
- 2 bell peppers – your favorite color, cut into strips
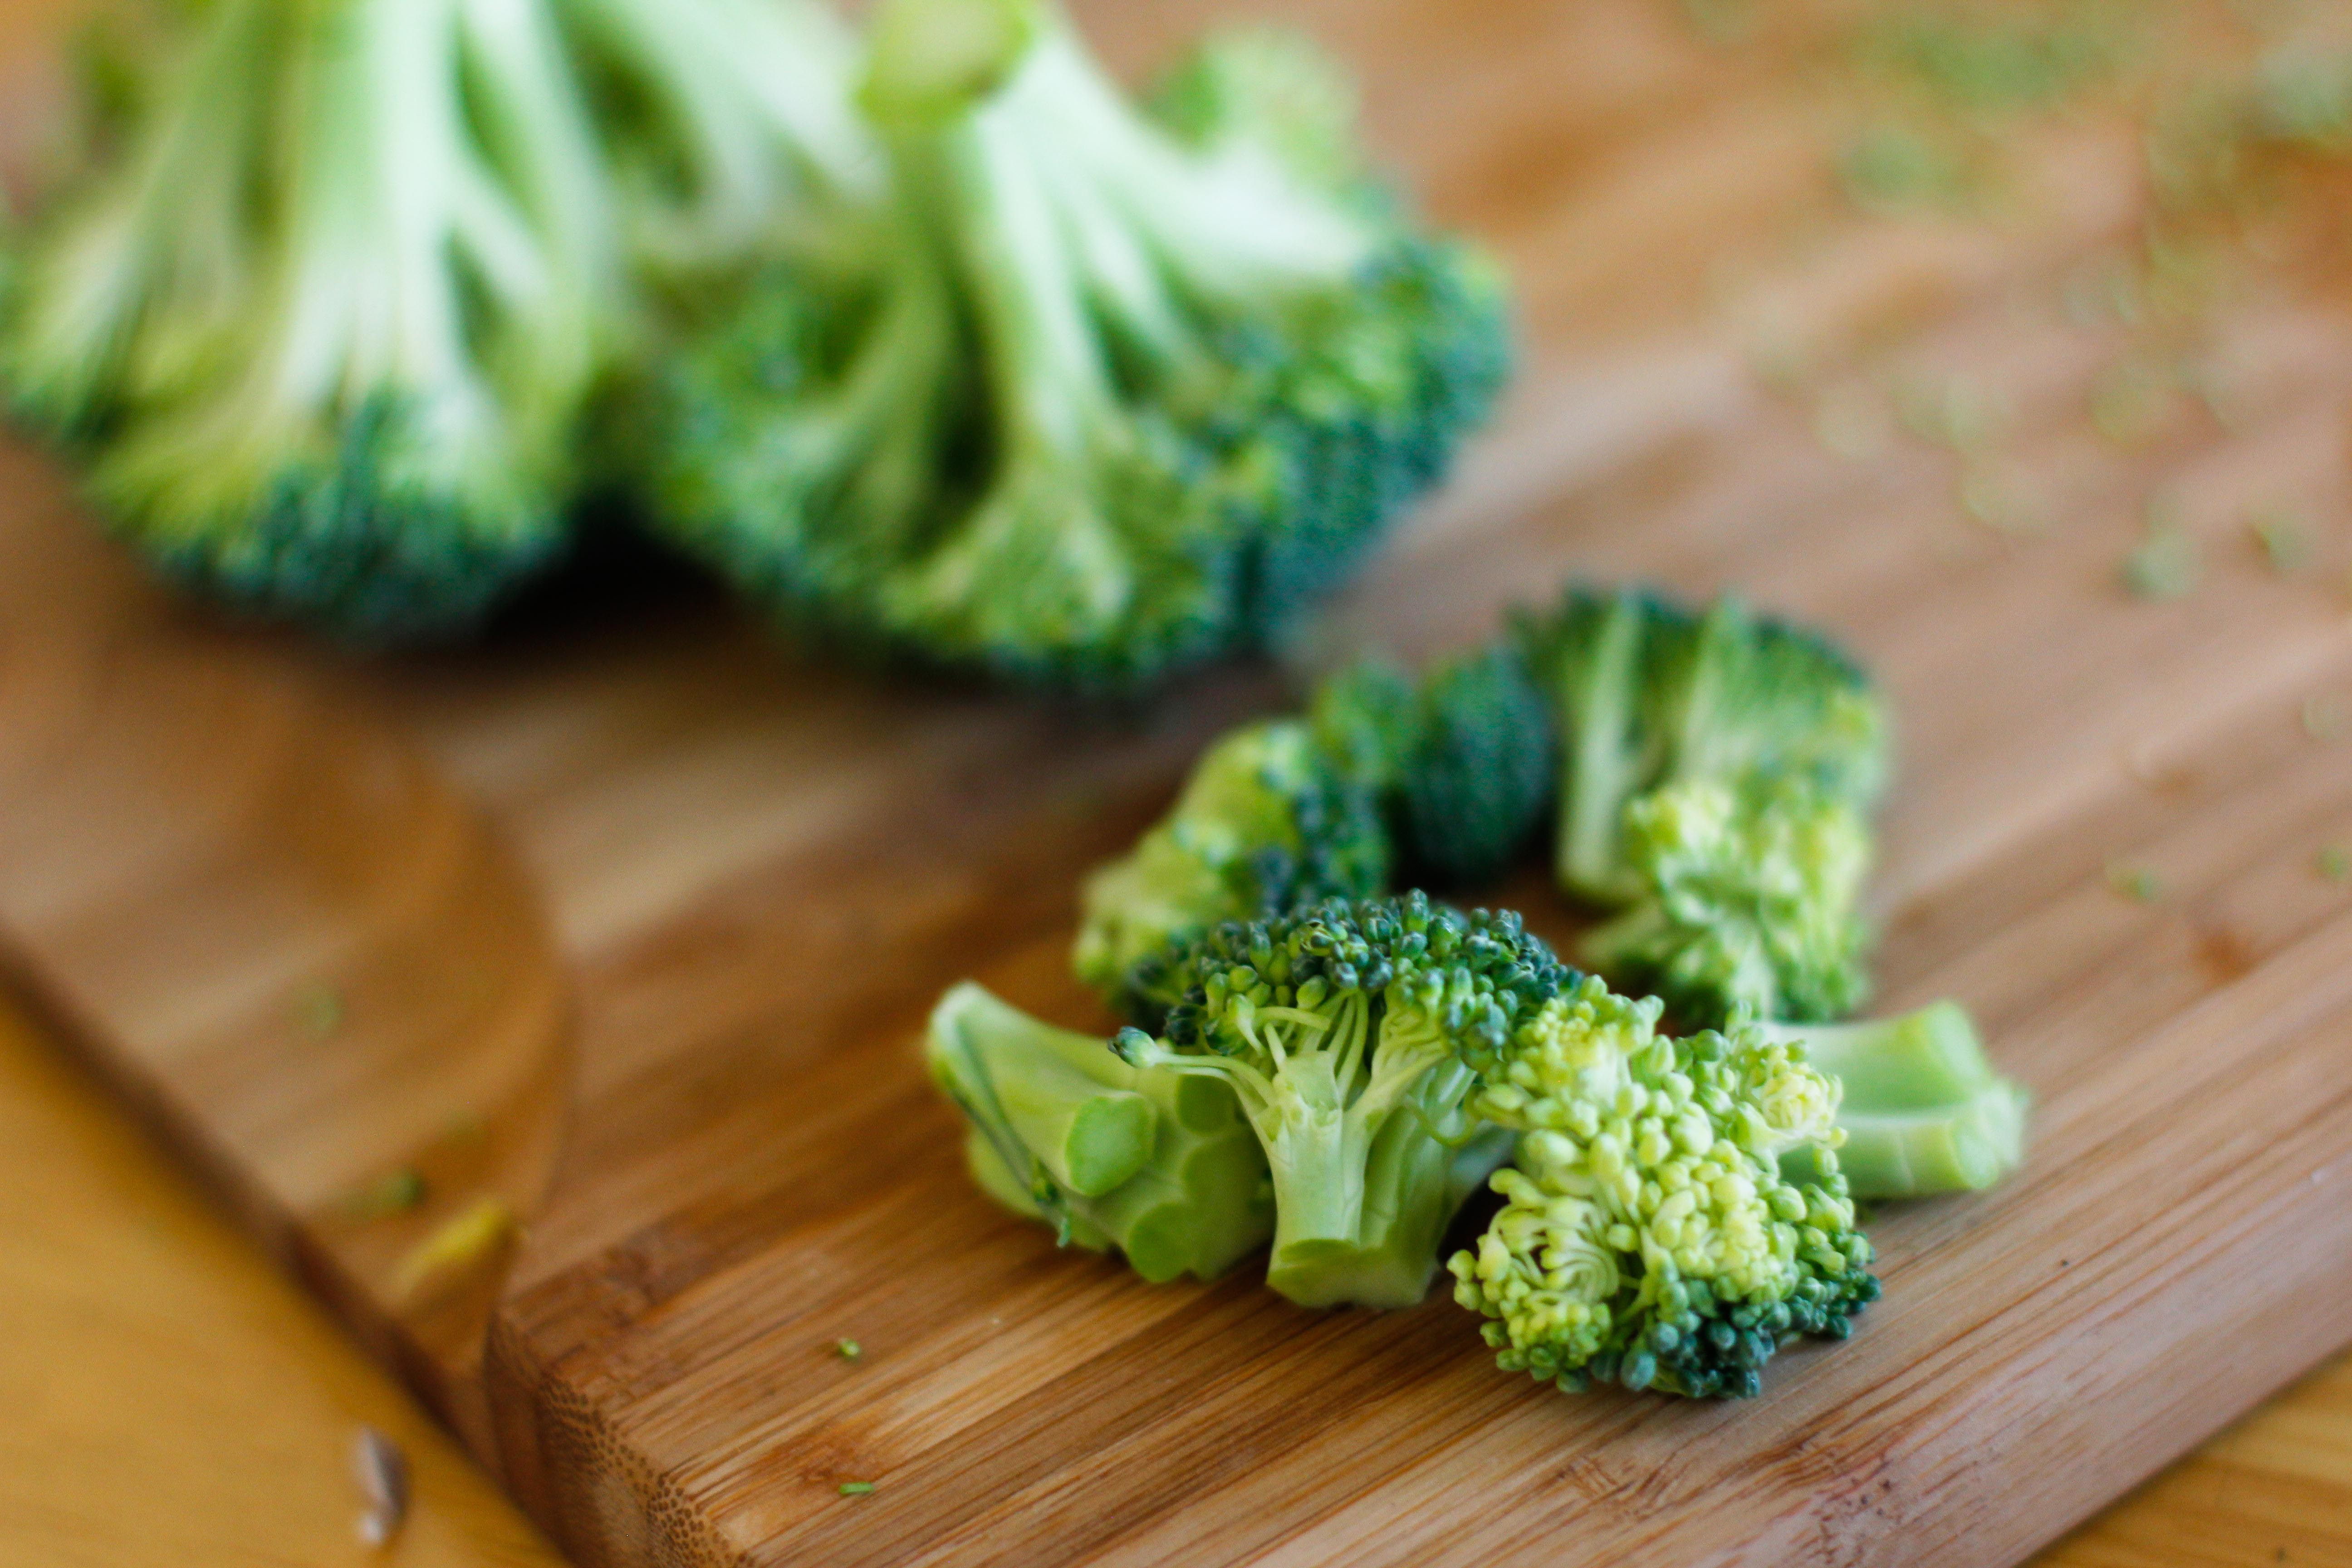
- 1 head of broccoli – cut the florets smaller so that they cook more quickly like this – see regular sized florets in the background and (adorable) mini florets in the foreground:

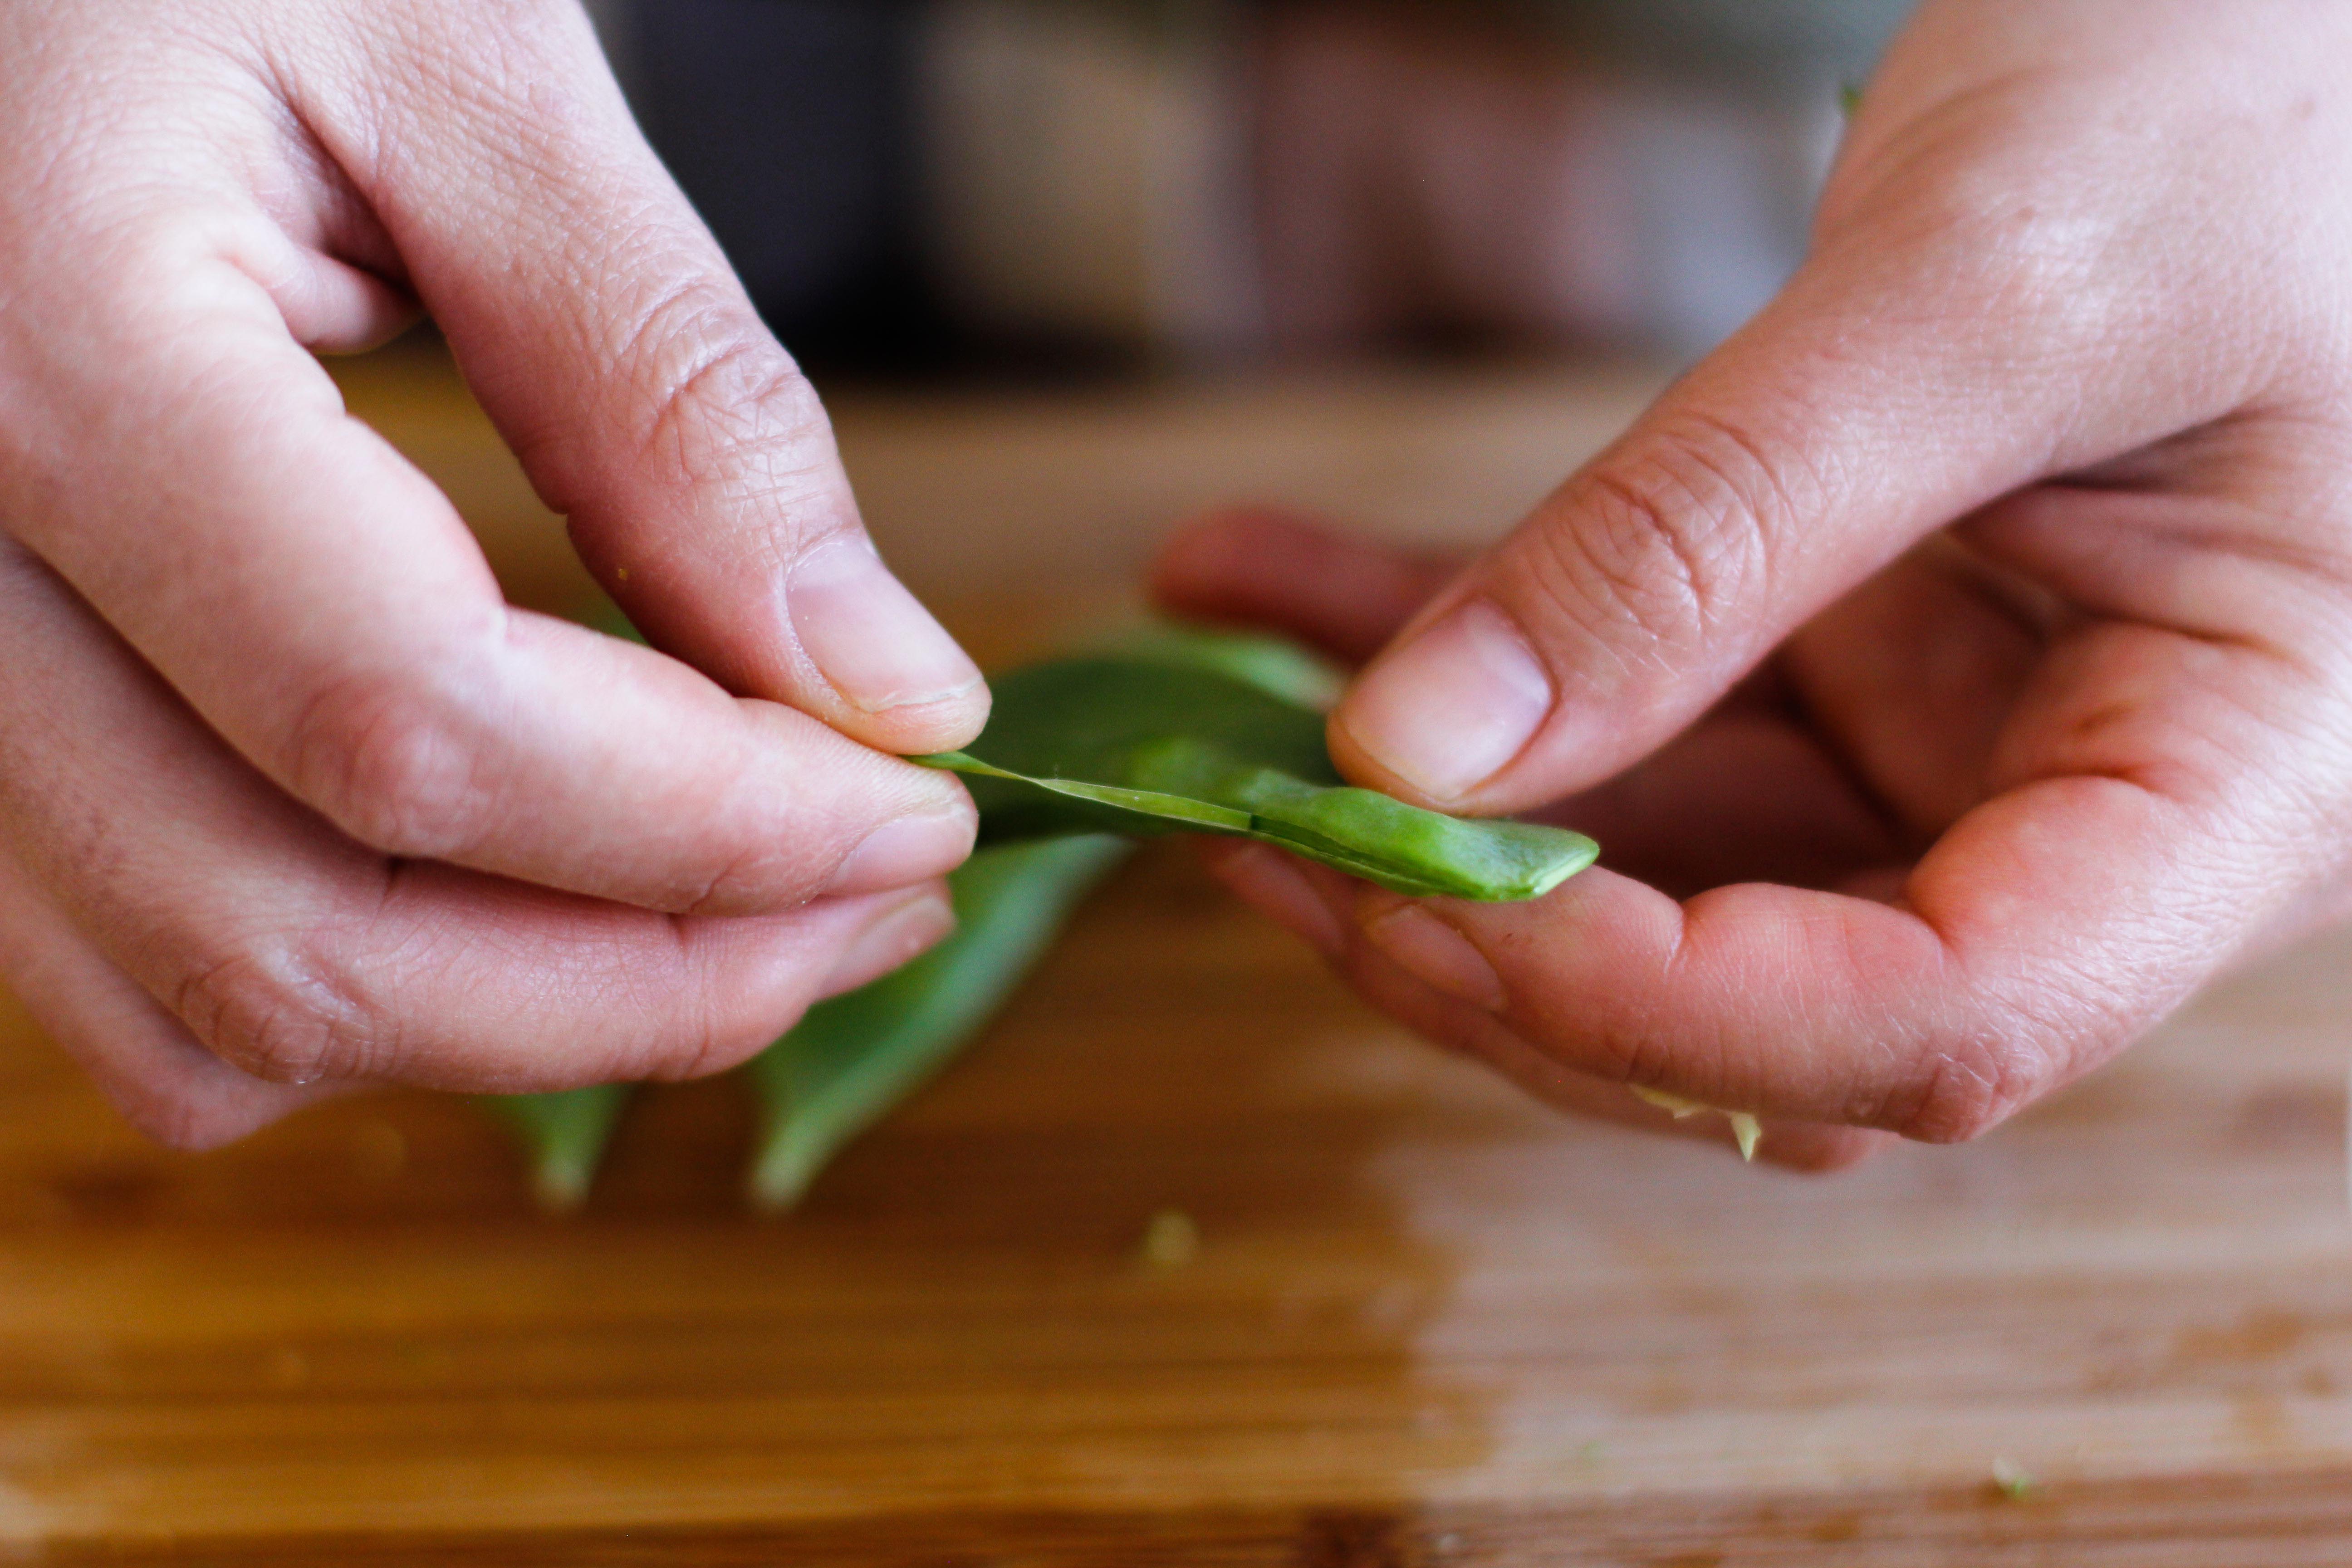
- 1 handful of snow peas (for me, this is about 20) – not paleo, but I like the texture of snowpeas in stir fry. If you’re hardcore, omit them.
Other optional veggies you can add:
- 6 mushrooms – cut into eighths
- 2 carrots sliced into medallions
- 1 tomato cut into wedges and 1/2 a cucumber cut into medallions. You’ll want to add these in the last couple minutes of cooking so they don’t get mushy.
- pineapple chunks, 2 cups (about 1 can or 473mL) with juice drained. I’m not going to make you cut a pineapple today, because if they’re not on sale at the store, they’re usually too expensive for me to consider buying. So, feel free to grab a can of pineapple chunks from the store. (That is, unless you want to serve your curry in half of a shelled out pineapple. Fancy pants.)
Sauce
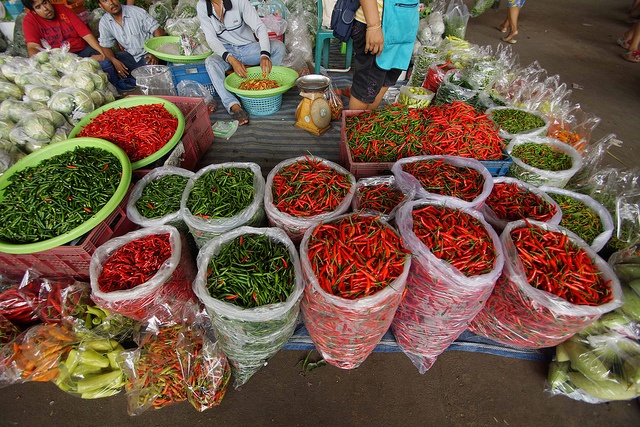
Add more paste to make it hotter, less to make it more mild. Thai restaurants usually offer measures of spiciness 1-5. One being the least spicy and 5 being the most spicy. 3 Tbsp red curry paste gets you to a level 1, so if you like it hotter, add more, use red chile flakes, or try some cayenne pepper.
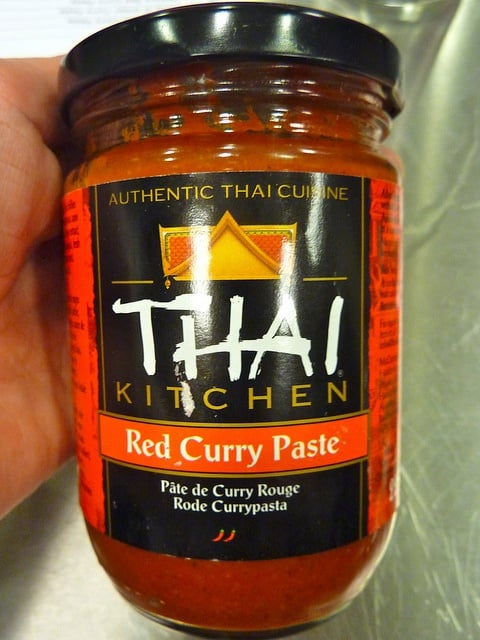 Red Curry Paste might be the only ingredient you have a little trouble finding at the store. Look for it in the asian foods section (also where you’ll likely find your coconut milk). Thai Kitchen is the brand that I normally use as it has no weird ingredients, chemicals, or sugar (and for you vegetarians, this paste is vegan).
Other fancy options:
- Fresh thai basil leaves – fancy! Tasty! You can find these in an Asian grocery store.
- Red pepper flake or cayenne pepper – if you’re feeling devilish and like your food spicy
- Rice or cauliflower rice to serve with the dish.
Instructions:
The instructions below are using the veggies I used above. If you selected different veggies, try to dice them up in a similar way and continue with the instructions!
Remember, all we’re really doing below is cutting and cooking the veggies and meat, cooking the sauce, and mixing everything together.
1. Dice your onion, peel and mince garlic cloves, (if you don’t know how to dice an onion, check out this link.)

For the garlic, remember the difference between cloves and bulbs? Cloves are the little guys inside the bulbs. To peel, smash the clove under the flat side of a knife and easily pull away the paper-like wrapping. Then cut the garlic super small.

2. Peel and chop your ginger. After last month’s recipe for Sesame Chicken Wings, a few of you lovely people pointed out that there’s a way easier method of peeling ginger, which is done with a spoon.

This is definitely the easiest way to do this. Check out a how-to video here:
https://www.youtube.com/watch?v=M9zgXSdnPGI
You can either mince your ginger like we did for this recipe or shred it with a cheese grater. The difference between these two methods is in the texture of the ginger. If you shred it, it’ll incorporate straight into the sauce. If you mince it, you’ll get little bites of ginger while you’re eating.
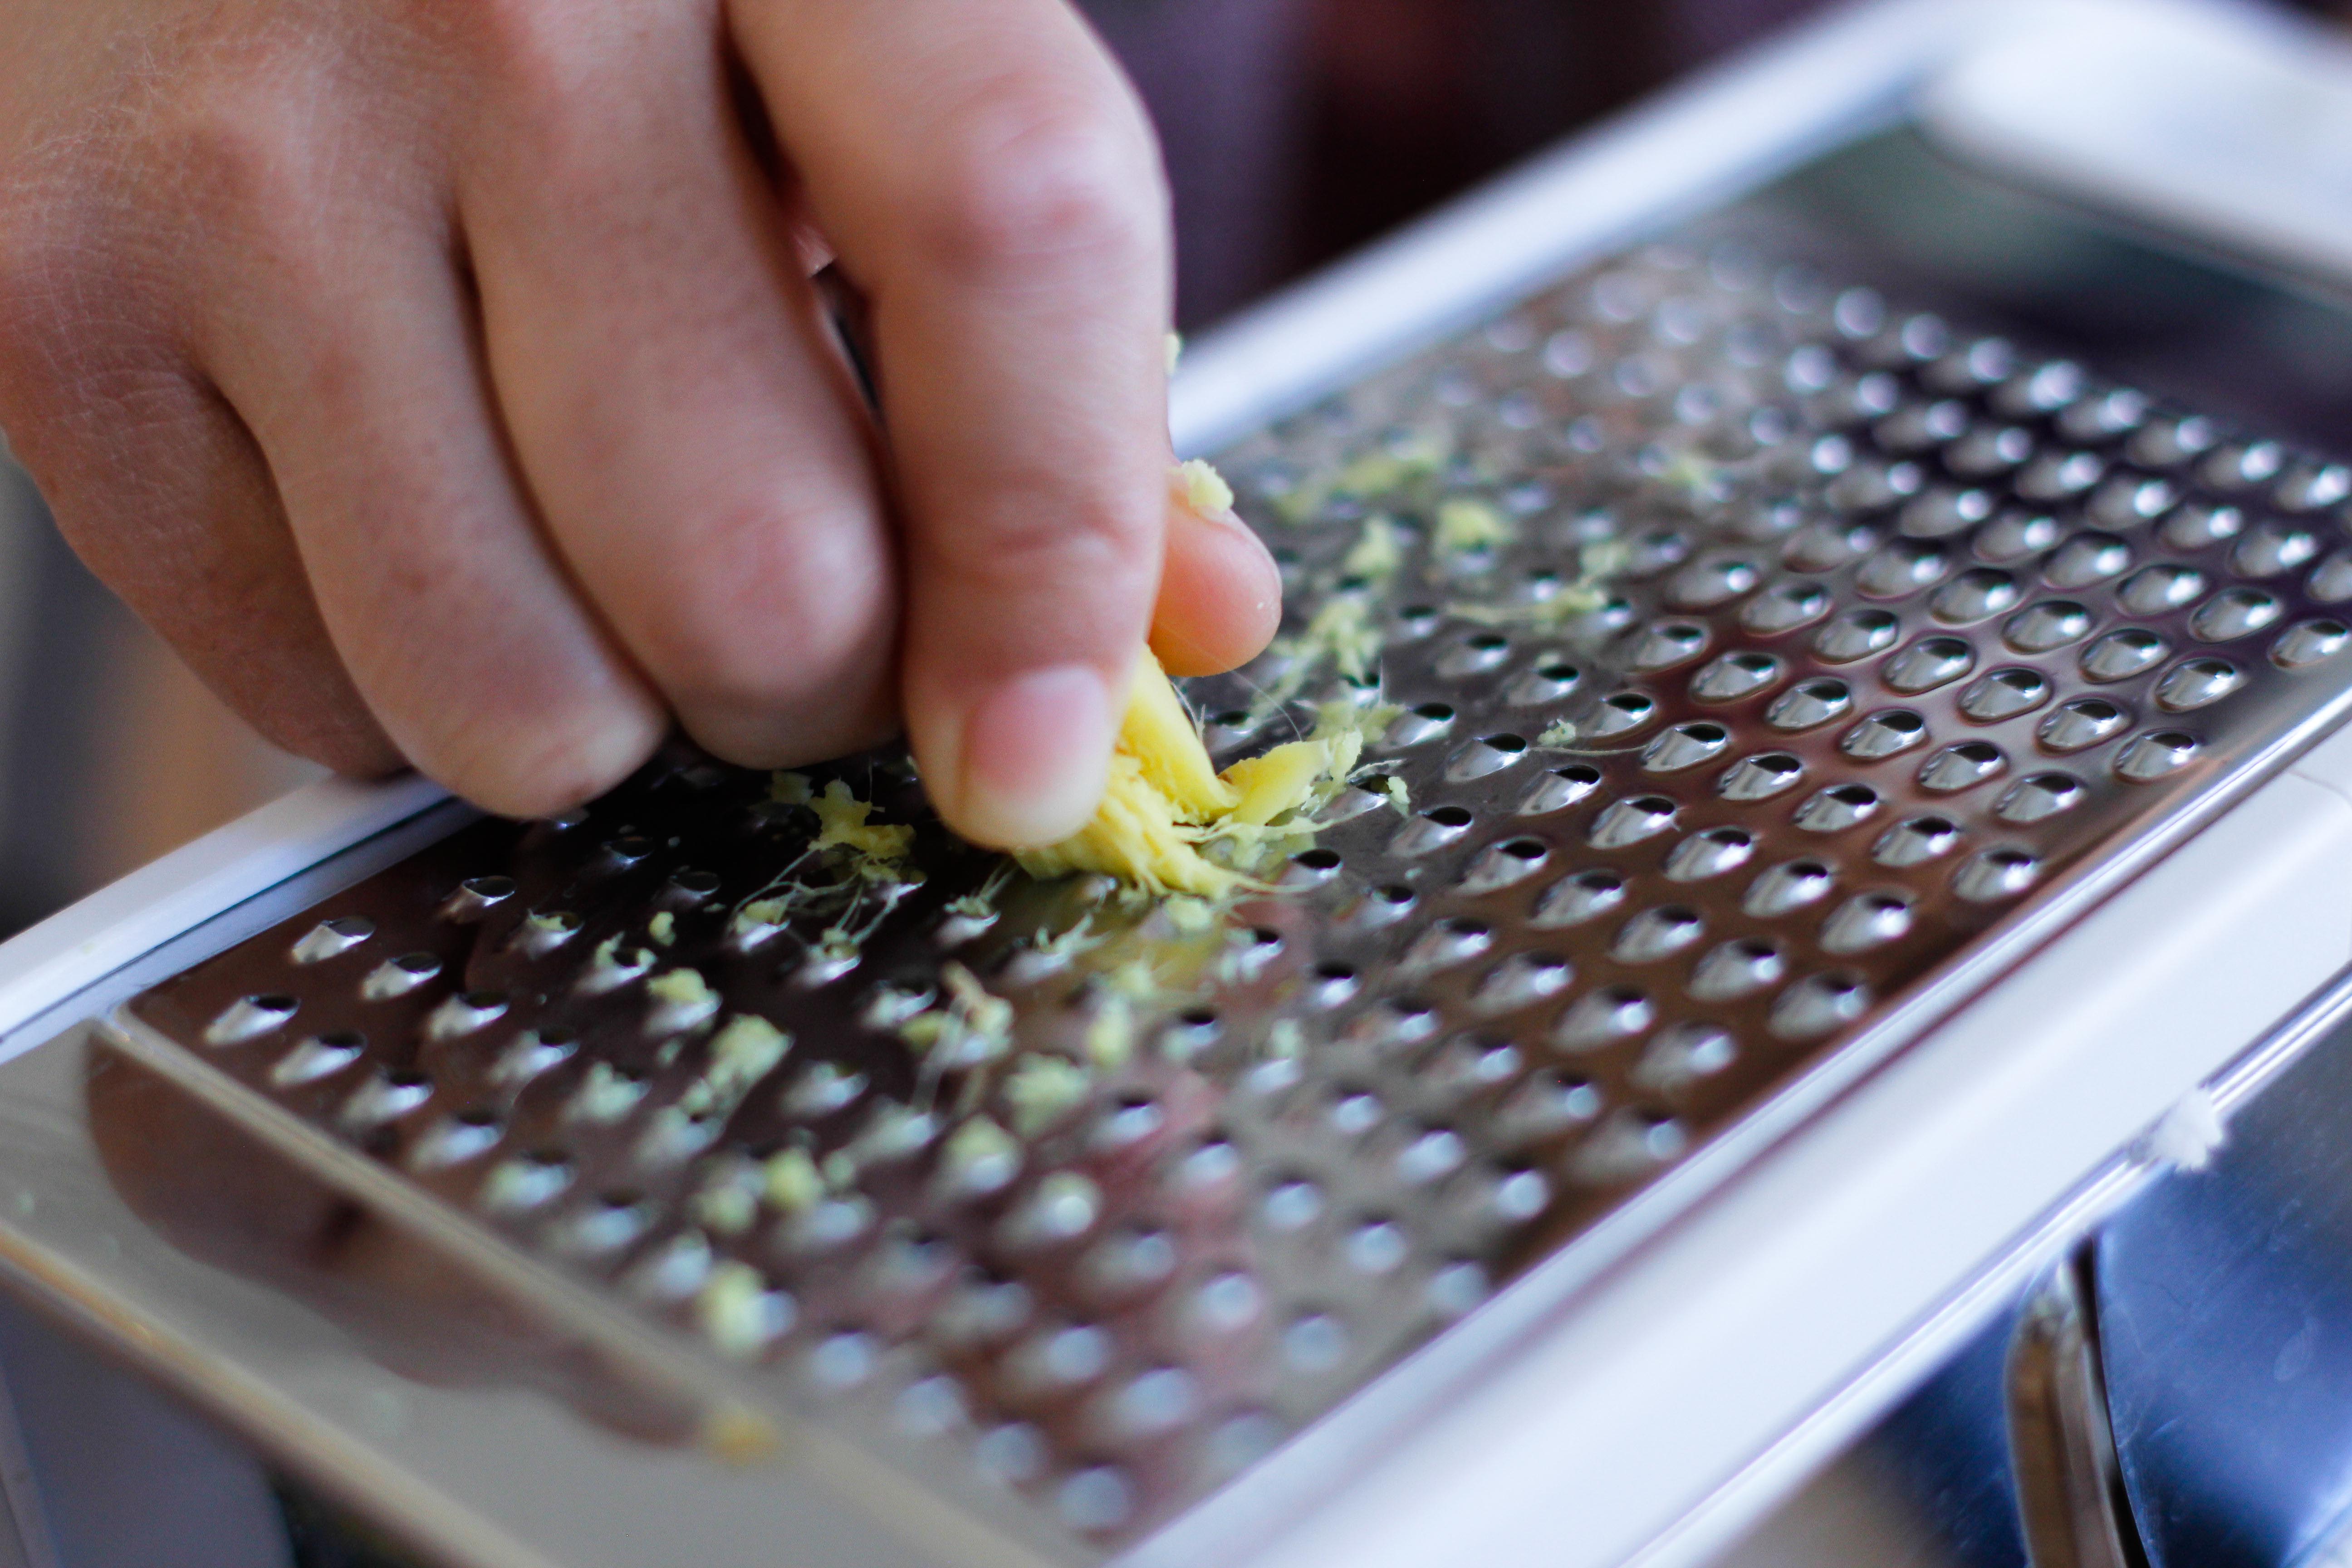
If you do choose to shred it, be careful with your fingers and note that you’ll be holding onto a weird, stringy little stump when you’ve finished shredding. Just toss that bit. You don’t really want a knot of ginger fibers (or finger fibers) in your meal.
3. Wash and chop your veggies (if using fresh). Set aside. Refer to this article on how to chop your veggies.
If using snow peas, you don’t have to chop them, but do remember to remove the fibrous string located on the inside of the veggie (explained in the first 30 seconds of this video).
I separated my veggie ingredients into different bowls depending on which point in the recipe I use them. Onions, garlic, and ginger are all added to the pan in step 9, so they go together in one bowl.

All other veggies are used in step 10, so I kept these in a separate bowl for simplicity.
4. Slice your meat and/or peel, de-vein, and wash your shrimp. Thin slices are best for stir frying as they’ll cook faster.
5. Measure out all your other ingredients, open cans, etc. We do this ahead of time so that there’s nothing to distract you from *just* cooking.
More experienced cooks can measure and open containers while they’re cooking other stuff, but for those of you who are new to this, it’s best if you prep all your ingredients ahead of time. This cuts down the possibility of us burning stuff and making mistakes that can ruin our meal.
6. Heat up your skillet. This takes about 2 minutes depending on the size of your skillet and the thickness of the material it’s made from. You can tell if it’s warm by placing your hand about 6 inches above the center of the pan. If you can feel heat, the pan is ready. If the pan is so hot that it’s smoking, it’s too hot. Remove it from the heat for a couple minutes and try again.
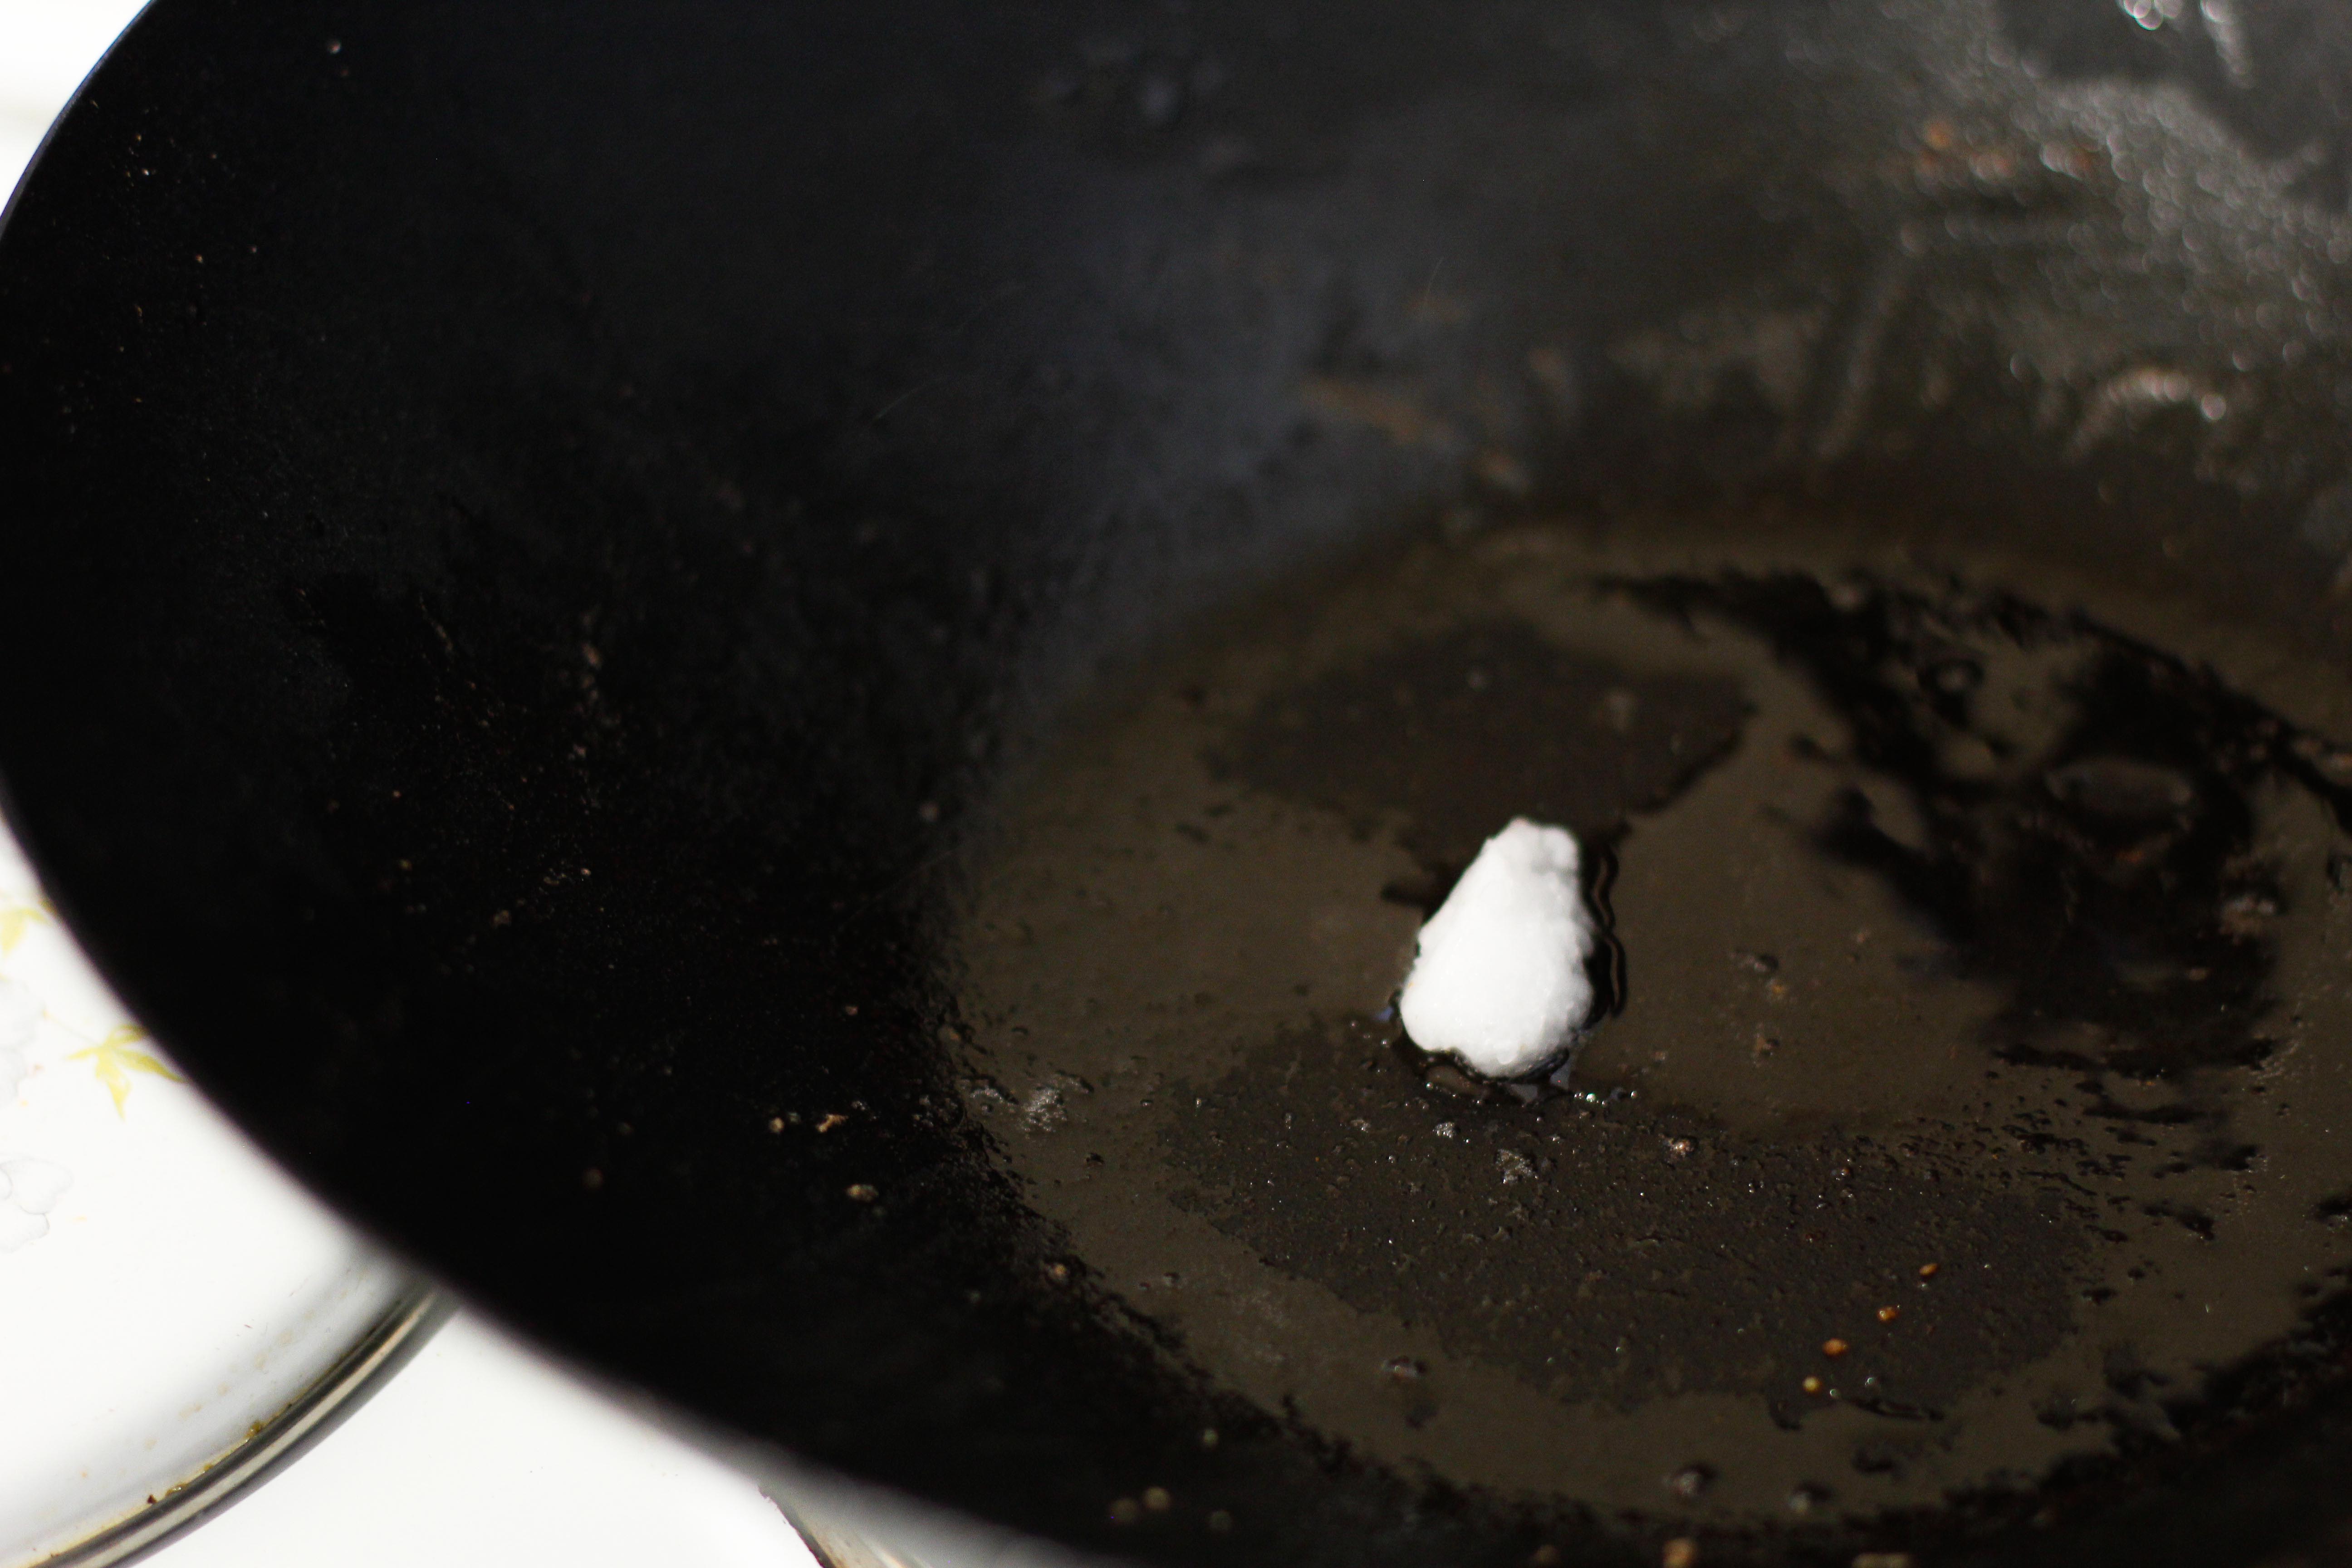
7. Once it’s hot, put 1 Tbsp of oil in the middle of the pan and let it warm up. You’ll know the oil is warm when you can tilt the pan from side to side and the oil moves quickly in the direction you’re tilting. If you’re using coconut oil, it’ll melt from solid to a liquid form.
8. Once the oil is melted and warm, toss in your sliced up meats and sauté them until browned and just cooked through (about 10-15 minutes for beef, pork and chicken, 5 minutes for shrimp).
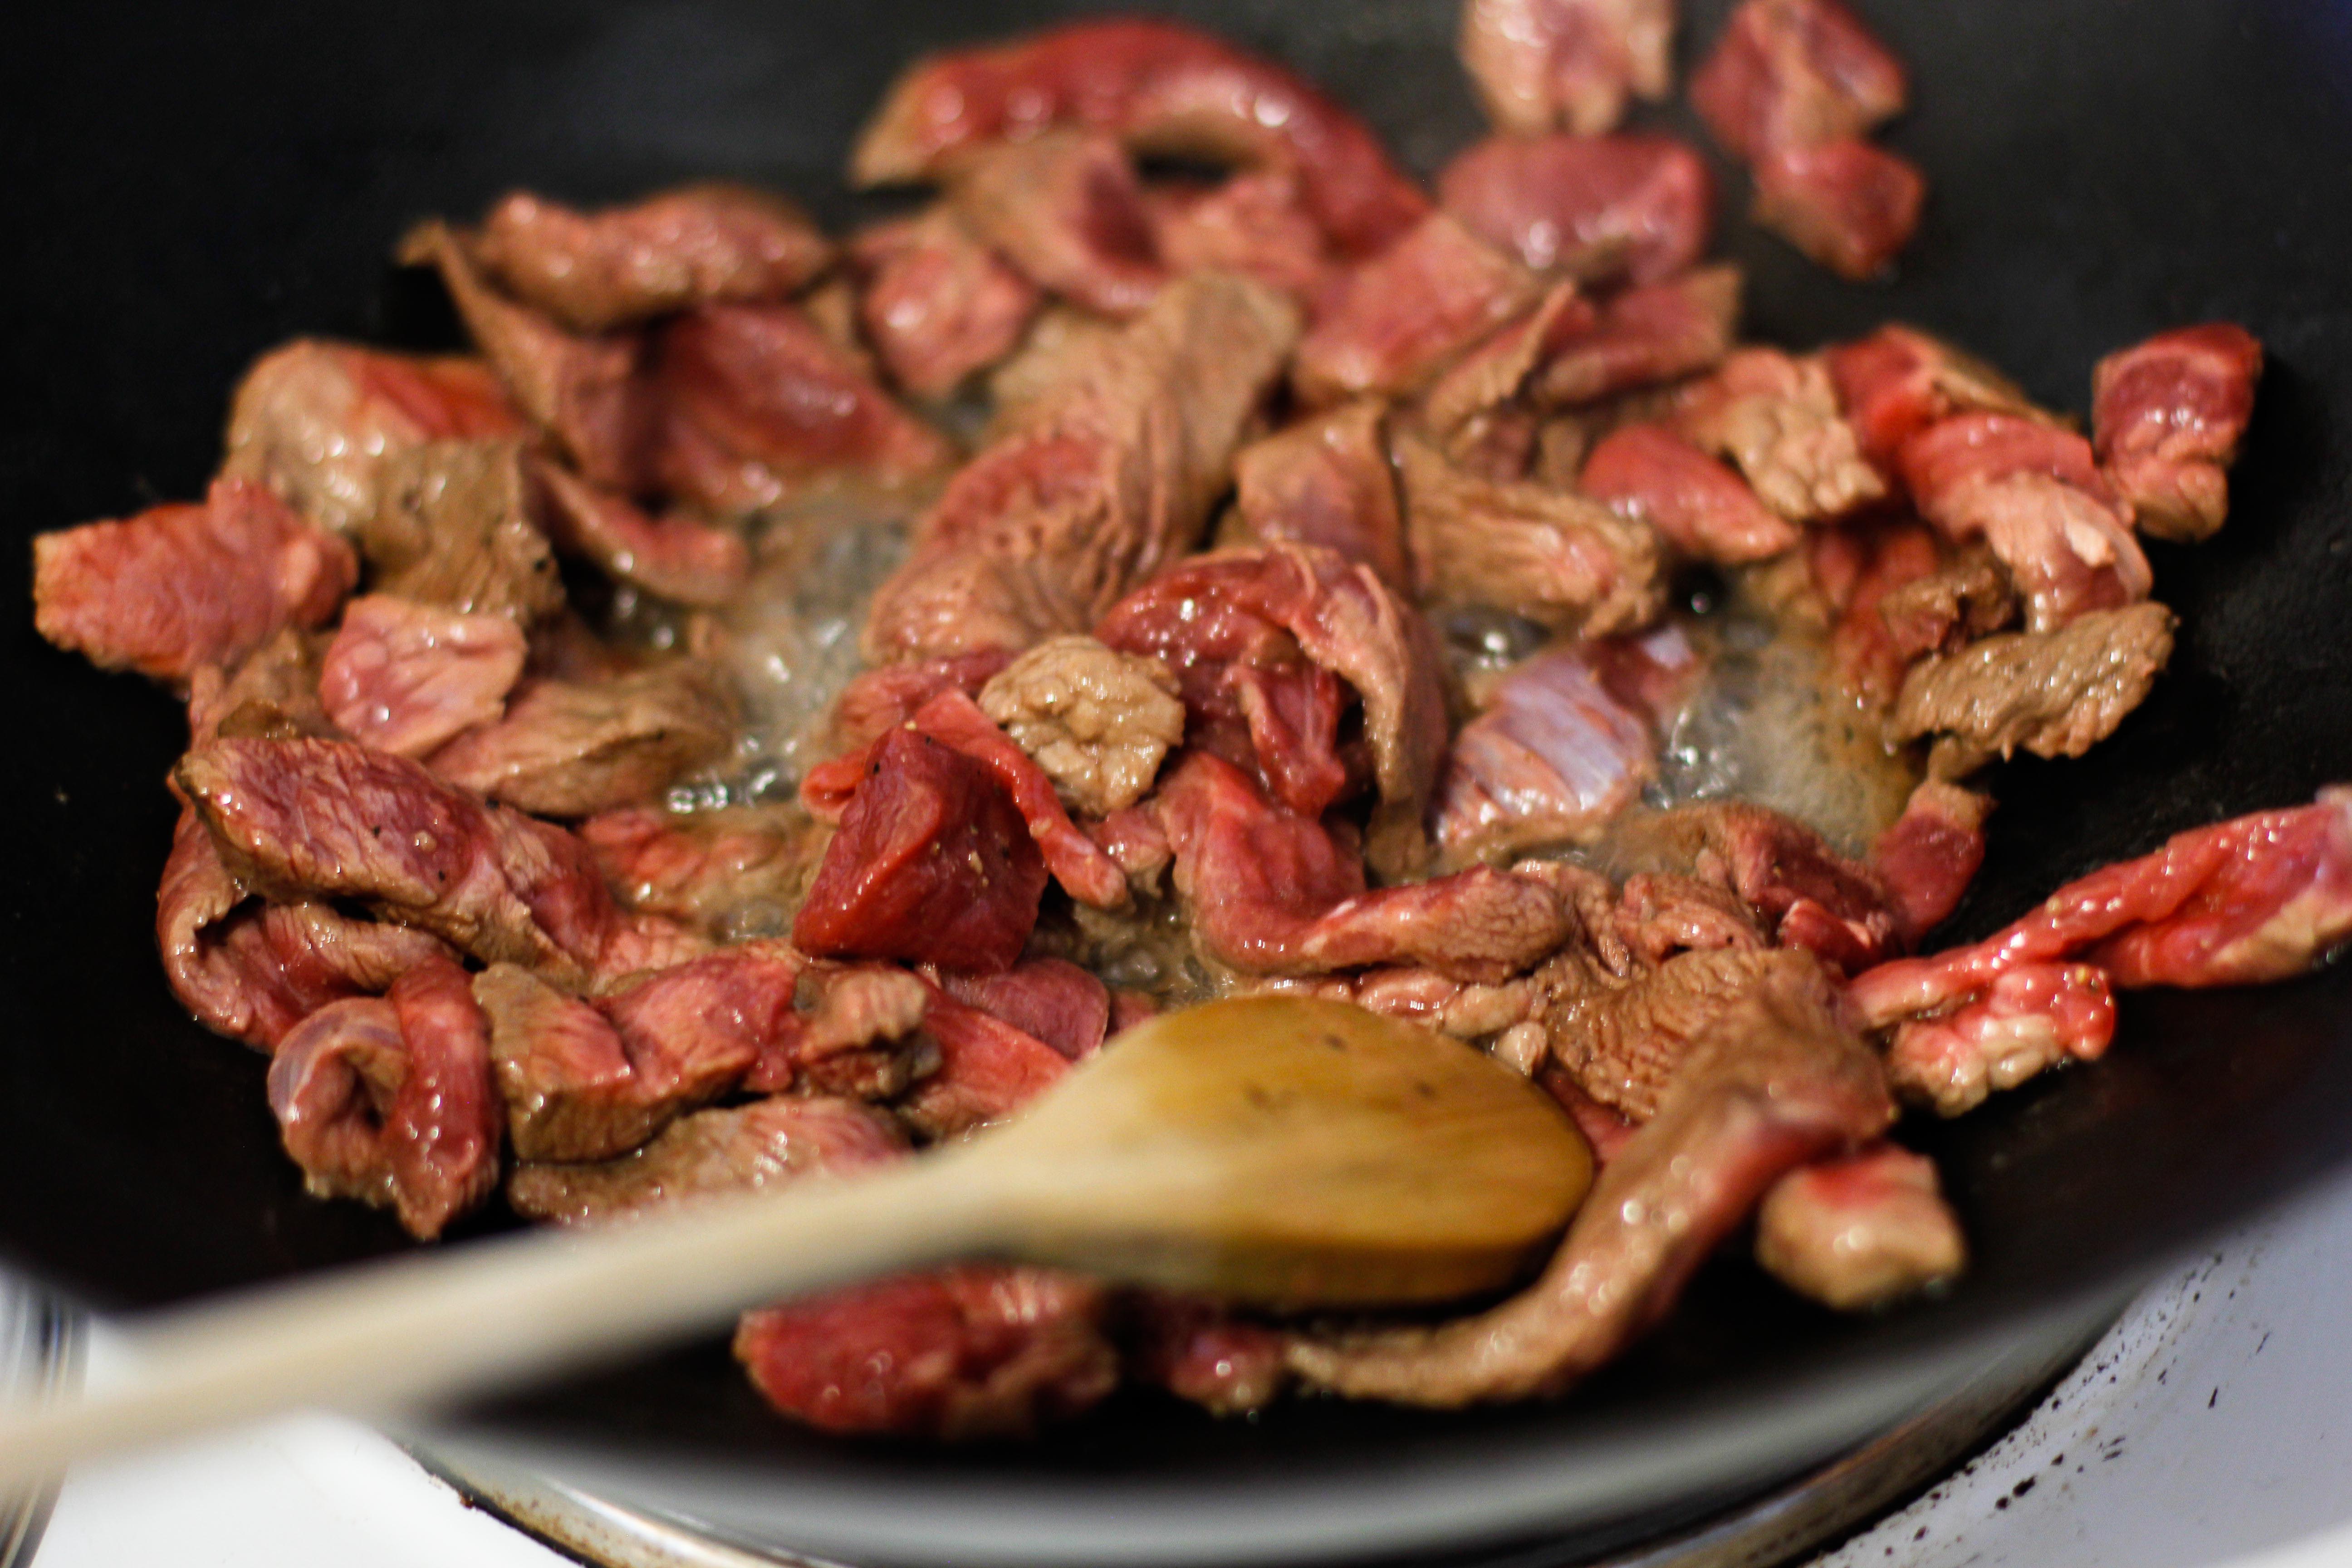
You’ll know the meat is done when it’s no longer pink. If you’re not sure, take out one of the bigger pieces of meat and cut it in half, if it’s done, it won’t be pink in the middle. If you’re cooking shrimp, however, you’ll want the shrimp to turn from grey (raw) to pink. Those suckers turn pink when they’re cooked.

Once it’s done cooking, dump the protein into a clean bowl. We’ll come back to it in a little bit.
9. Now keep your pan hot, add that last .5 Tbsp of oil and let it heat up.
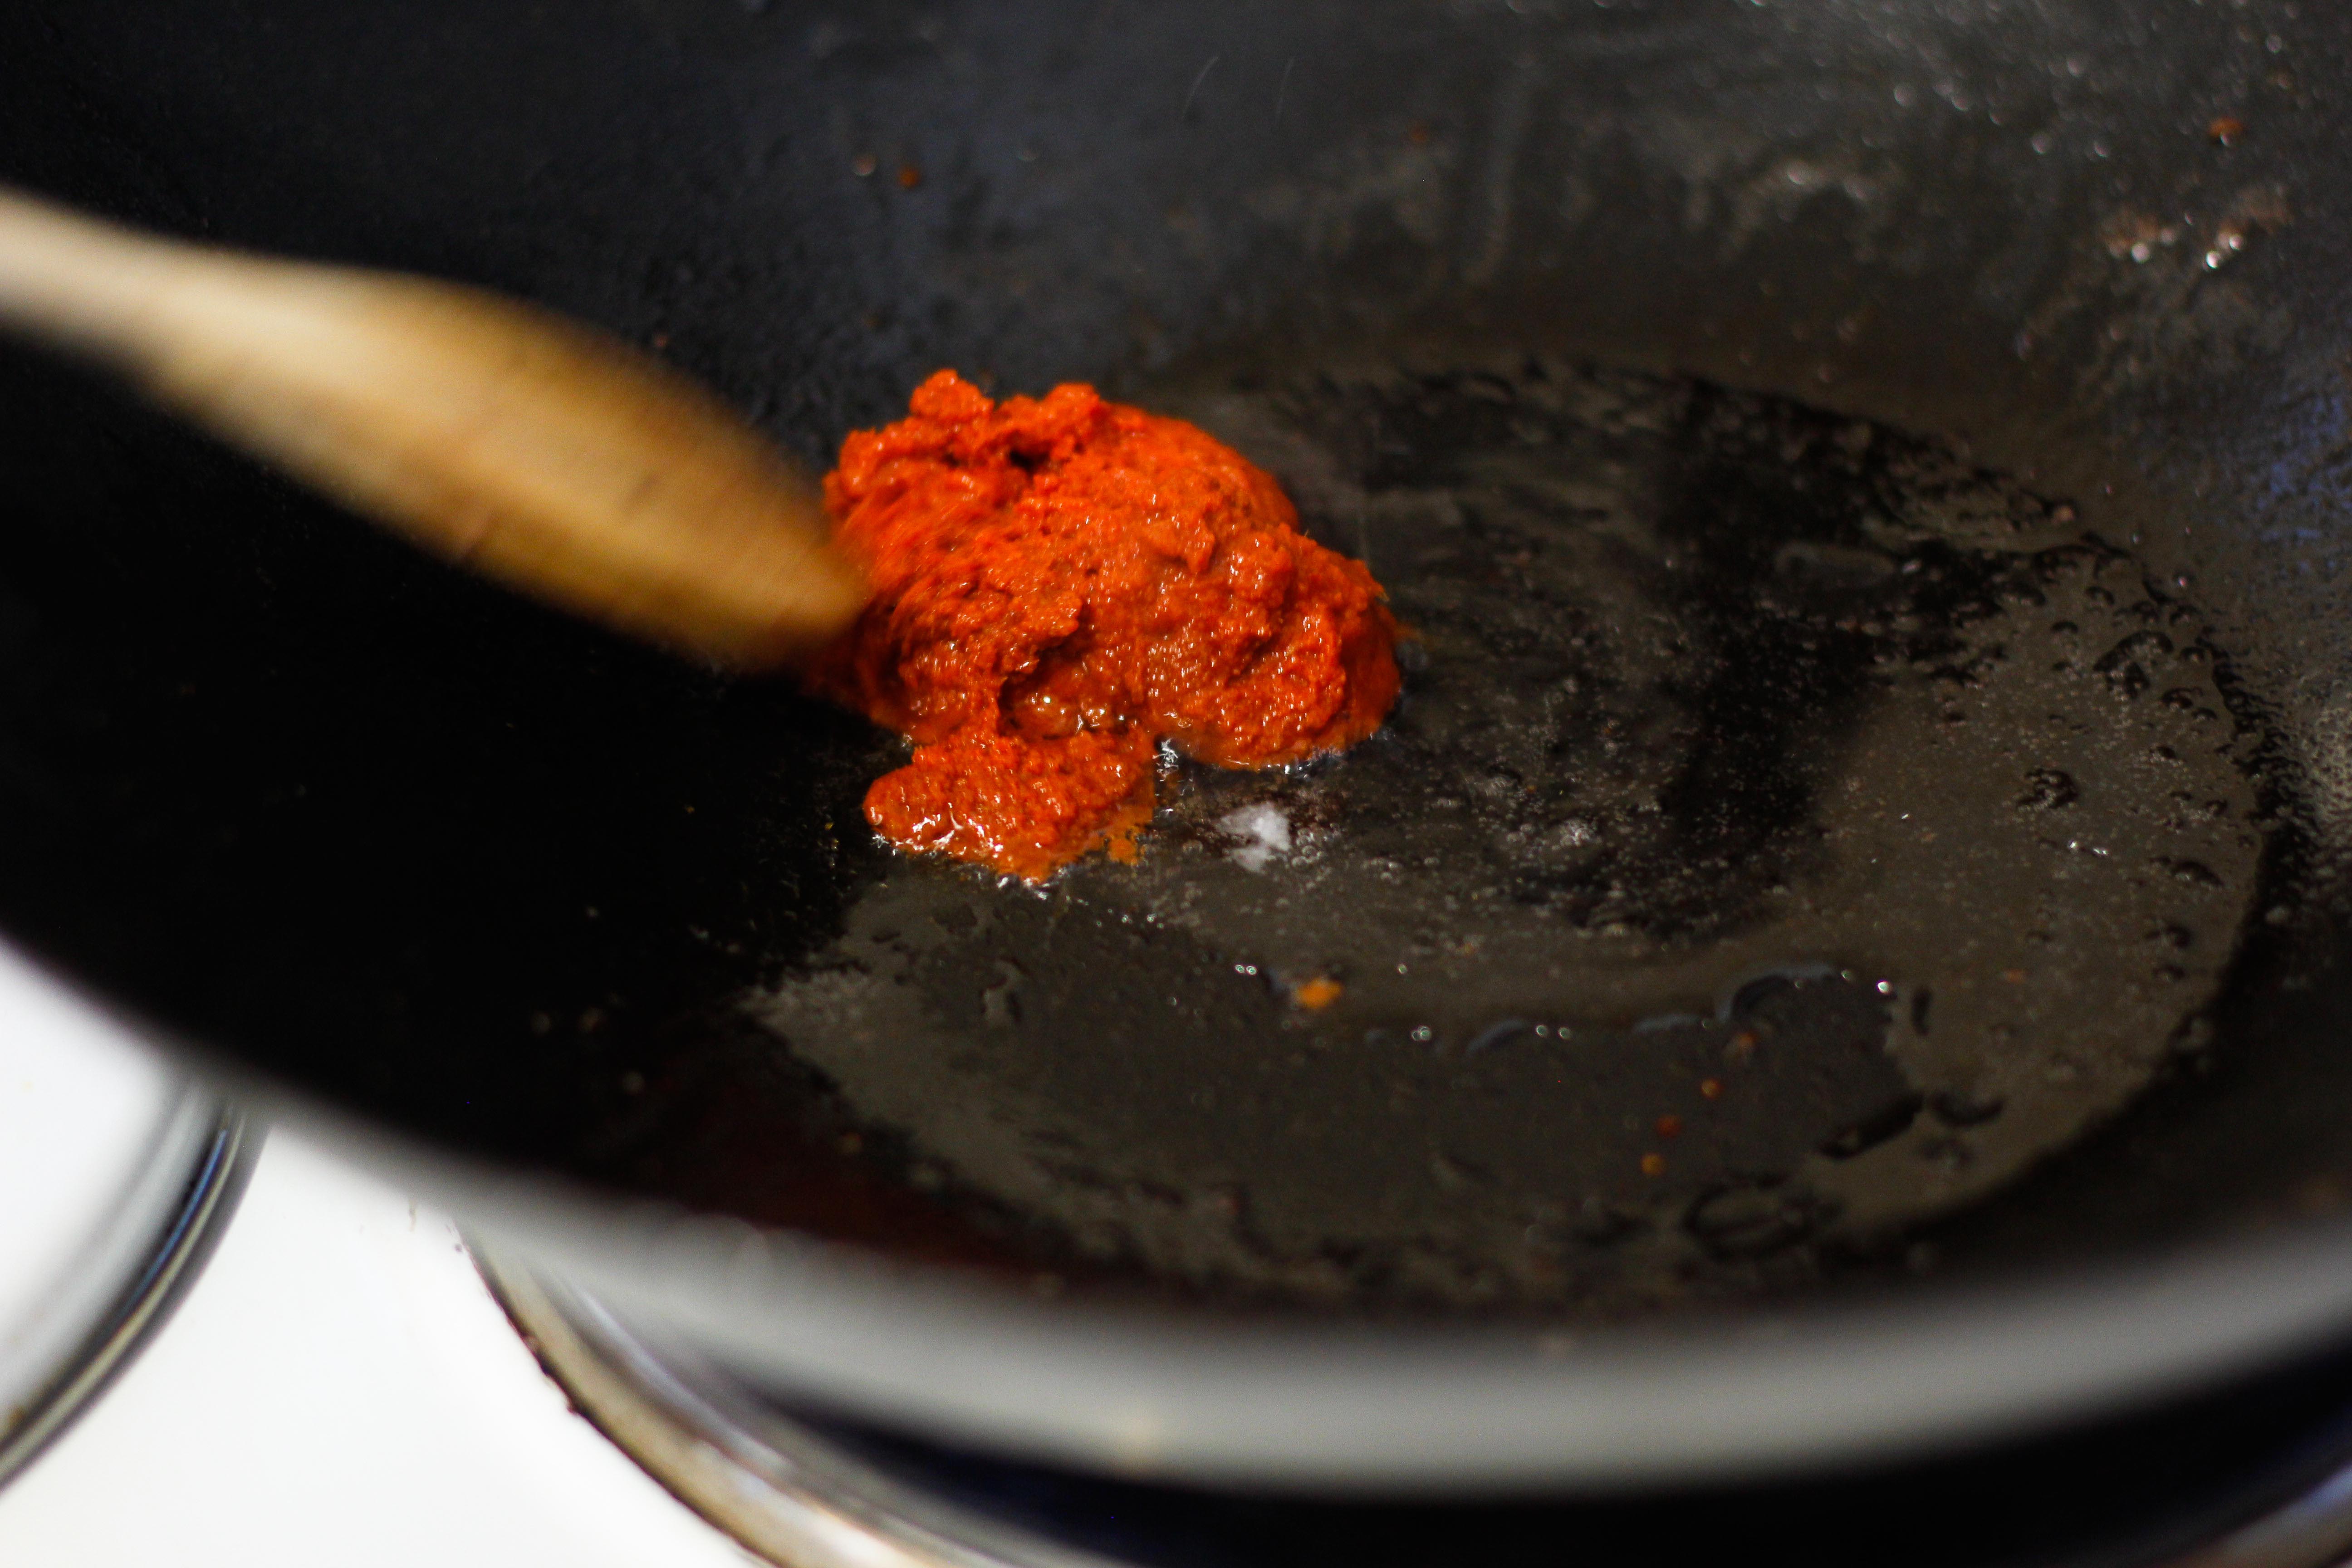
10. Once the oil is warm, carefully add your red Thai curry paste to the pan. You don’t want it to drop into the oil as the hot oil can splash and burn you. The easiest way to do this is to use your mixing tool to transfer the curry into the oil and mix it around. Mix it for about 30 seconds.
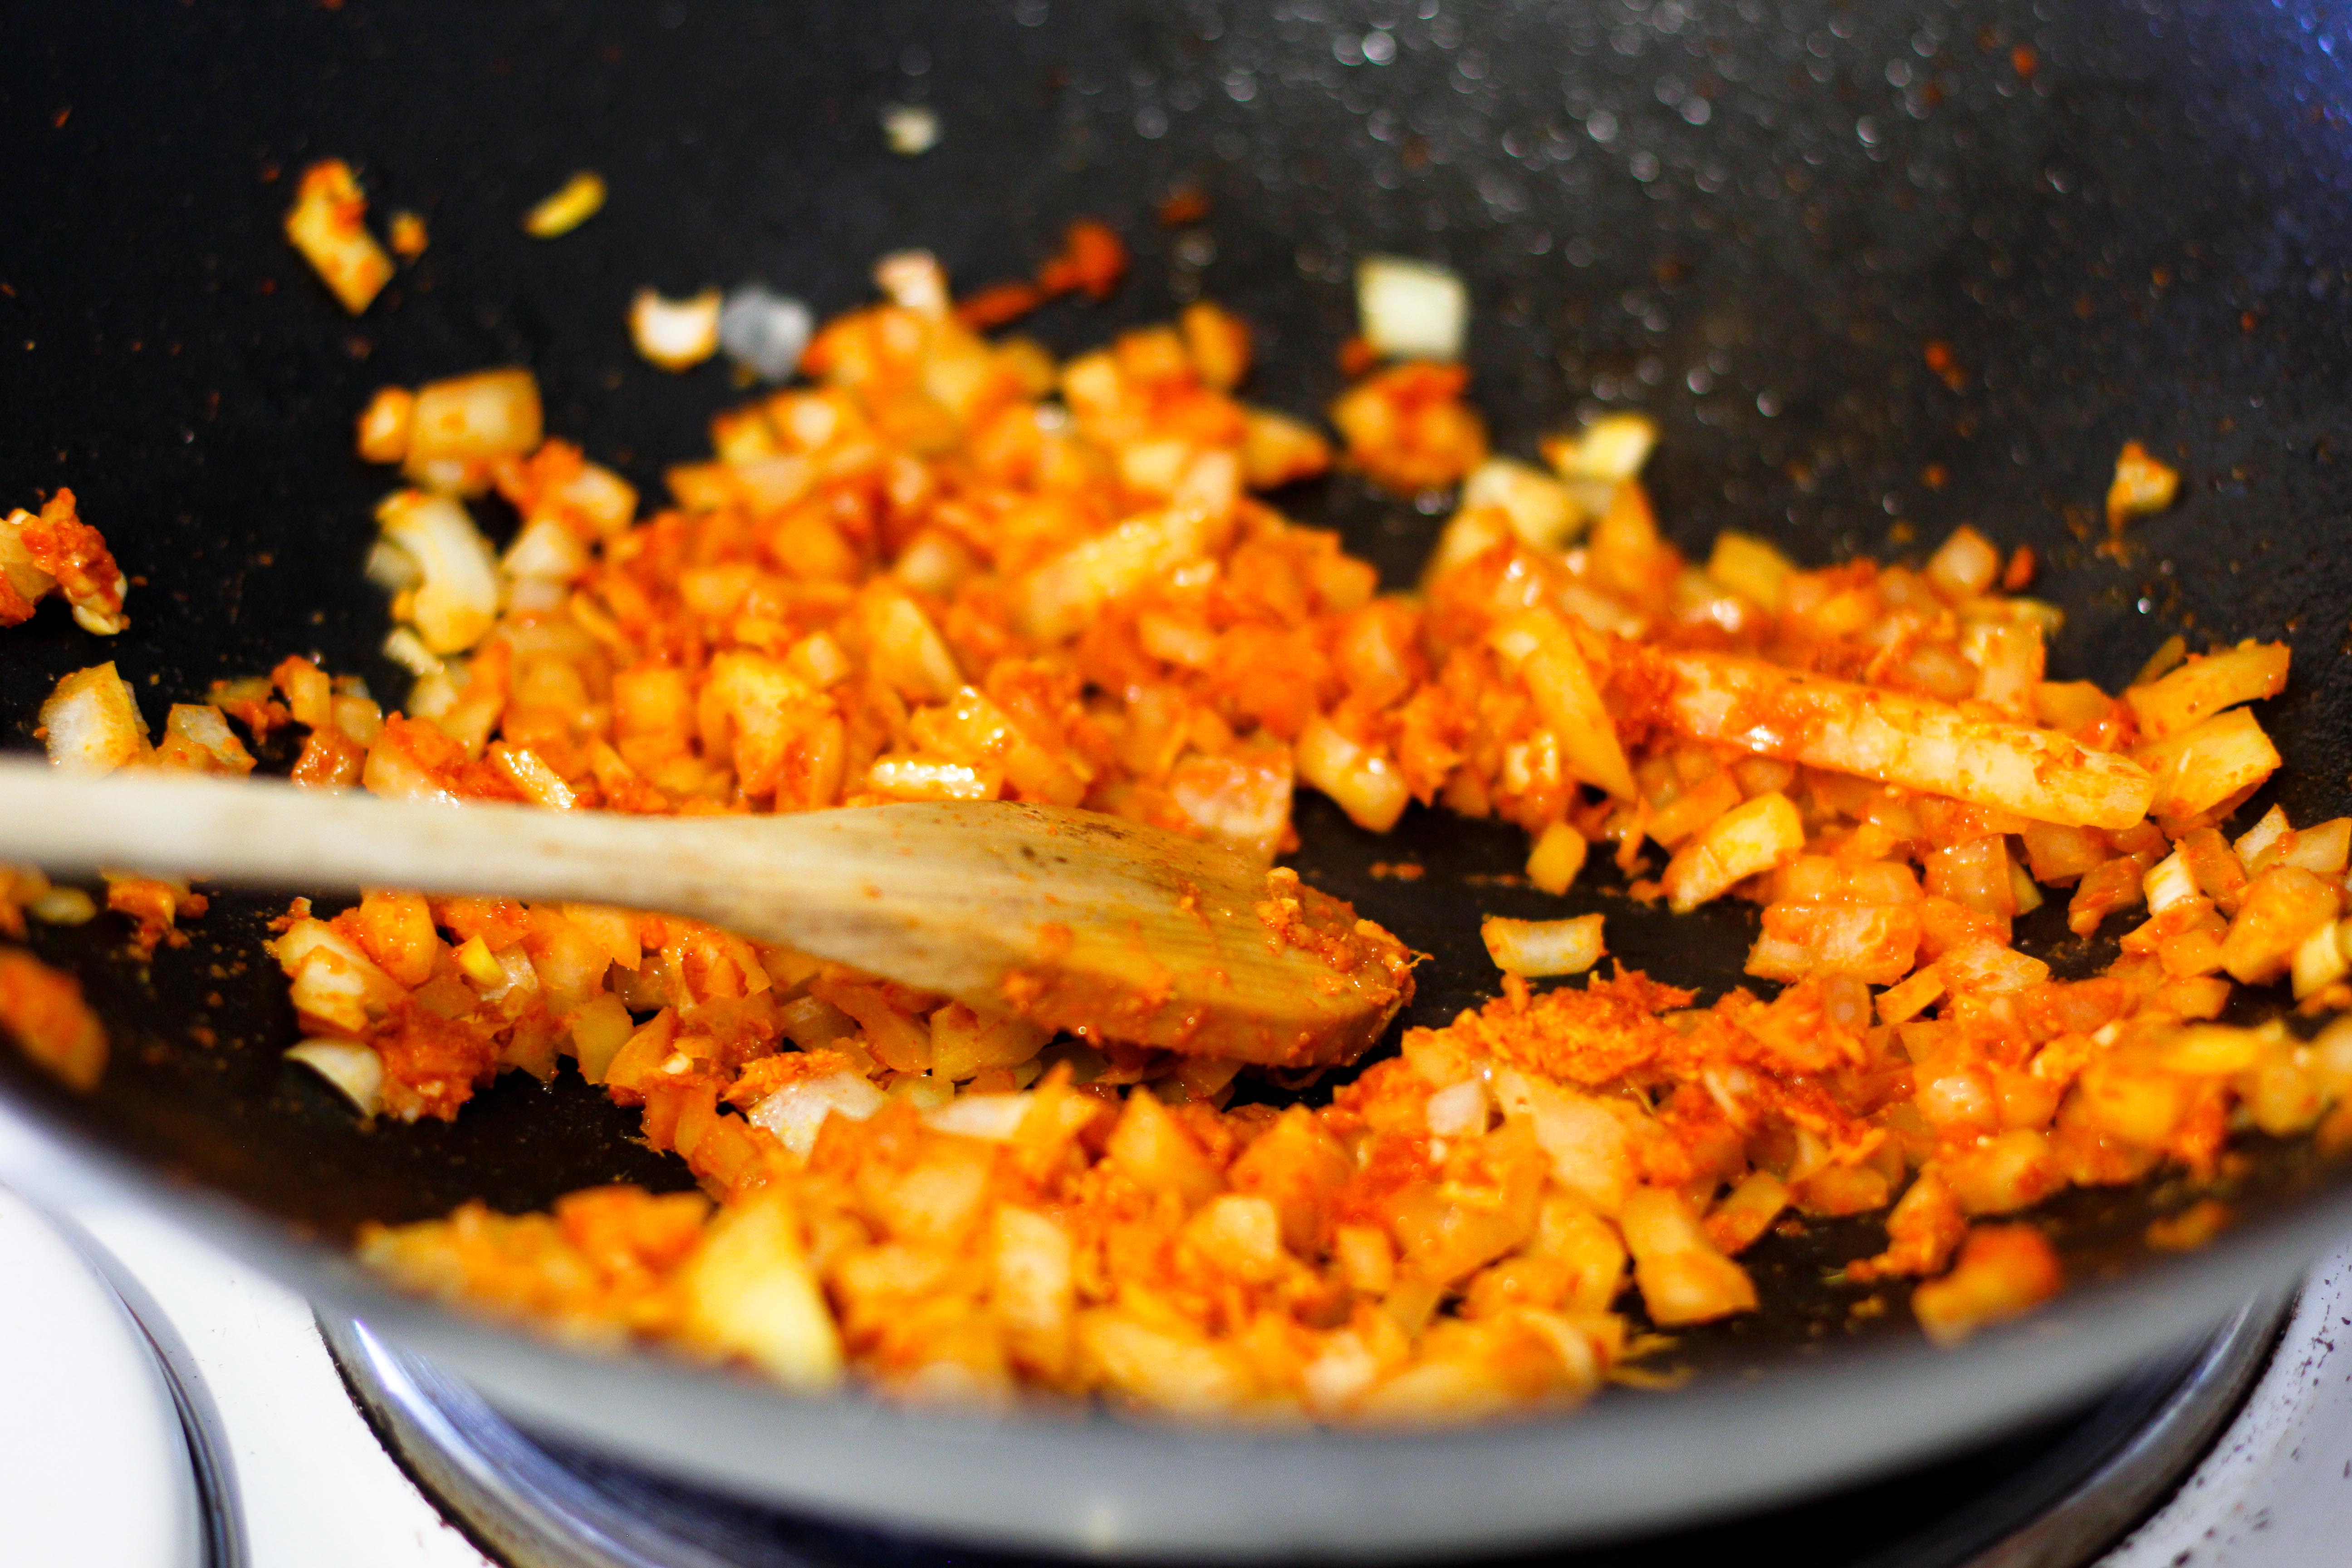
11. Now toss your onions, garlic, and ginger in the pan. Let them cook for about 3-5 minutes until the onions are translucent and coated in the curry paste.
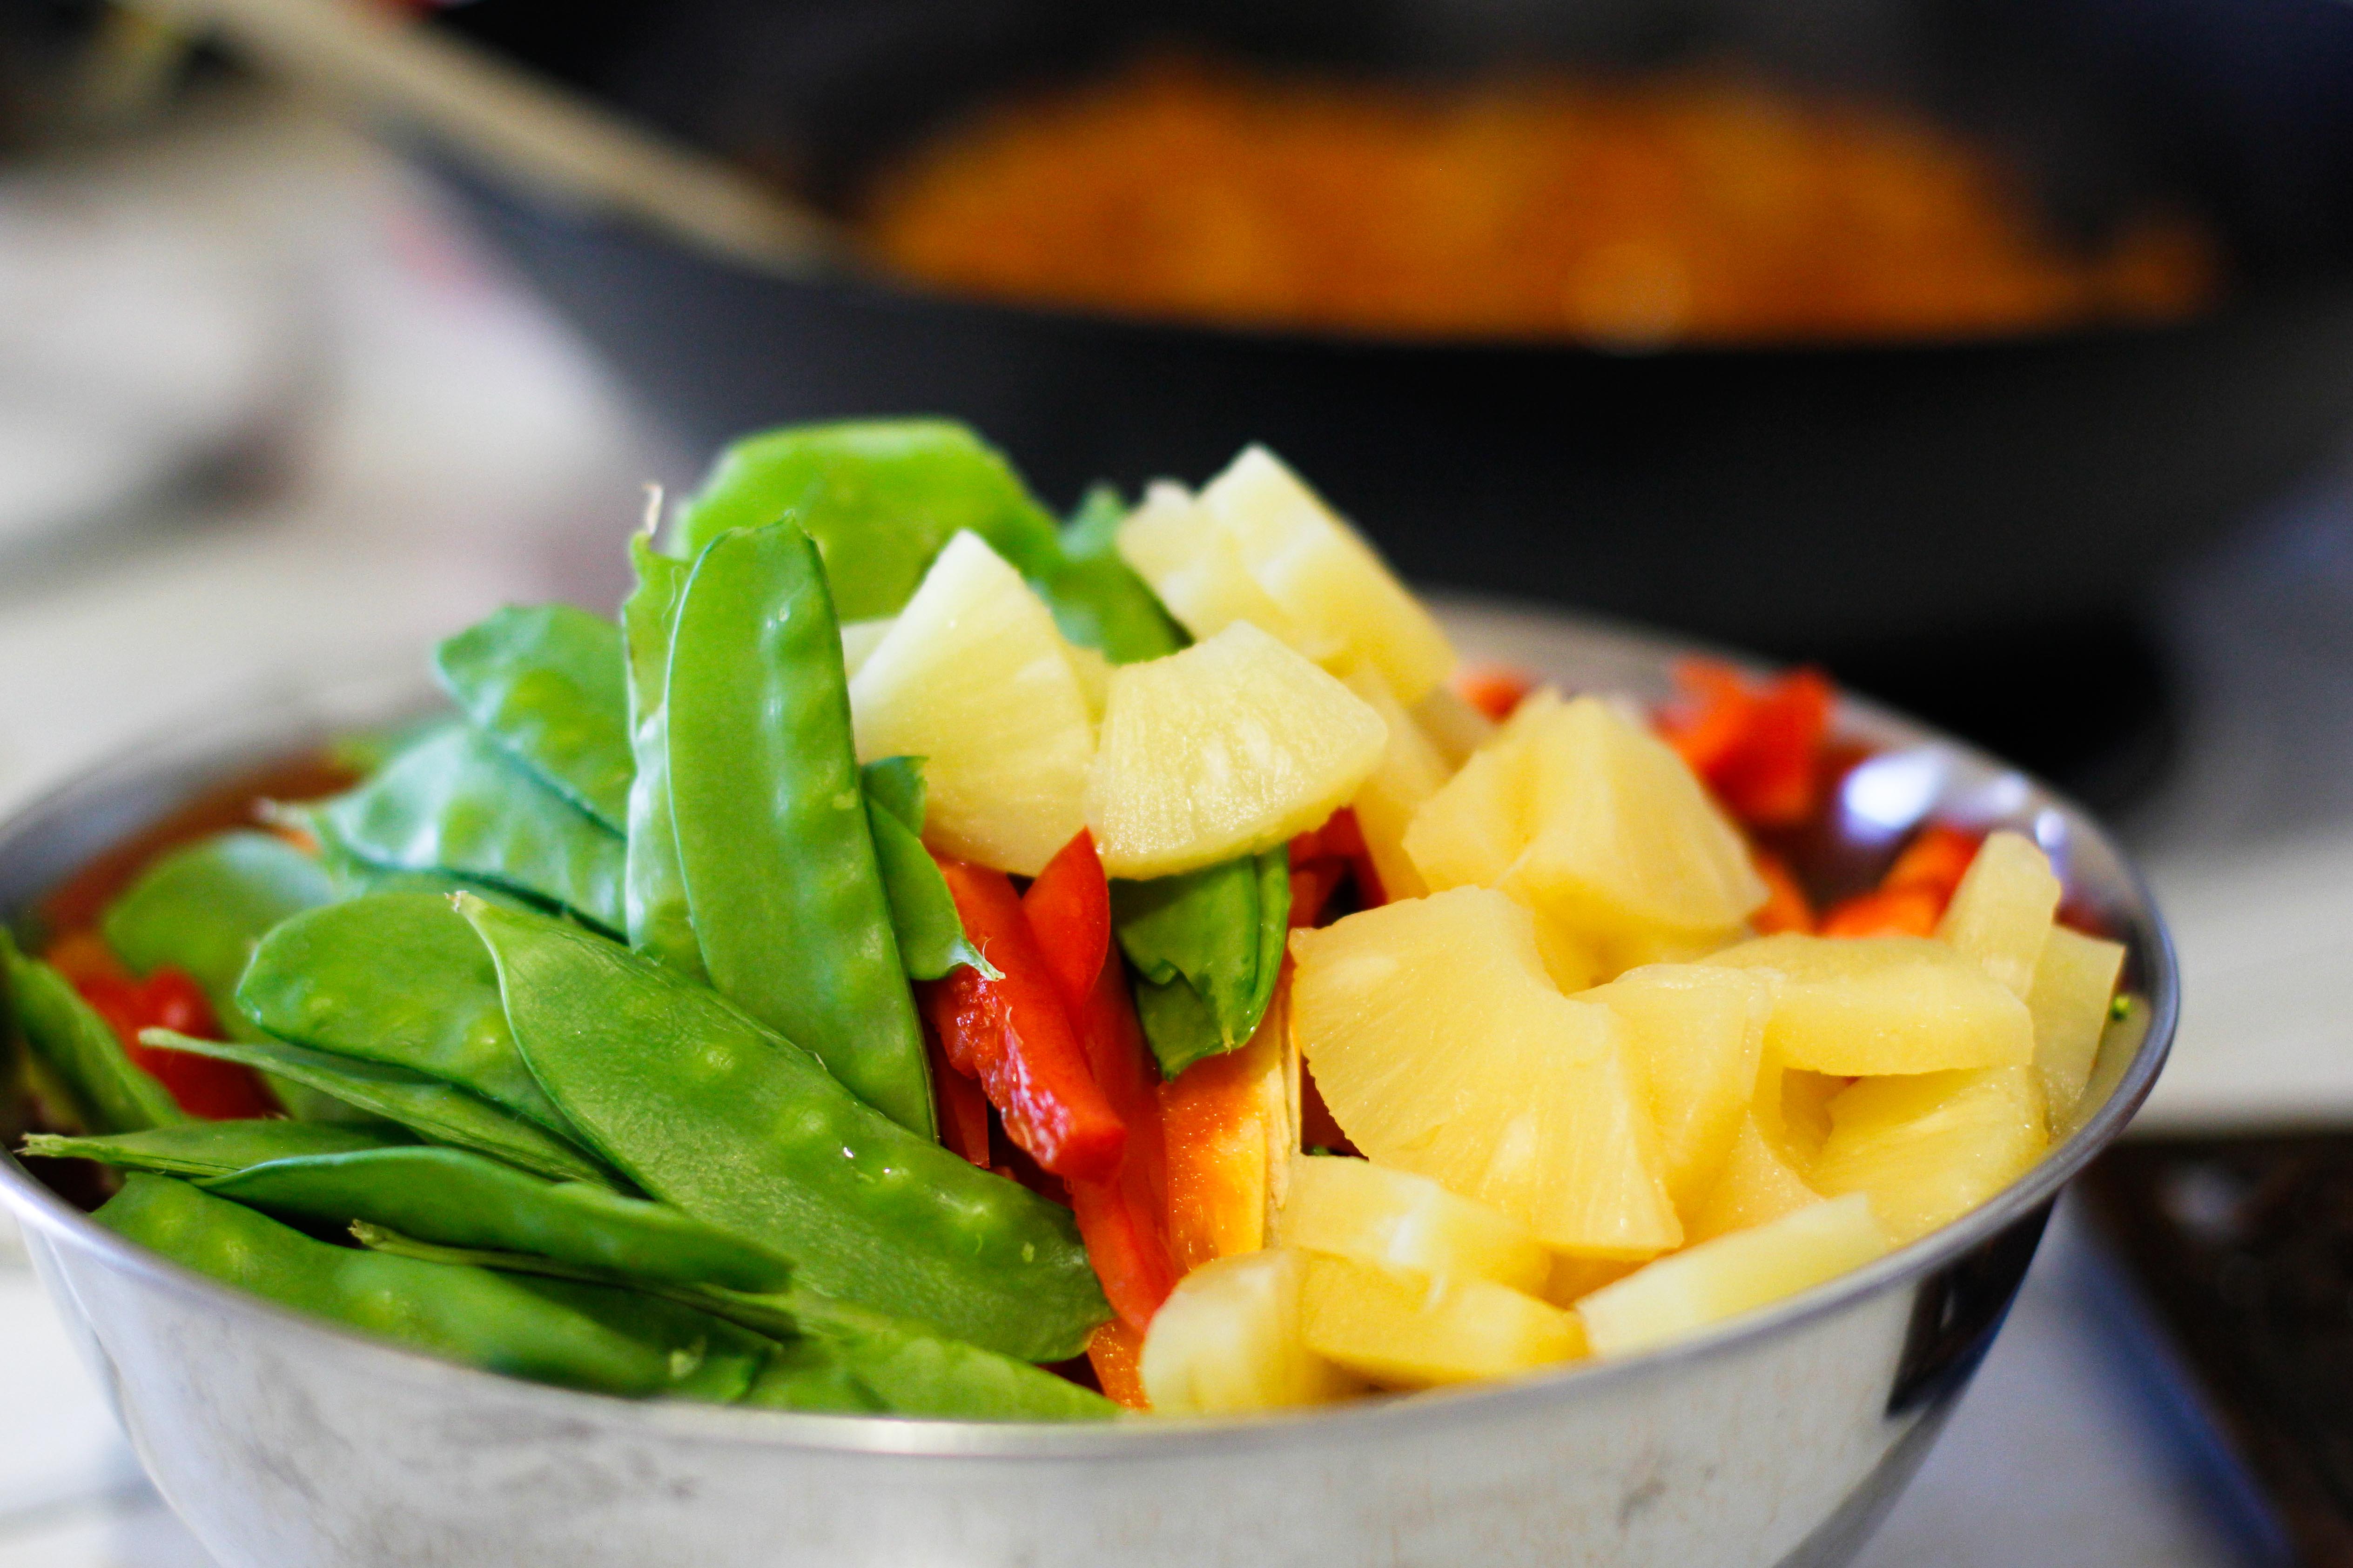
12. Now add all your chopped veggies and pineapple and let them cook until they’re sort of soft (about 5-7 minutes).
13. Add your protein back into the pan and stir it around.
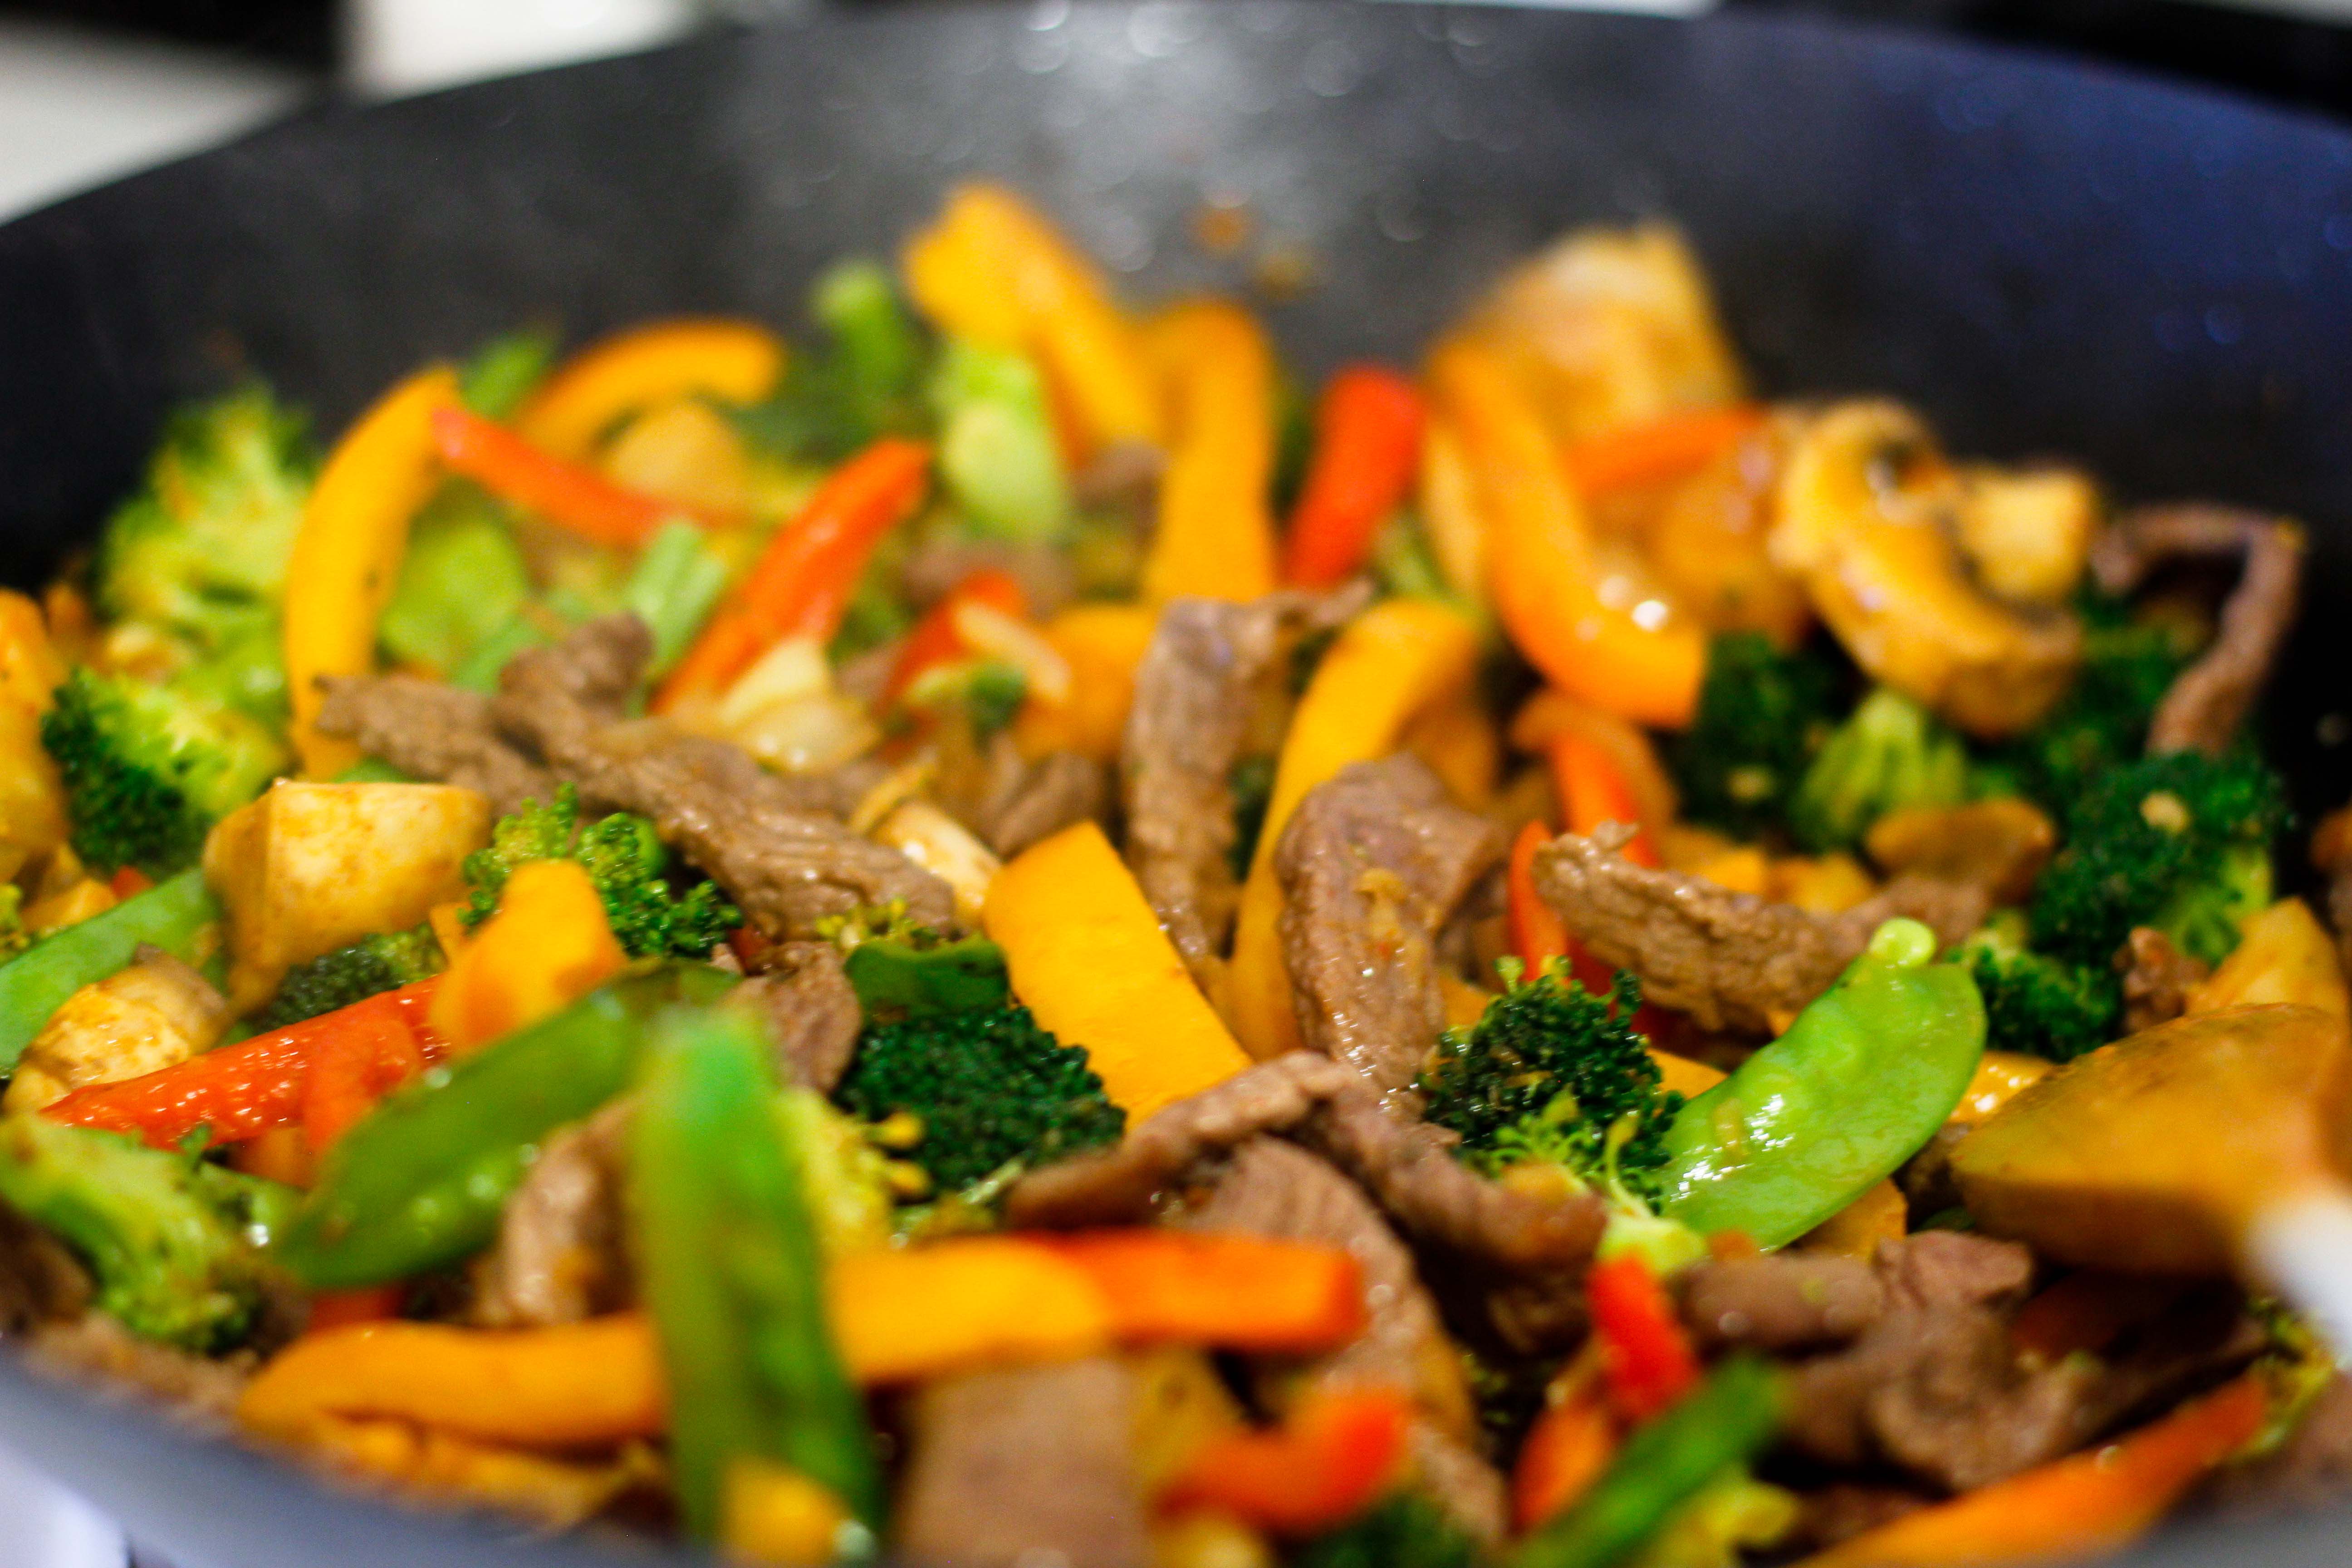
14. Now it’s time to make the sauce! Add your chicken broth and coconut milk to the pan, stir it together and bring to a simmering boil (about 5-7 minutes).
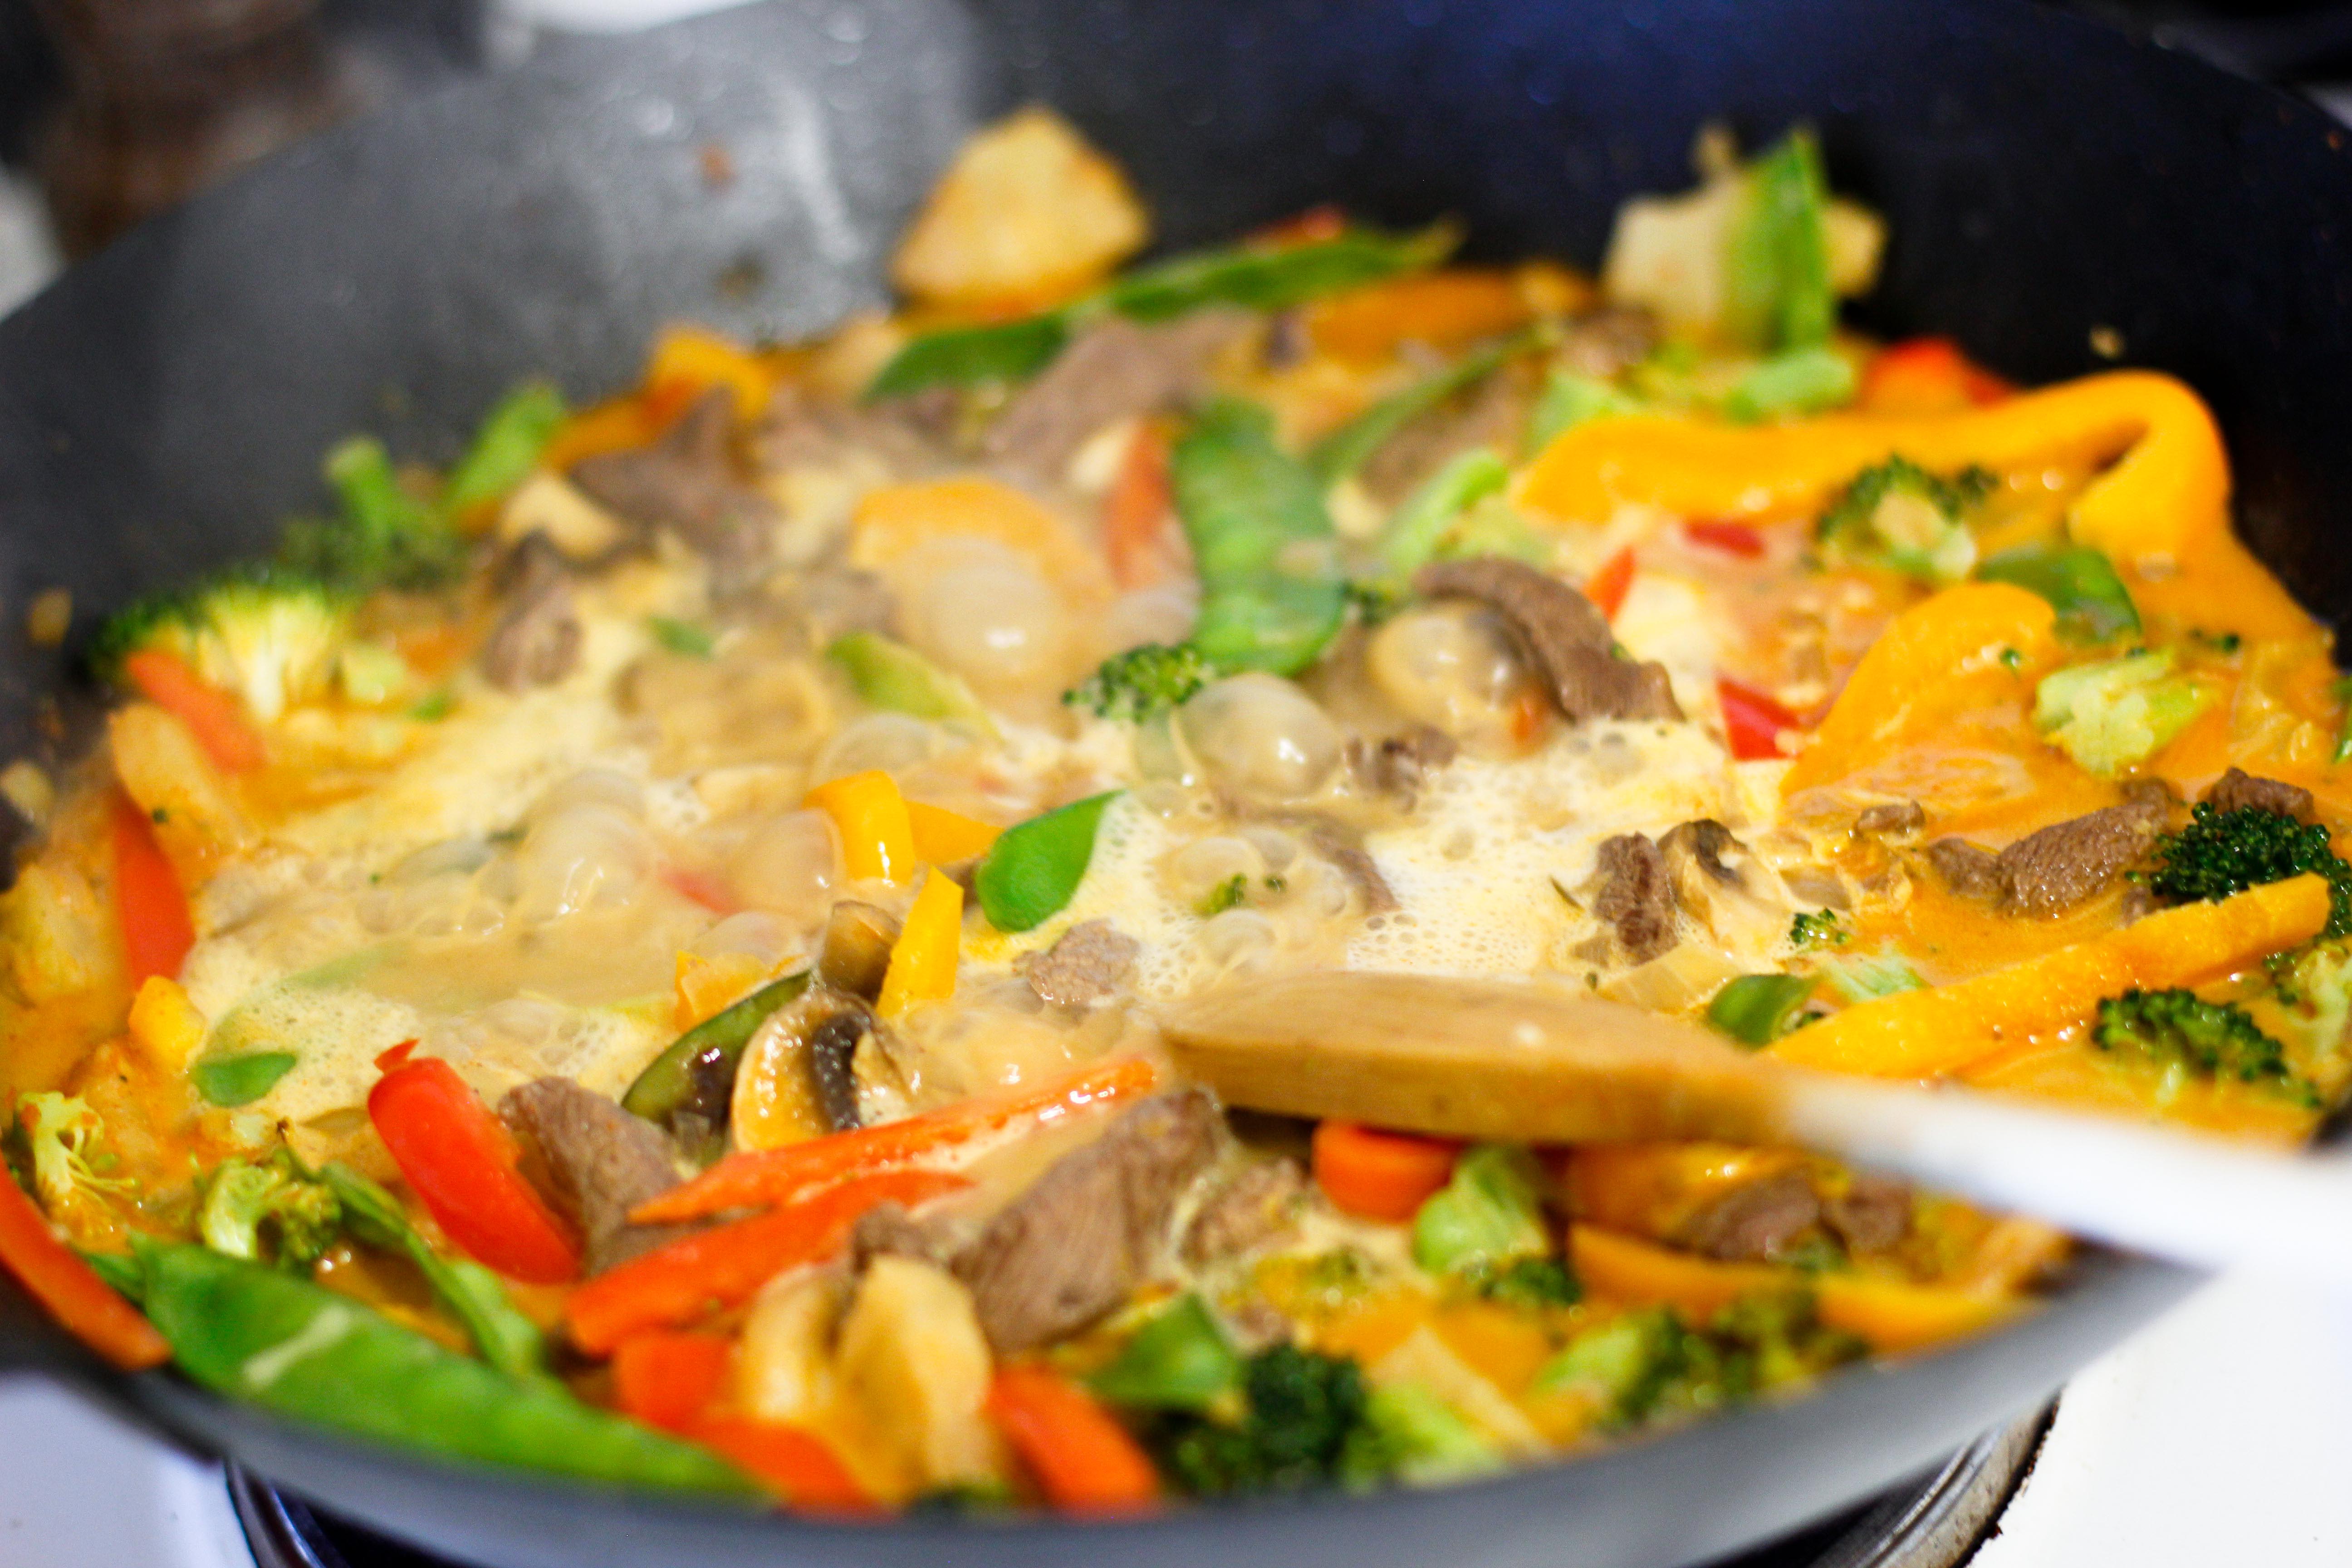
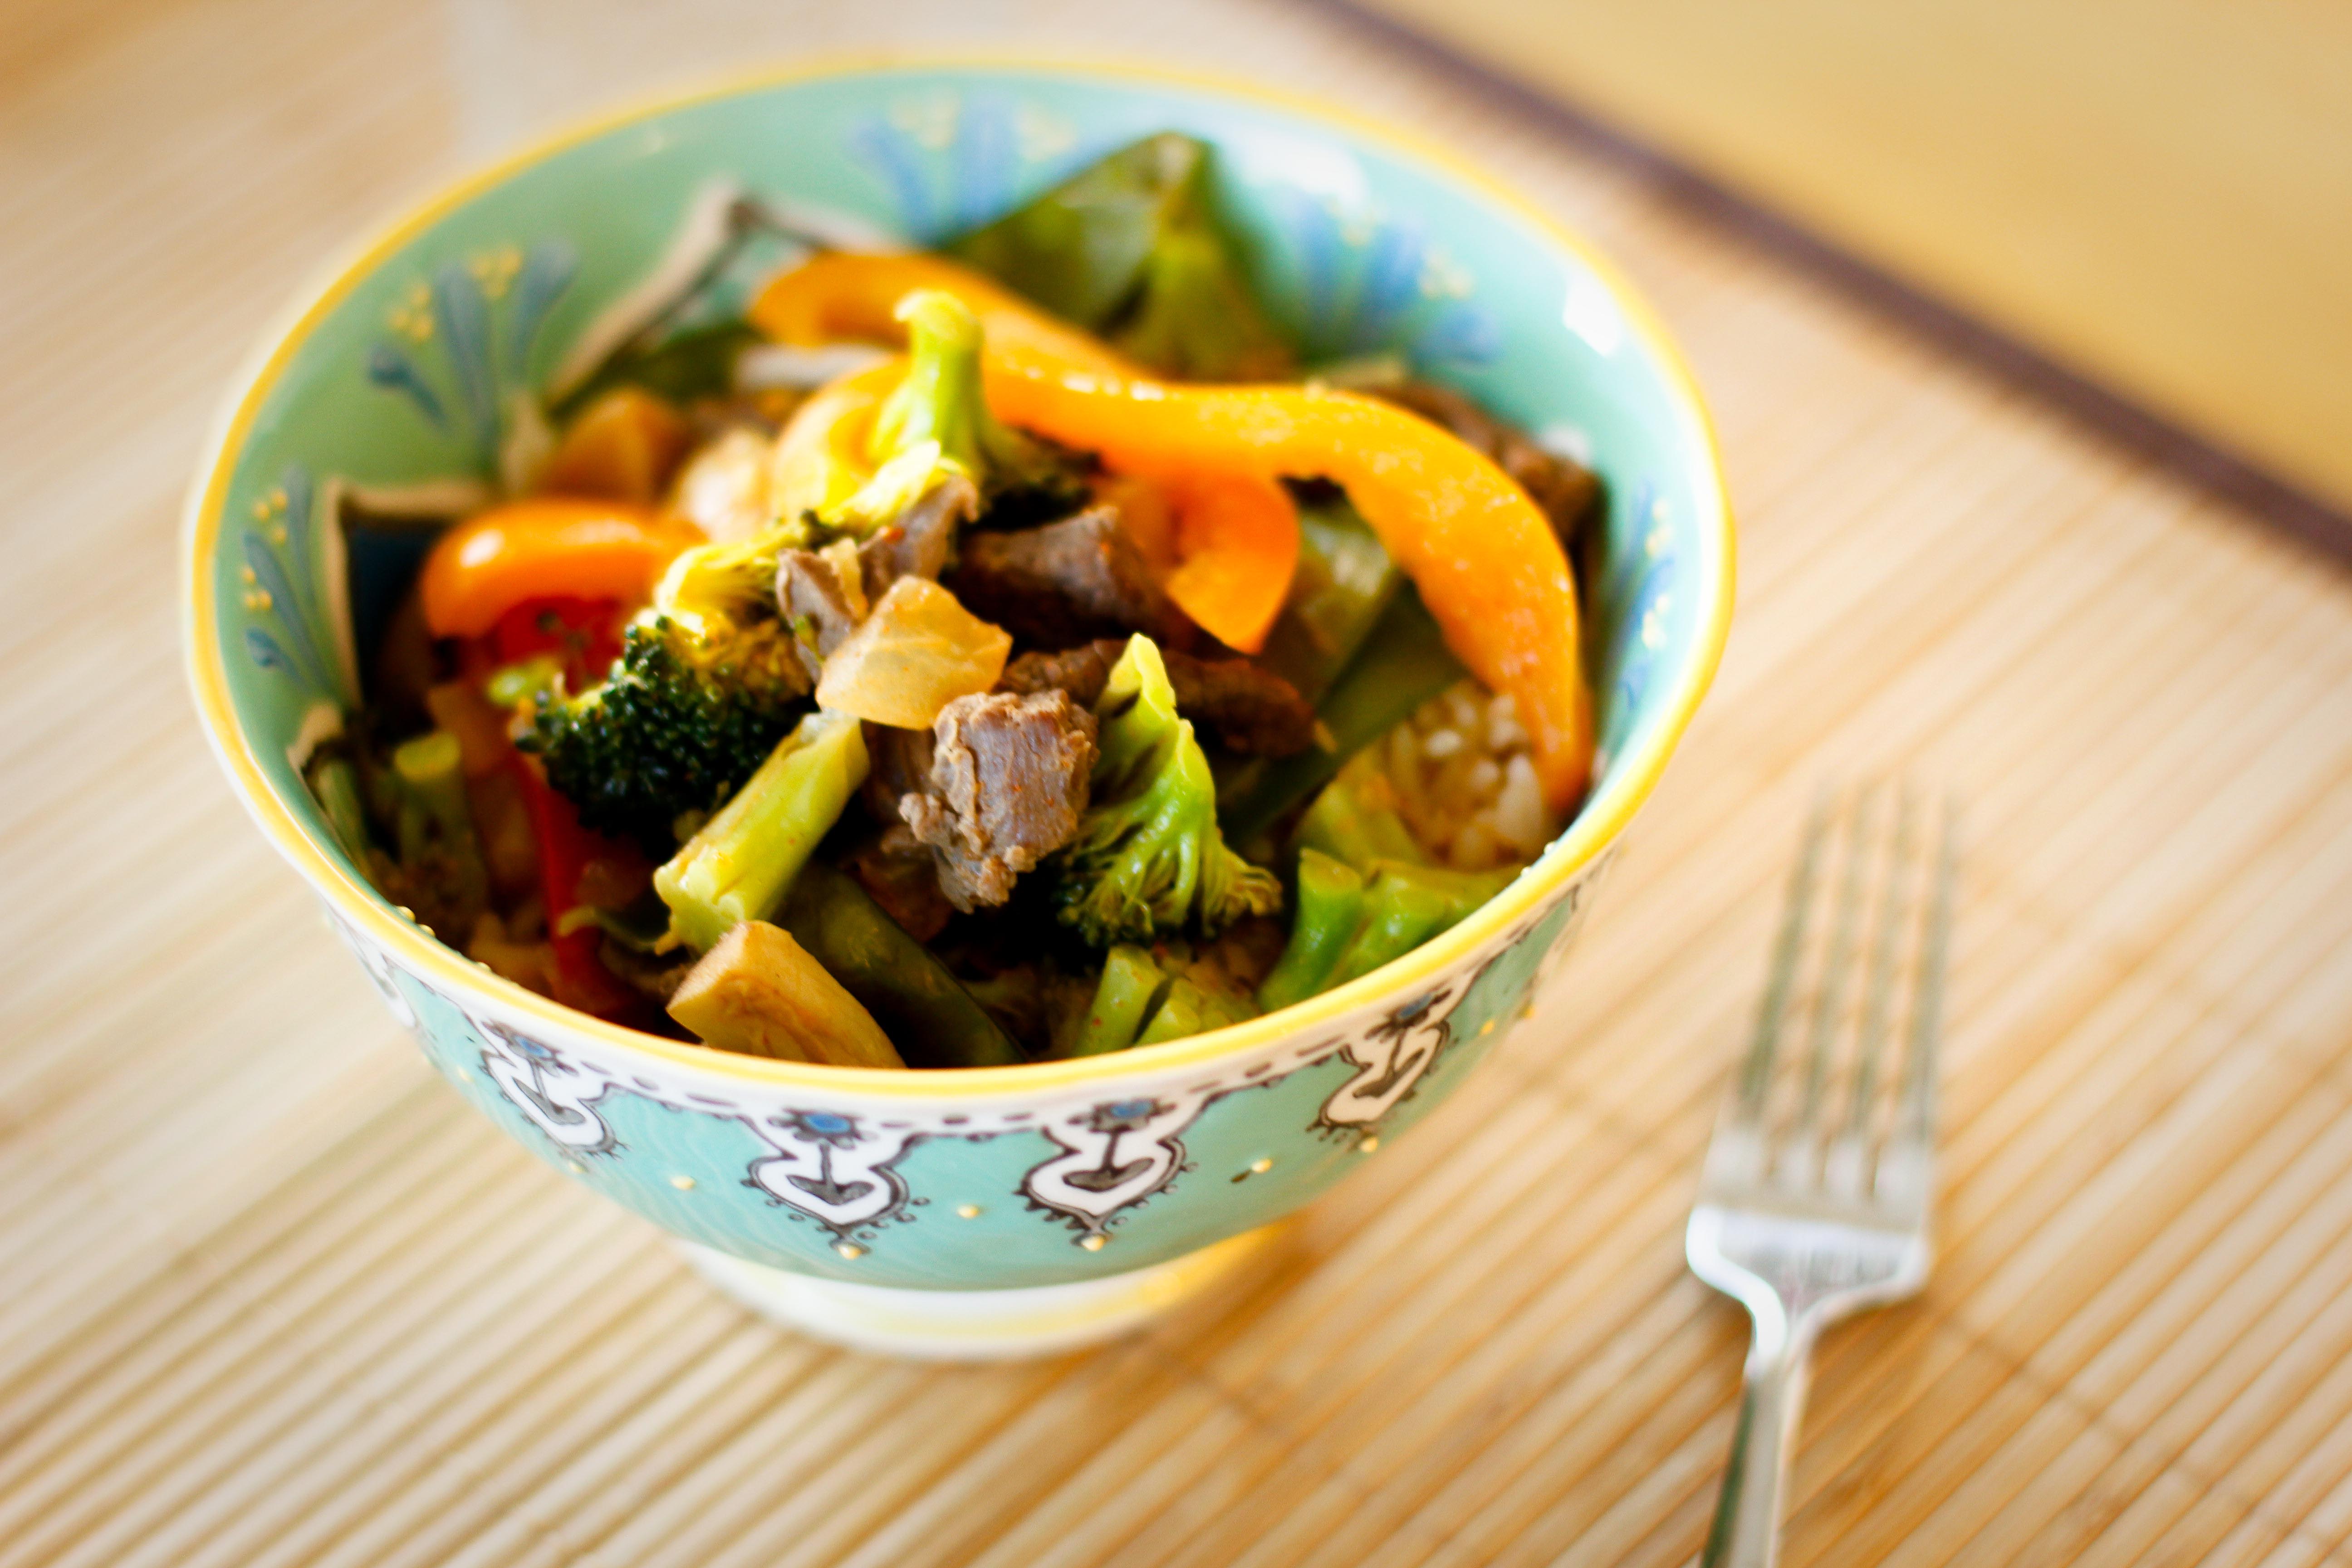
15. And you’re done! Serve over rice or cauliflower rice or just by itself in a bowl!
Complete a Cooking Quest
There you have it! A warm, spicy, comforting out-of-the-ordinary meal full of vegetable-y-goodness. That wasn’t so tough, was it?
Now, this is probably only my 3rd time making Thai curry; if you’re a seasoned pro, I’d love to hear your suggestions or recommendations on how to make this even better. And if one of your 4 week challenges involves getting more veggies into your diet or prepping your meals, this recipe might help you tackle that challenge!
How many of you have cooking-related epic quests?
What new recipes are you trying?
Do you have any recommendations or secret techniques you use to make your own Thai curry?
Let us know in the comments!
-Noel
###
Photos: Justin Gaurav Murgai: Wat Benchamabophit, drburtoni: wholesale fresh food market Series, Jinny: Chef Emmet, kattebelletje: Thai red curry paste
- 1lb protein (453g)– chicken, beef, shrimp, pork, or a combination of your favorites
- 1 small yellow onion – diced
- 2 cloves garlic – minced
- 1 tbsp (15mL)chopped or grated fresh ginger (or 1 tsp [5mL] dry ground)
- 1 handful of snow peas
- 1 head of broccoli
- 2 bell peppers
- 6 mushrooms
- pineapple chunks, 2 cups (about 1 can or 473mL) with juice drained
- 3 tbsp (45mL) Thai red curry paste
- 2 cans (403mL x2) full fat coconut milk
- 1.5 cups (354mL) chicken broth
- Dice your onion, peel and mince garlic cloves, peel and chop your ginger.
- Wash and chop your veggies (if using fresh)
- Slice your meat
- Measure out all your other ingredients, open cans, etc. so that they’re ready to use.
- Heat up your skillet. Once it’s hot, put 1 Tbsp of oil in the middle of the pan and let it warm up.
- toss in your sliced up meats and sauté them until browned and just cooked through (about 10-15 minutes for beef, pork and chicken, 5 minutes for shrimp). Once it’s done cooking, dump the protein into a clean bowl.
- Now keep your pan hot, add that last .5 Tbsp of oil and let it heat up.
- Once the oil is warm, carefully add your red Thai curry paste to the pan. Mix it for about 30 seconds.
- Now toss your onions, garlic, and ginger in the pan. Let them cook for about 3-5 minutes until the onions are translucent and coated in the curry paste.
- Now add all your chopped veggies and pineapple and let them cook until they’re sort of soft (about 5-7 minutes).
- Add your protein back into the pan and stir it around.
- Add your chicken broth and coconut milk to the pan, stir it together and bring to a simmering boil (about 5-7 minutes).
- And you’re done! Serve over rice or cauliflower rice or just by itself in a bowl!