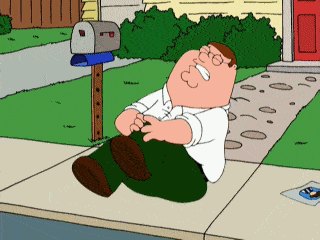
There’s no gentle way to say this – training with injuries SUCKS!
The most important thing you can do now is to let yourself heal.
However, depending on your injury, there might be quite a few ways to stay active while also recovering.
We do this all the time in our Online Coaching Program. We’ll build workouts for clients who are dealing with pre-existing injuries, so they can make the most of their recovery time.
Today, we’ll share these same tips with you.
Here’s what we’ll cover:
- Step 1: Preventing Injuries in the First Place (Warming-Up).
- Step 2: Go See a Doctor.
- Step 3: How to Mentally Deal with Injuries.
- Step 4: Testing Movement Around the Injury.
- Step 5: How to Make the Most Of Your Recovery (Sleep and Nutrition).
- Step 6: Staying Active While Injured.
- Step 7: Getting Creative While Working Out With an Injury.
- How to train with lower-back pain.
- How to train with an injured wrist.
- How to train with a knee injury.
- Can I lift with a hurt elbow?
- Can I exercise with an injured ankle?
- Can I exercise with shoulder and/or hip pain?
- Moving forward with an injury (Next Steps).
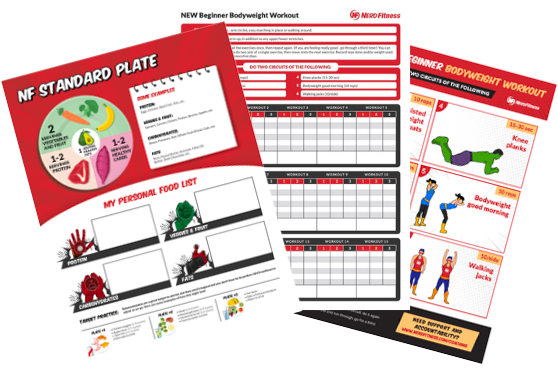
REAL QUICK: If you’re worried about hurting yourself while lifting, I would encourage you to check out our guide, Strength Training 101: Everything You Need to Know. We cover all you need to begin a strength training practice, from equipment, starting weight recommendations, and proper form techniques to prevent injuries. You can grab it for free when you join the Rebellion below!
NOTE: I am not a doctor (in fact, I’m not even wearing pants right now). You should really seek medical attention for any injury you receive.
Step 1: Preventing Injuries in the First Place (Warming-Up)

Now, it should go without saying: the best way to handle an injury is to prevent it in the first place.
So always start your training with a dynamic warm-up.
Studies have shown that a brief warm-up before your workout can help prevent injuries.[1]
Here’s why:
You can think of your muscles like rubber bands:
Should you start your workout by immediately lifting heavy weights or sprinting really fast, those cold, unstretched rubber bands can get pulled apart very quickly. They can then get snapped or pulled out of shape.
Ouch.
That’s why every workout should start with a warm-up.
We are such big believers of this, that when we program workouts through our Online Coaching Program, we ALWAYS kick it off with a warm-up. It’s one of the tools in our kit to help clients stay injury-free.
What’s that? You don’t know how to warm up?
No prob.
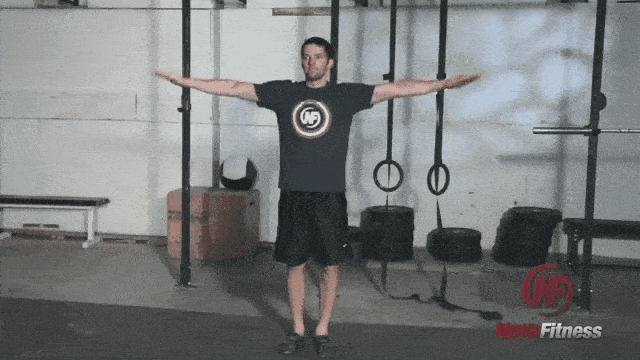
Here’s a beginner warm-up routine you can try:
If you want more, check out The 15 Best Warm-Up Exercises & Routines to Prevent Injury.
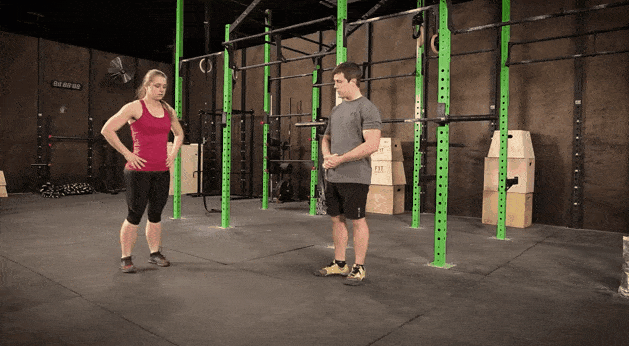
Step 2: When Should I See a Doctor After an Injury?
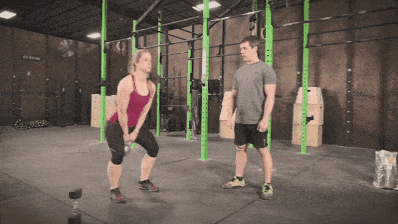
As Coach Jim mentions in the video above, the FIRST thing to do after an injury is to seek a professional.
All the internet advice in the world won’t take the place of a single session with a doctor or physical therapist.
After you get hurt, really the best thing you can do is have the injury examined by someone who knows what they’re doing.
I will say, that not all doctors are created equal…

…but that’s not another article.
Next, we need to get your headspace in proper order (even if you don’t have a head injury)
Step 3: How to Mentally Deal With Injuries

The SECOND thing to do right after an injury: realize it’s going to affect you mentally…just as much, if not more than physically.
So be prepared!
There are numerous studies showing the different negative emotional reactions that people have when injured.[2]
But just from the School of the Obvious – if you’ve ever had an injury – you know how it puts you in a bad mood.

What may help, is recognizing and reframing negative thoughts, like with some quiet meditation or journaling. Or even seeing a therapist or sports psychologist
Just make sure you don’t overlook the mental aspects of recovery.
Step 4: Testing Movement Around the Injury

After you’ve seen a doctor and prepared for the mental battle ahead, I want you to test all movements.
And by test, I mean work through as much of the range of motion of an exercise as possible with zero additional resistance and without feeling any pain.
That means if your shoulder bothers you, just see if you can extend your arms all the way above your head. Do this before you even consider doing a push press or shoulder press.
After that, make sure to test movements that you don’t suspect will be a problem.
A shoulder injury could very well make box jump sessions impossible, due to the arm swing involved in the movement.
Try out each movement cautiously!
Something to keep in mind: just because you have pain with a push movement, does not necessarily mean you will have pain with a pull movement.
I have had a shoulder injury where dips and push-ups were out of the question…but pull-ups were fine.
And that is why you should test all movements – you may have more training options than you expect. Then again, your injury may limit movement more than you realize.
Last time I’m going to say it – test.
Step 5: How to Make the Most Of Your Recovery (Sleep and Nutrition)

Next, rest.
And by rest, I mean completely stop doing movements that cause you pain until you are healed.
If you feel any pain during your test (especially joint pain), then you should abandon that movement until the injury heals.
You cannot “suck it up” and just grind through joint pain without hindering healing at best…
…and causing further damage at worst.
Along with rest, a recovery regimen to accelerate healing should be considered. Ideally, this would be done under the care of a physician. I have been to the doc for injuries in the past and have found that those that use “Sports” in the title of their practice (Sports Medicine, Sports Therapy) do their damnedest to keep you active.
Here are two often overlooked components of recovery:
Sleep and nutrition are always important when it comes to fitness. But for the swiftest recovery from an injury, you need to get your food intake and sleep schedule dialed in extra tight.
- To prioritize sleep, sign off of Fortnite an hour earlier and get to bed (Life is cruel).
- To level up your nutrition game, try to have a vegetable with your meals and prioritize some protein.
If you want to do everything within your control to sway the healing forces in your favor, be extra diligent with your sleep and eats.
Step 6: Staying Active While Injured

If your doctor has okayed it, stay active any way you can.
This is often the opposite of what many people will do – which is to completely stop using the injured area.
We want to move pain-free, of course, but any light movement is often going to be more beneficial than just stopping movement altogether – as it gets the blood flowing through the area and helps recovery.[3]
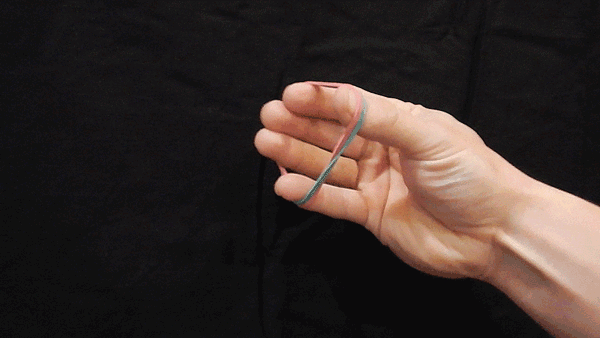
This might mean lowering the weights used, doing an assisted or even unweighted variation of an exercise.
Like by busting out a resistance band:
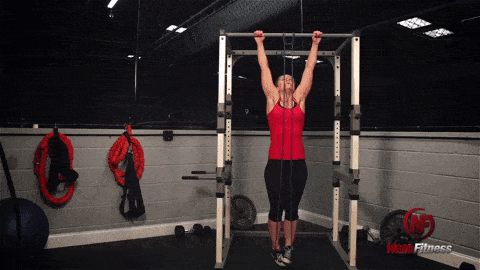
But if you can still safely move the injured area without causing added pain or setbacks – then it’s often a good idea to do so.
If that’s not an option, consider different ways to move while injured:
- If you can’t run, how about an elliptical or stationary bike?
- If you can’t use one leg or the other, can you work out your upper body?
- If you can’t use one arm/shoulder, can you still do lower body exercises like lunges/squats/step-ups?
- If you can’t do any resistance training, can you still go for walks?
Let’s dive into this point a little more.
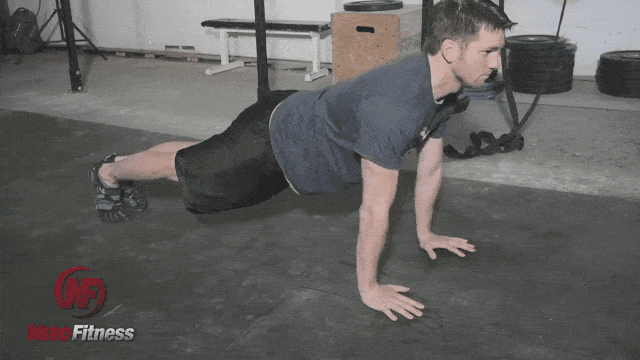
Step 7: Getting Creative While Working Out With an Injury

My dear friend, it’s time to get creative.
When you get injured, start thinking outside of the box to find the opportunity in the obstacle.
A shoulder injury may make back squats incredibly painful. But holding the bar for a front squat instead could feel fine…

…and perhaps it just so happens that you have neglected the front squat lately.
So instead, try to look at an injury as an opportunity for you to focus on a weakness. Strengthen your weaknesses, become more well-rounded, and better equipped to deal with rigorous activity.
That’s how you become “antifragile.”
But enough of the generalities.
You want some specific recommendations on how to train around your injuries…
Here are some tips for training around common injuries:
#1) Training with Lower Back Pain
When thinking about working around back injuries, look for lower-body exercises that increase knee movement and keep oneself vertical. This often feels safer to many when navigating a tweaked back.
For your upper body, you’re free to do anything you’re comfortable with:
If it doesn’t hurt, have at it.
#2) Training with an Injured Wrist
Wrist pain is most commonly complained about when doing the traditional push-up:
You might be able to alleviate this pain by using push-up bars and even (believe it or not) knuckle push-ups.
This is because you might be dealing with a flexibility issue and not an actual injury.
Front squats and power cleans done with the Olympic rack position may also lead to complaints of wrist pain.
To eliminate wrist pain in the front squat, try the more common crossed-arm rack position:
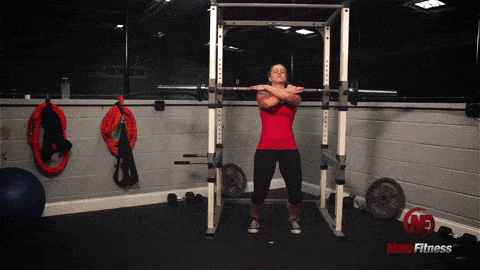
For the power clean, concentrate on getting the bar on top of the front of your front deltoids (shoulders) – if the bar is touching your throat, you are getting there.
Here are 15 wrist mobility exercises for more help here.
#3) How to Train with a Knee Injury
Knee pain typically comes in a fitness setting as the result of one of three things:
- Deep bending such as with a squat or lunge
- Impact that corresponds with landing from jumping.
- Lateral (side to side) movement, especially for participants of sports like soccer, rugby, basketball, and other “man to man” athletics.
When thinking about working around knee injuries, look for lower-body exercises that reduce the amount of knee movement and increase the amount of hip movement.
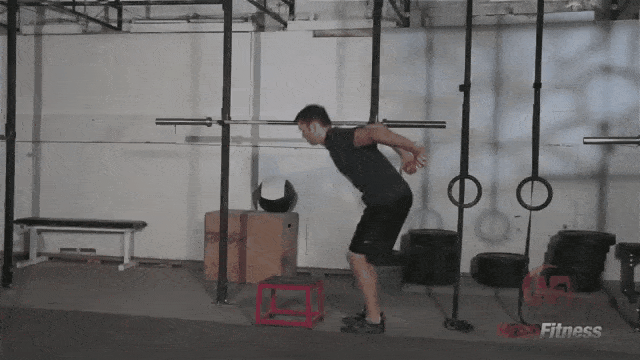
Like a kettlebell swing:
A properly executed swing does not involve much bending of the knee. In my experience, most people who cannot squat can handle swings without screwing up any preexisting knee conditions.
Just remember, when testing out these movements, the goal is to pick variations that put less pressure and stress on the knee joint.
#4) Can I Lift with a Hurt Elbow?
You’re out of luck on this one, unfortunately. Sorry.
Nearly any upper body exercise, push or pull, will hinder your recovery time.
Instead, focus on lower bodywork such as barbell squats, sprinting, and lunges.
#5) Can I Exercise with an Injured Ankle?
Avoid any high-impact movements with a hurt ankle.
And all that means is do not jump.
But other movements that involve more subtle ankle movement such as squats may also have to be put on the back burner as you heal. It is possible (likely?) that you may have to focus on upper body movements and use seated versions of movements such as rows and overhead presses instead of standing.
This will help let your ankle heal.
#6) What Should I Do With Shoulder and/or Hip Pain?

Test, test, test.
These ball and socket joints can be the most unpredictable when it comes to training options.
Start slow, start light, and back off the second you feel any pain.
MOVING FORWARD WITH AN INJURY (Next Steps)

Injuries are always frustrating when they happen.
But I don’t know anyone with any significant amount of training time under their belt who hasn’t had to deal with one.
When injured:
- Seek a medical opinion[4]
- Be smart with your exercise selection
- Dial-in your nutrition and sleep
- Stay active
- Be aware of training opportunities that you would not have considered without the injury
If you want any more help along your journey, you know we’re here for you.
Here are three ways that Nerd Fitness can help you level up.
#1) Our Online Coaching Program: a coaching program for busy people to help them make better food choices, stay accountable, and get healthier, permanently.
They can build you a custom program so you can grow strong, to hopefully prevent you from getting injured in the first place. Plus, they can do form checks to help make sure you’re doing all your training correctly.
You can schedule a free call with our team so we can get to know you and see if our coaching program is right for you. Just click on the image below for more details:
#2) If you want a roadmap for getting in shape, check out NF Journey. Our fun habit-building app will help you exercise and eat better, all while you build your very own superhero.
Interested?
Try your free trial right here:


#3) Join the Rebellion! We need good people like you in our community, the Nerd Fitness Rebellion.
Sign up in the box below to enlist and get our Rebel Starter Kit, which includes all of our “work out at home” guides, our Strength Training 101 eBook, and much more!
Alright, I think that about does it for today’s articles.
Now, I want to hear from you!
Do you have an injury that is preventing you from training?
Do you have any tips and tricks to keep moving while still recovering?
Did you seek advice from a doctor who gave you good information?
Let us know in the comments!
-Steve
###
All photo sources can be found right here: January 27, 2009-22.05, Rugby Player, ©Rattanachai Singtrangarn/123RF.COM, Going to bed, Morning run with the FitbitBatman, Runners